Tesla Model 3 / Model Y
UP Front Lower Lateral Fore & Compliance Aft Arms
INSTALLATION GUIDE
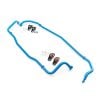
FRONT LOWER COMPLIANCE AFT ARMS
- 2x UP Lateral Aft Arm – with UP Spherical Bushings UP-M3MY-393-1.1
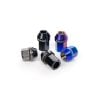
- 2x Outer Joint Nut – M14-1.5 (22mm Nord Lock locking nut)
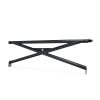
FRONT LOWER LATERAL FORE ARMS
- 2x UP Compliance Aft Arm Assembly – with UP Spherical Bushings UP-M3-392-1.1
- 2x Outer Joint Nut – M14-1.5 (22mm Locking Nut)
- Jack Stands / Floor Jacks (or Shop Service Lift)
- Ratchet with 10mm socket
- Small pry tool
- 21mm Wrench and Socket
- 22mm Wrench and Socket
- 5mm alan key socket
- T40 Torx Socket
- T45 Torx Socket
- Torque Wrench rated for at least 180mn/132 ft-lbs
- Chalk Paint Marker
- Rubber Mallet
- Compliance Aft Arm Hub Nord Lock Nut 180 Nm/132 lb-ft
- Compliance Aft Subframe Bolt 115 Nm /84 lb-ft
- Lateral Fore Hub Nord Lock Nut 180 Nm/ 132 lb-ft
- Lateral Fore Subframe side Bolt and Nut 115 Nm/ 84 lb-ft
- Lateral Fore Shock Fork Mount 106 Nm /78 lb-ft
This product carries a lifetime warranty against mechanical failure or corrosion. It can be exchanged for an identical item, or a similar item as determined by Unplugged Performance. It may not be returned for cash or credit. There is no warranty regarding surface imperfections or aesthetic damage incurred during regular use, and/or damage to the brackets from an impact or other unusual driving circumstance.
By installing or using this product, you understand and agree with the following: If you do not agree, do not proceed with the installation and return this product within 30 days for a full refund of the purchase price from the company from which you have purchased it.
- I understand and agree that this product is intended to be installed for use on private roads and in jurisdictions where the use of this product is deemed legal by the local authorities. Furthermore, I understand and agree Unplugged Performance does not have any knowledge or control of regulations in my local jurisdiction, and it is up to me to determine if the product is acceptable for use with my vehicle.
- I understand that Unplugged Performance has done testing of this product on road and on closed racetracks but does not have the ability to test the vehicle for localized standards and regulations.
- I understand and agree that if the vehicle manufacturer determines that any Unplugged Performance products have contributed to a problem with the vehicle it may affect the vehicle’s warranty. Furthermore, I understand and agree that Unplugged Performance has no duty nor ability to be involved in internal manufacturer decisions.
- I understand and agree that if this product is given to an installer for installation on my vehicle, I have read and agreed with all the previous, even if I am not personally installing these parts on my vehicle. Furthermore, I understand and agree that this product should be installed by a trained professional that is familiar with both the vehicle as well as this product. Furthermore, I understand and agree that I and/or my chosen installer will follow the installation instructions carefully and dutifully test the vehicle post-installation in a safe and controlled environment to ensure proper operation.
- I understand and agree that by installing this product Unplugged Performance and all associated persons and entities as well as the vehicle manufacturer and all associated entities must be held harmless in the event of any suit, damages, or other legal action. Furthermore, I hereby release Unplugged Performance and any associated entities from any and all liability for any potential claim or claims.
If you do not agree with any of the above statements, you should return the product immediately. For more information please see our Terms and Conditions.
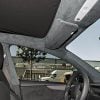
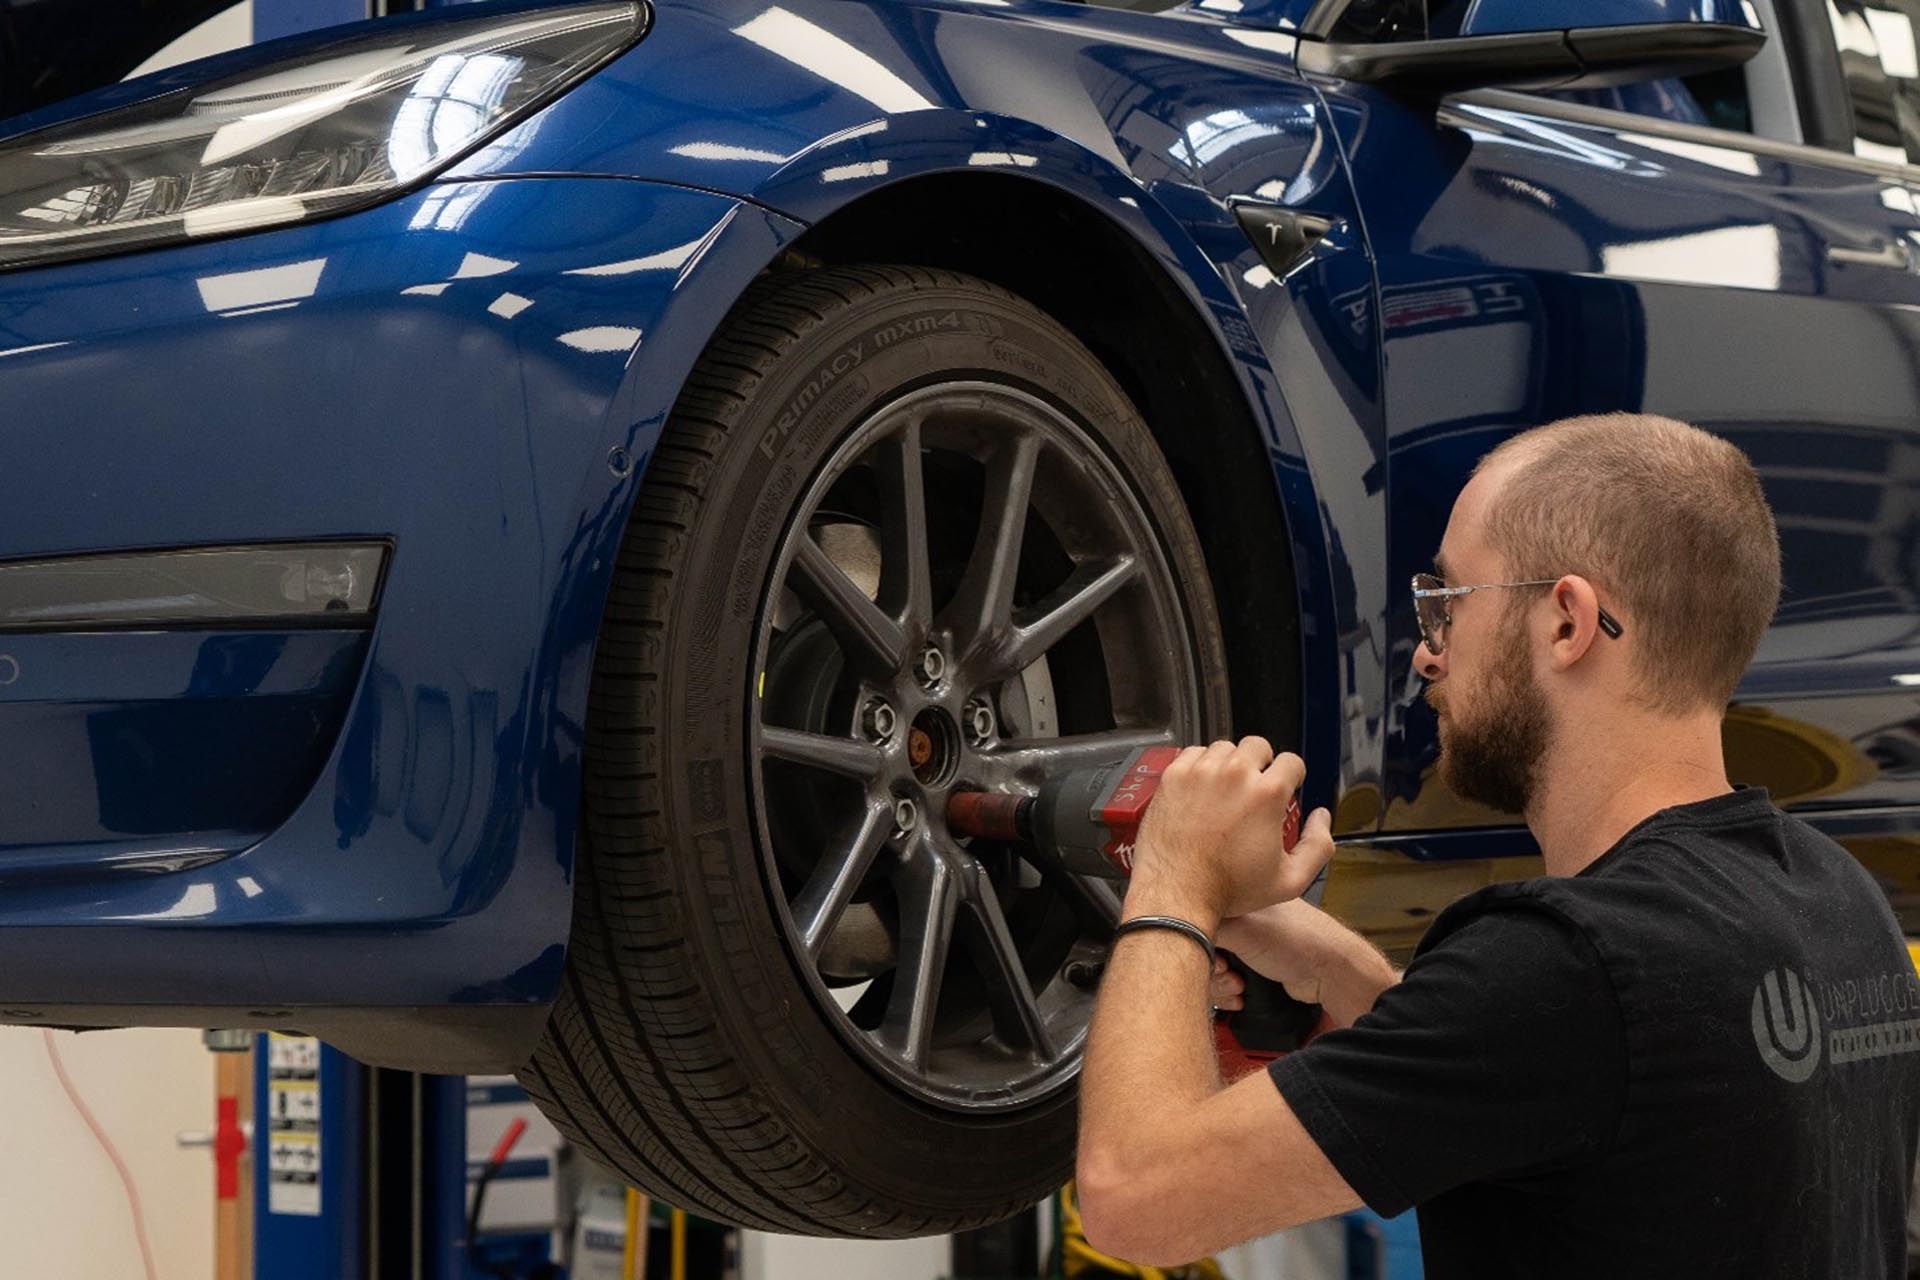
Raise and support the vehicle and remove the front wheels.
Using a floor jack and jack stands (or shop lift if available), safely raise and secure the vehicle and support it using the factory jack points.
Using a 21mm socket, remove the 5 lugs and front wheels from the vehicle.
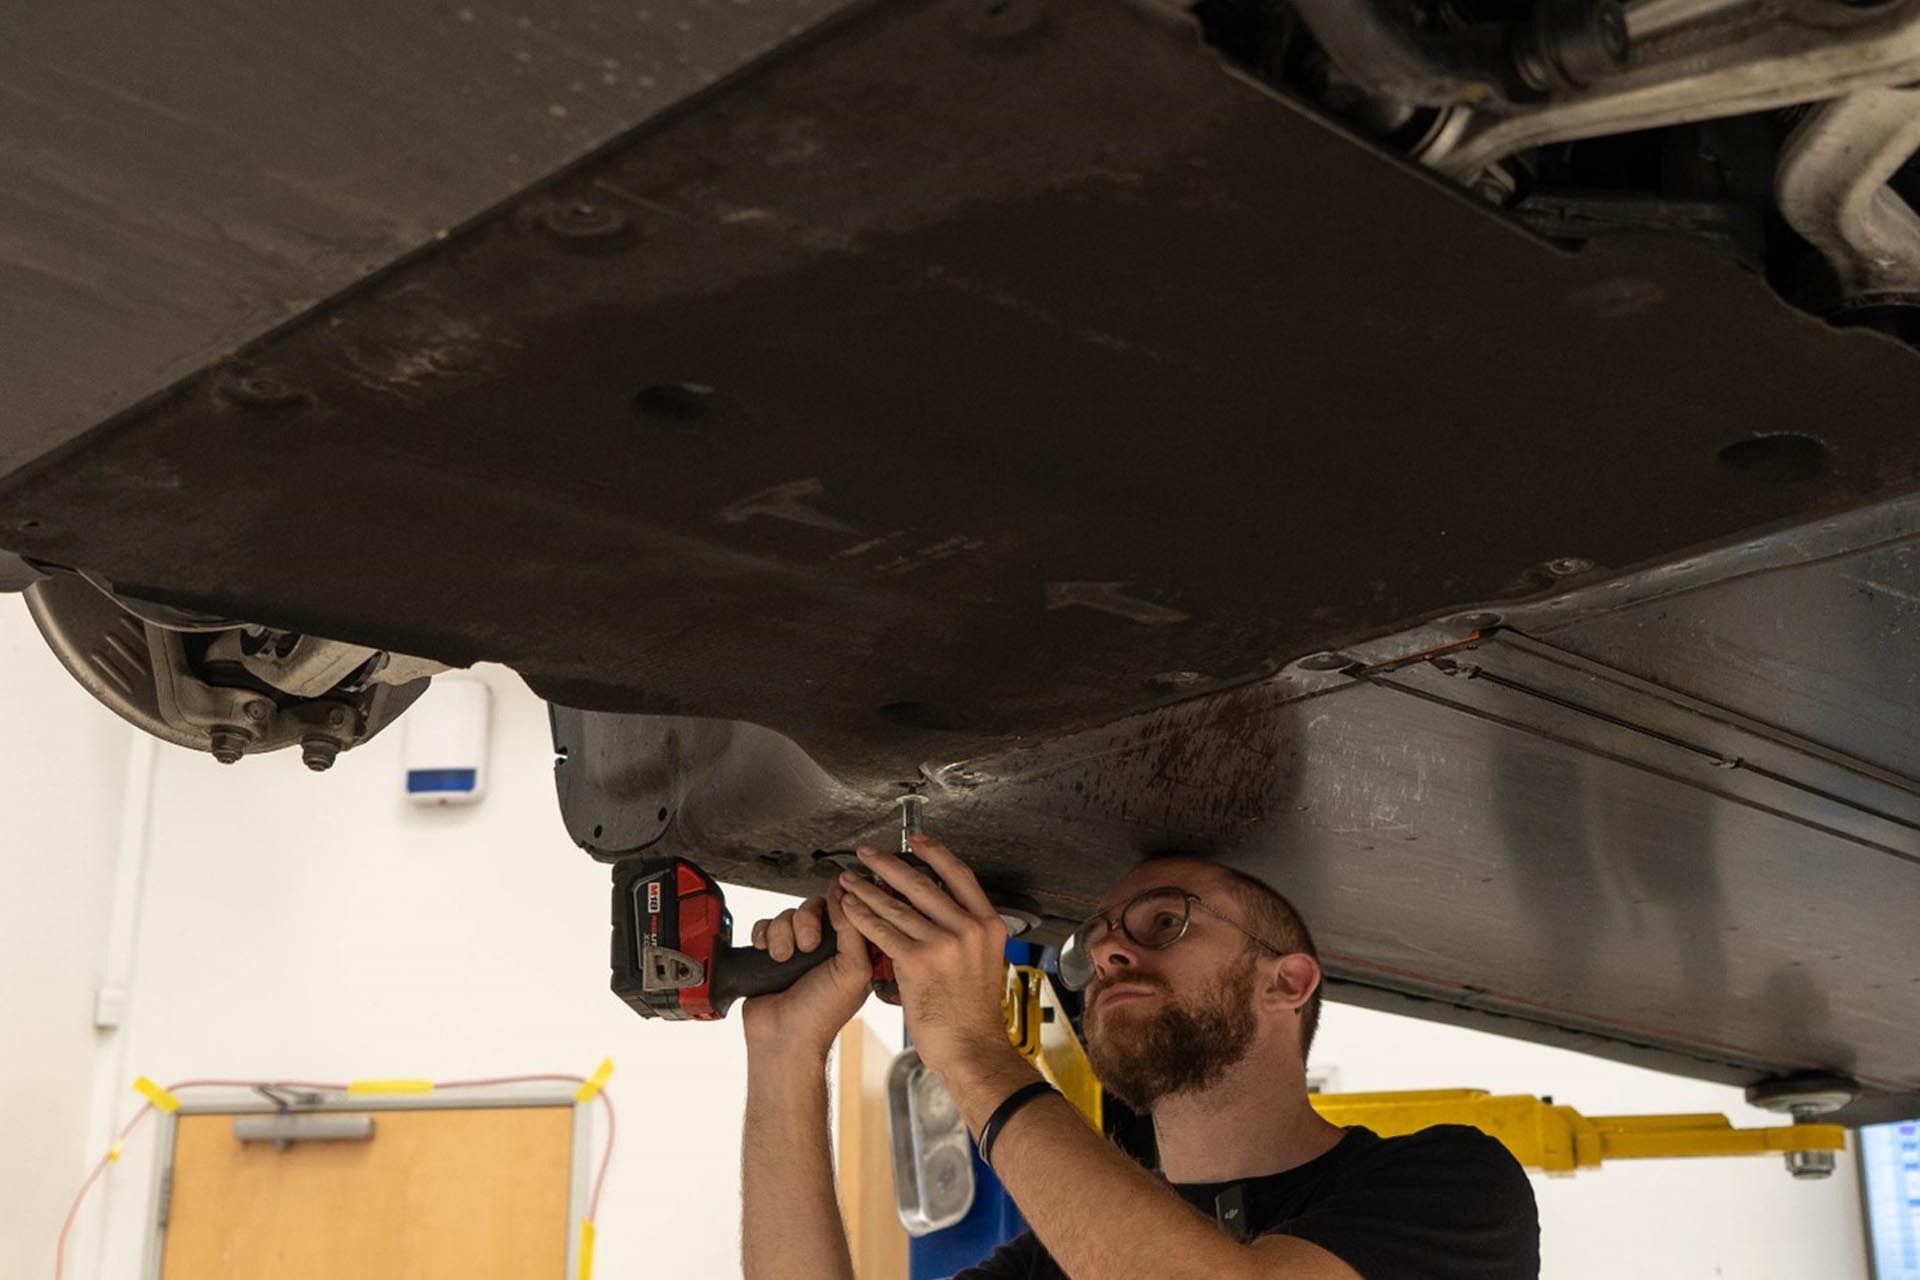
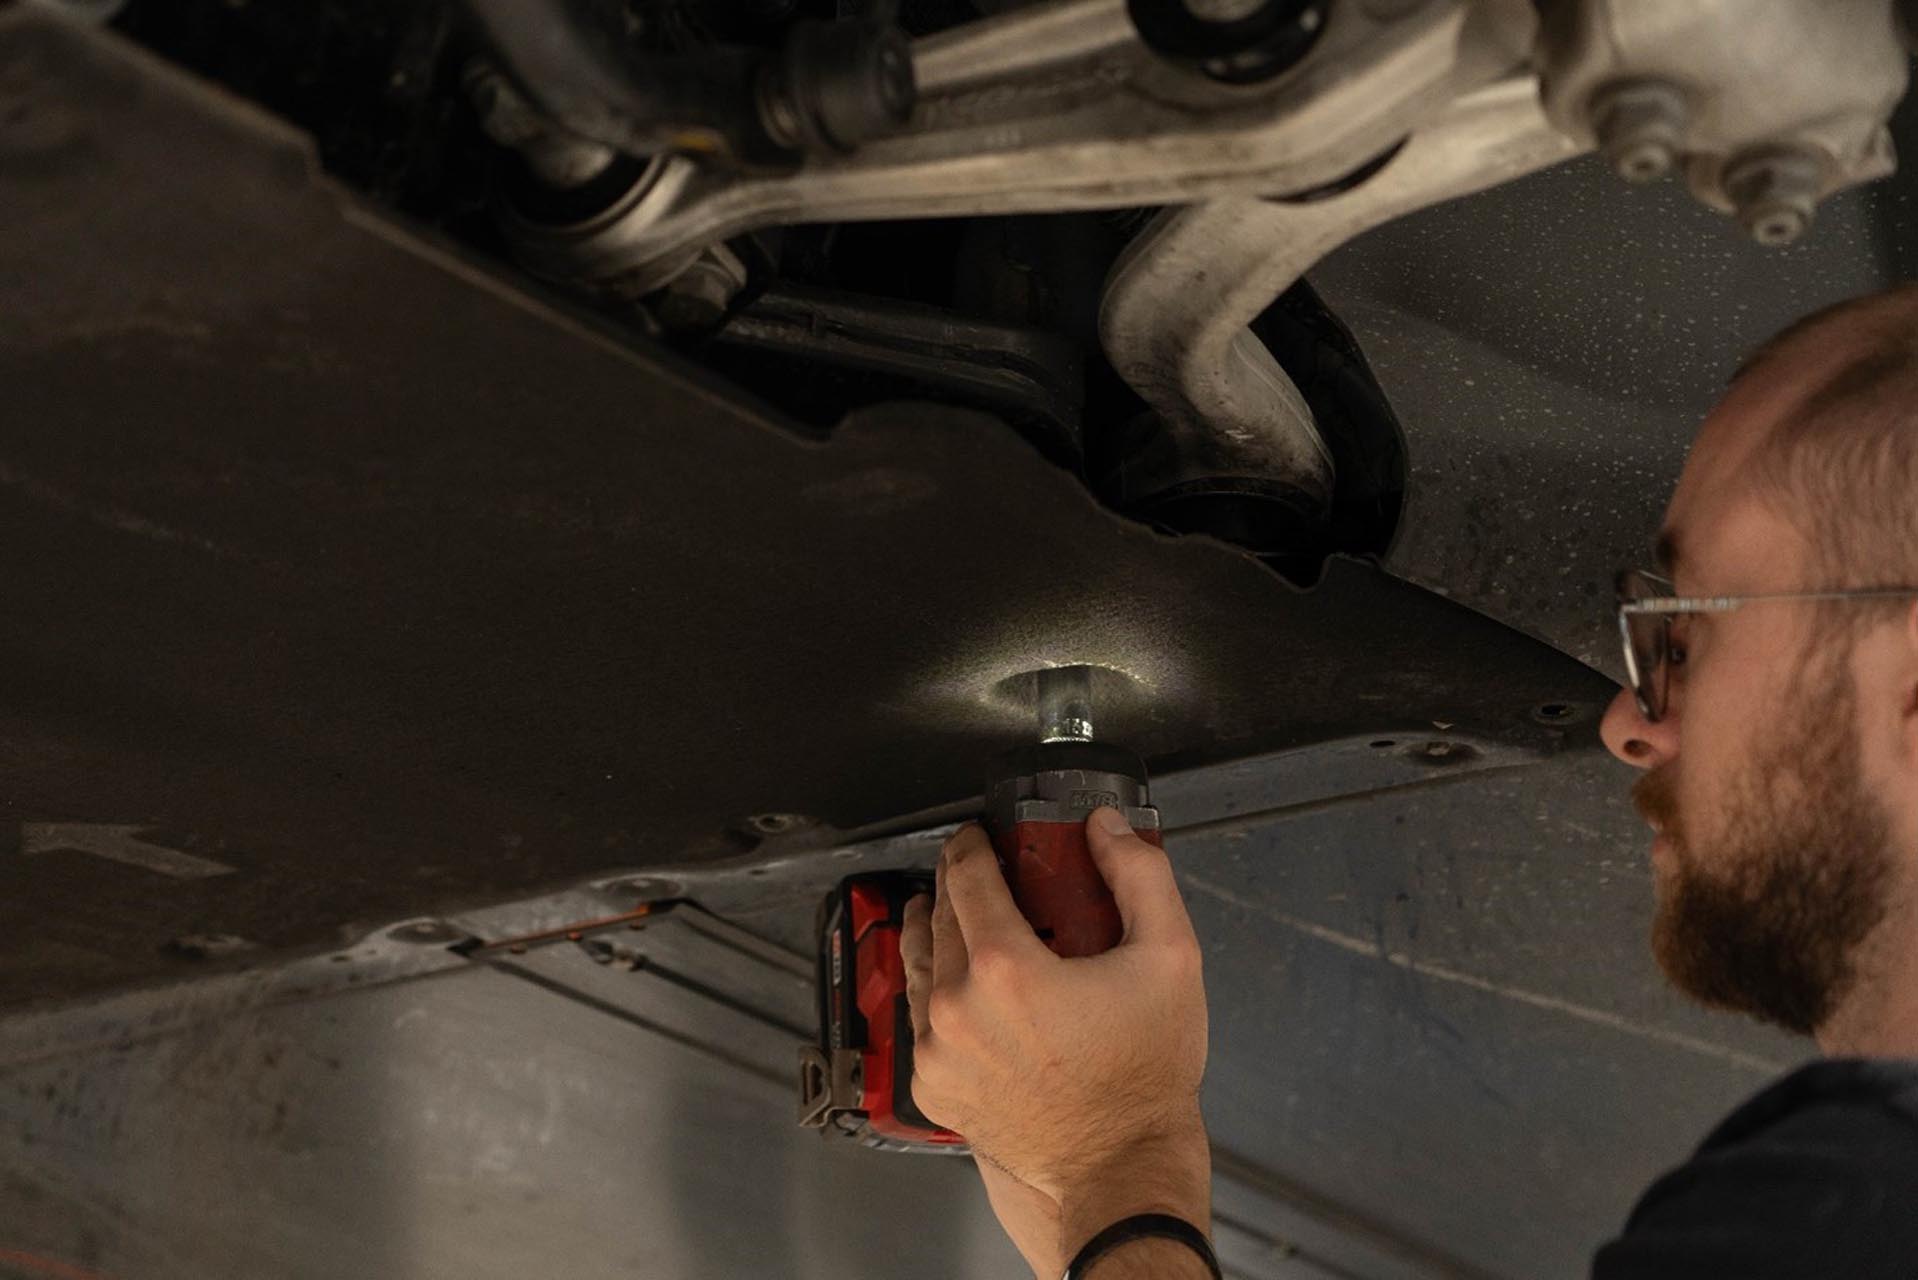
For 2017-2023 Model 3, and 2020+ Model Y, remove all nine 10mm bolts and both 15mm nuts securing the front underbody panel to the vehicle near the suspension components.
For 2024+ Model 3, remove all seven 10mm bolts and both 15mm nuts securing the front underbody panel to the vehicle near the suspension components.

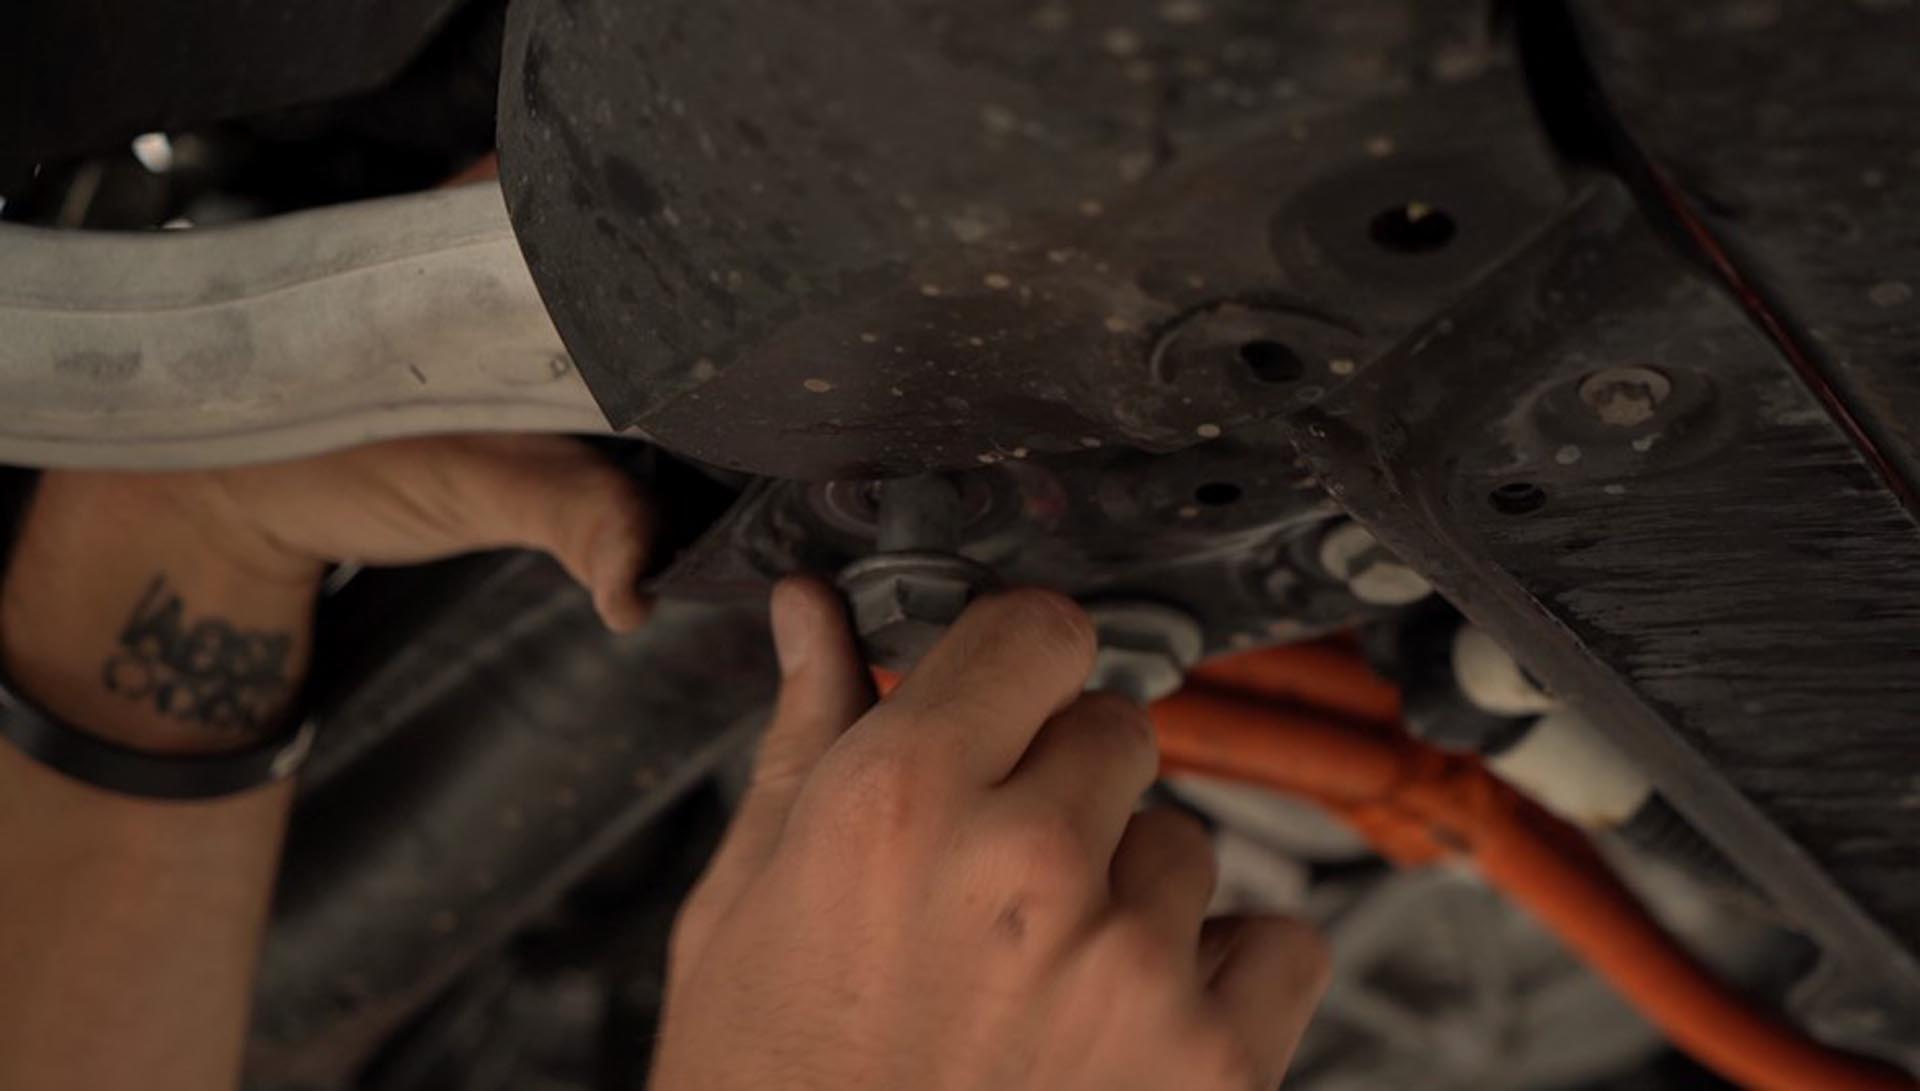
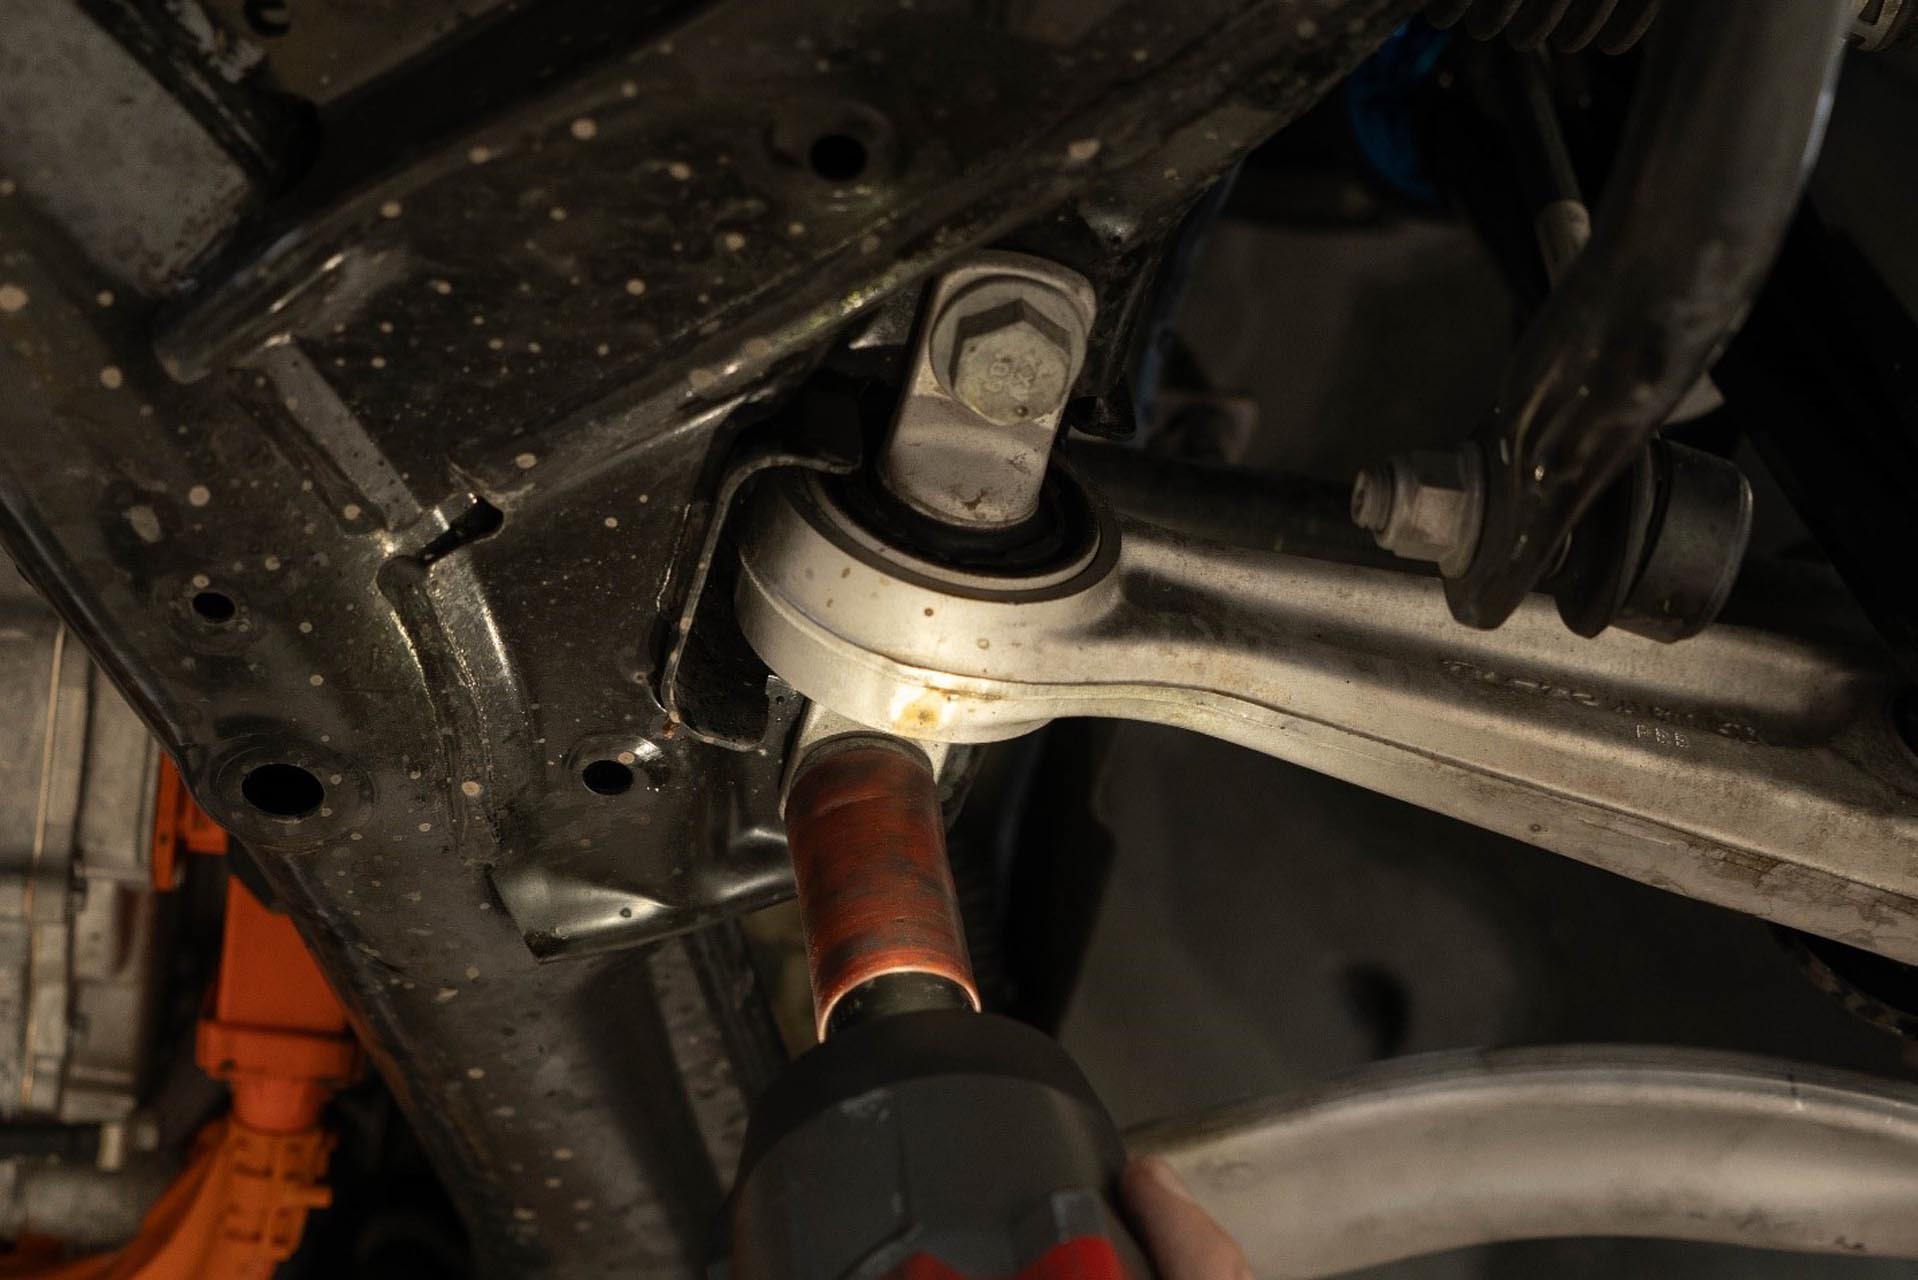
Loosen and remove the 21mm nut and bolt nut at the subframe mounting point.

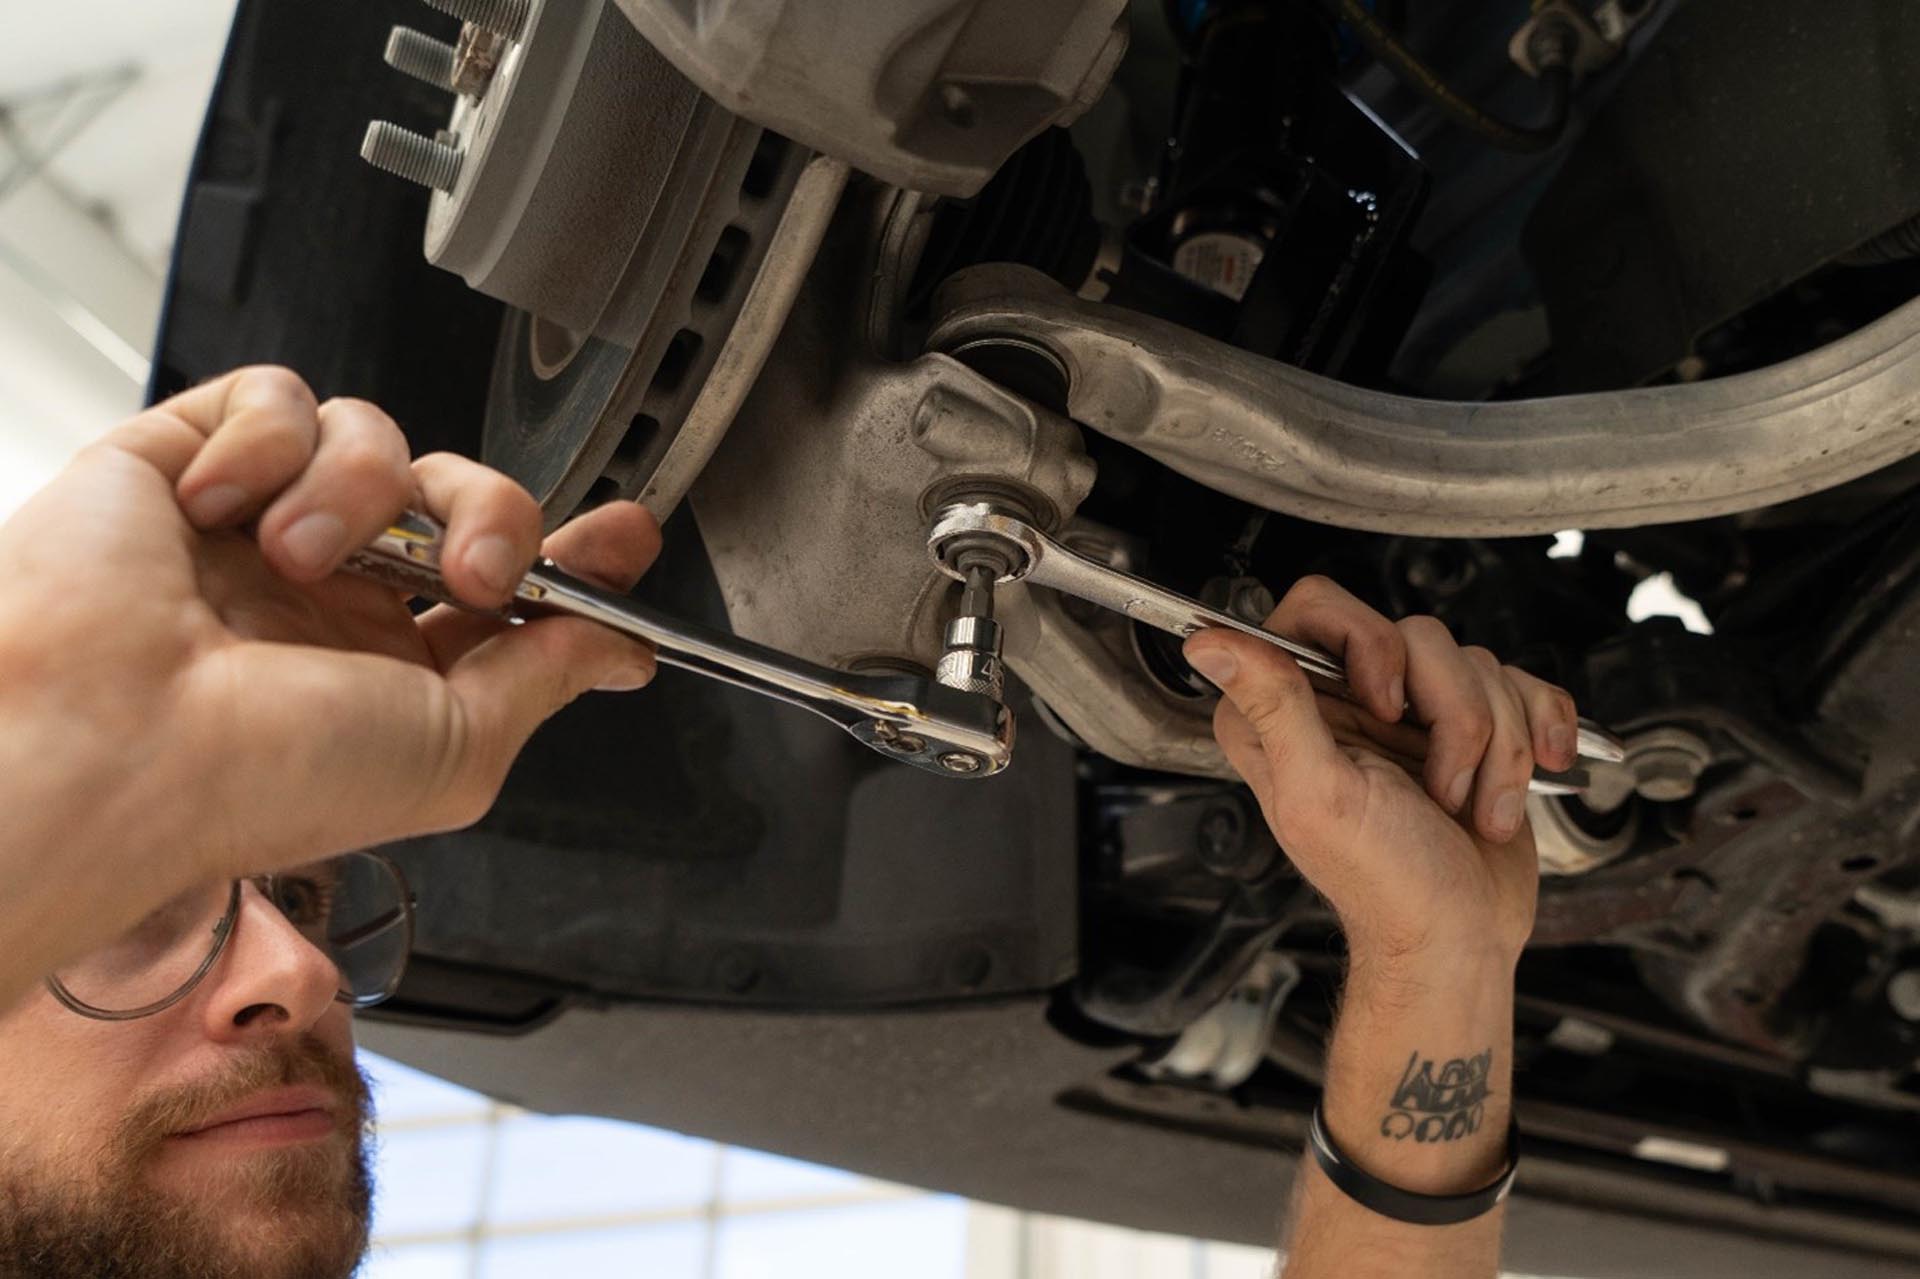
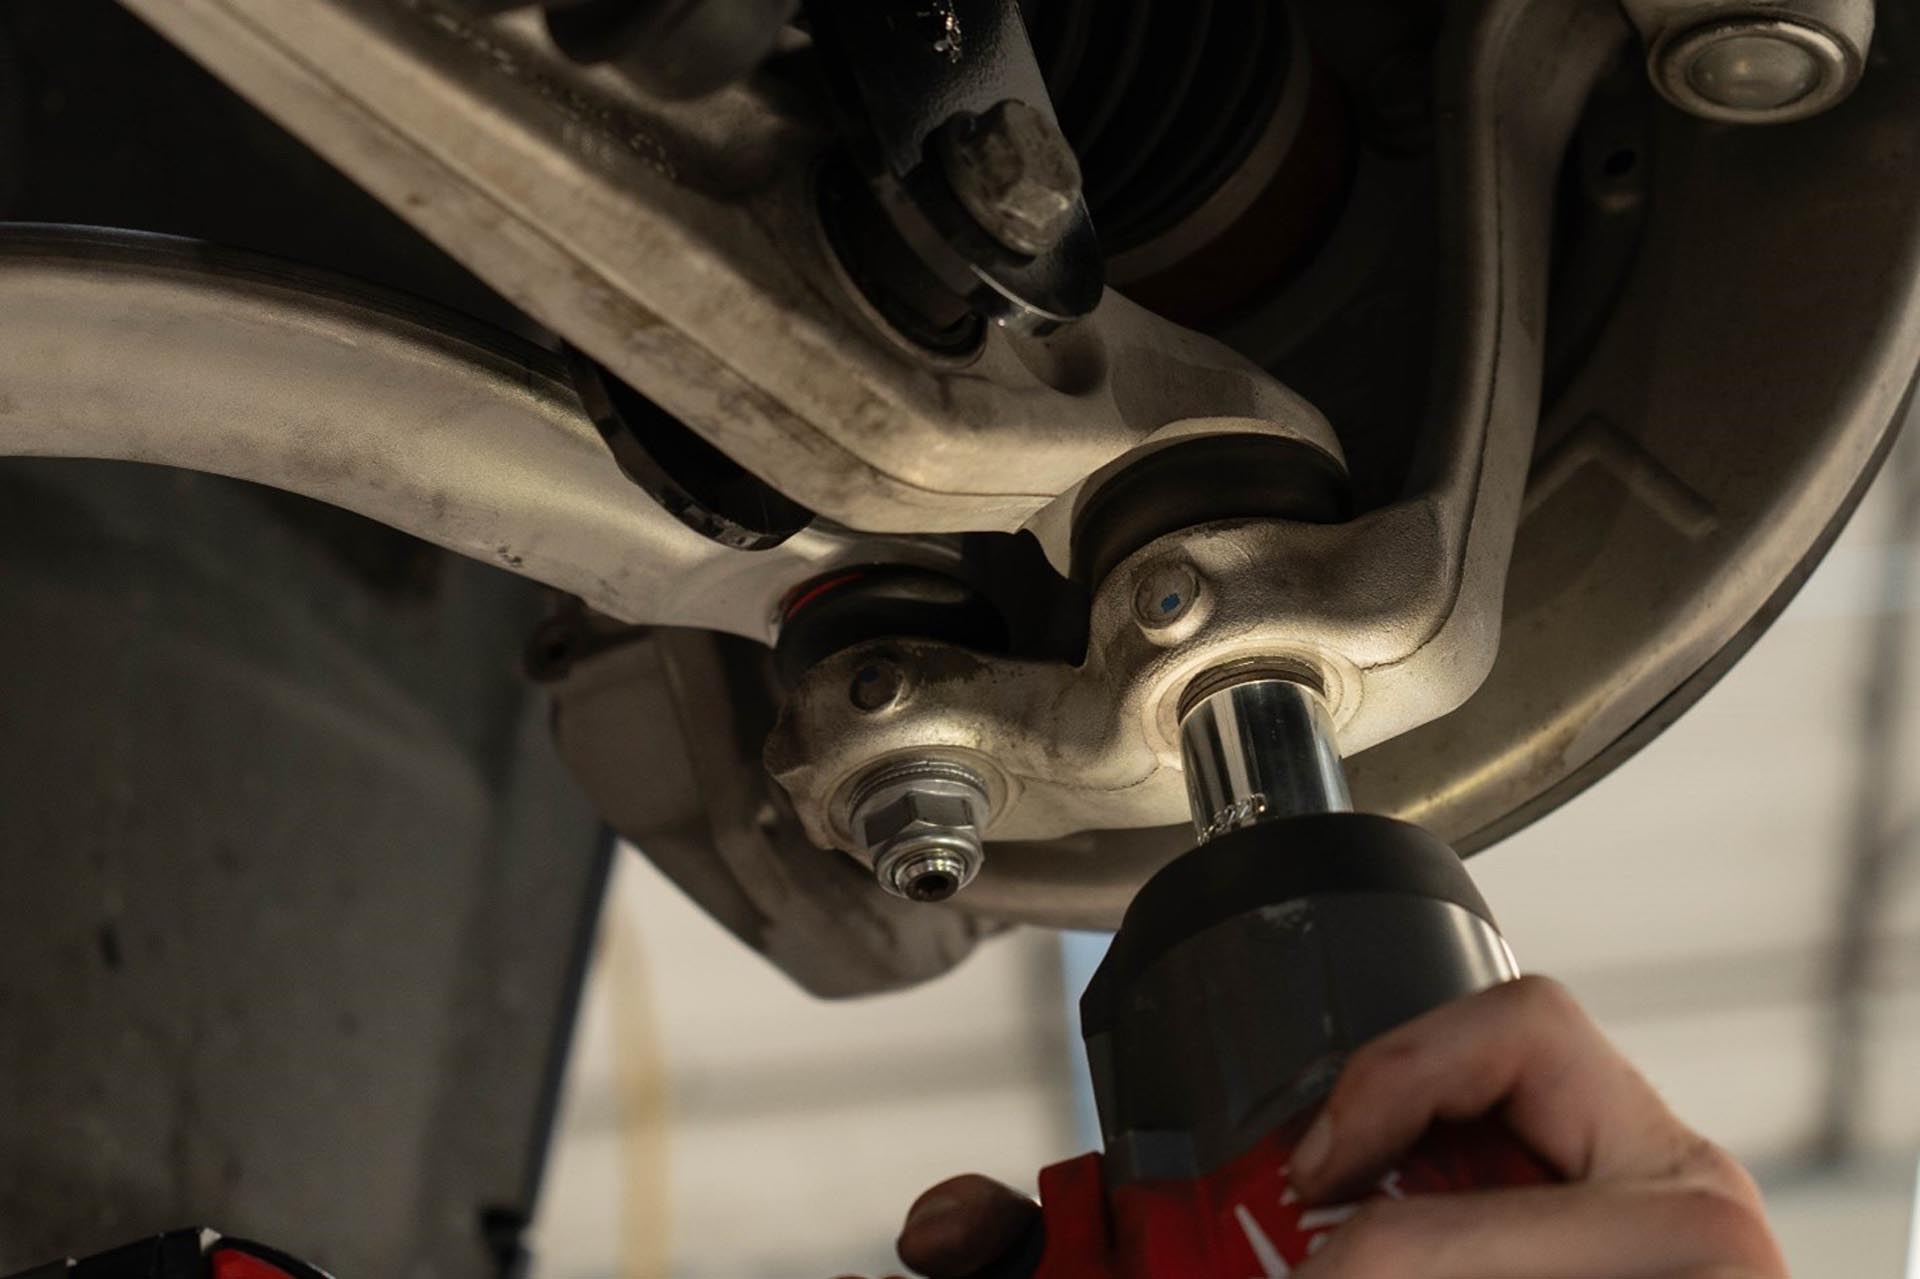
Next, using a 22mm wrench and a T45 torx socket, loosen the nut that attaches the arm’s ball joint on the underside of the hub knuckle. If hand tools are not enough to break the 22mm nut loose, you may use an impact and a 22mm socket to remove the 22mm lock nut. Now you can remove the nut and pull the bolt out from the subframe connection point.
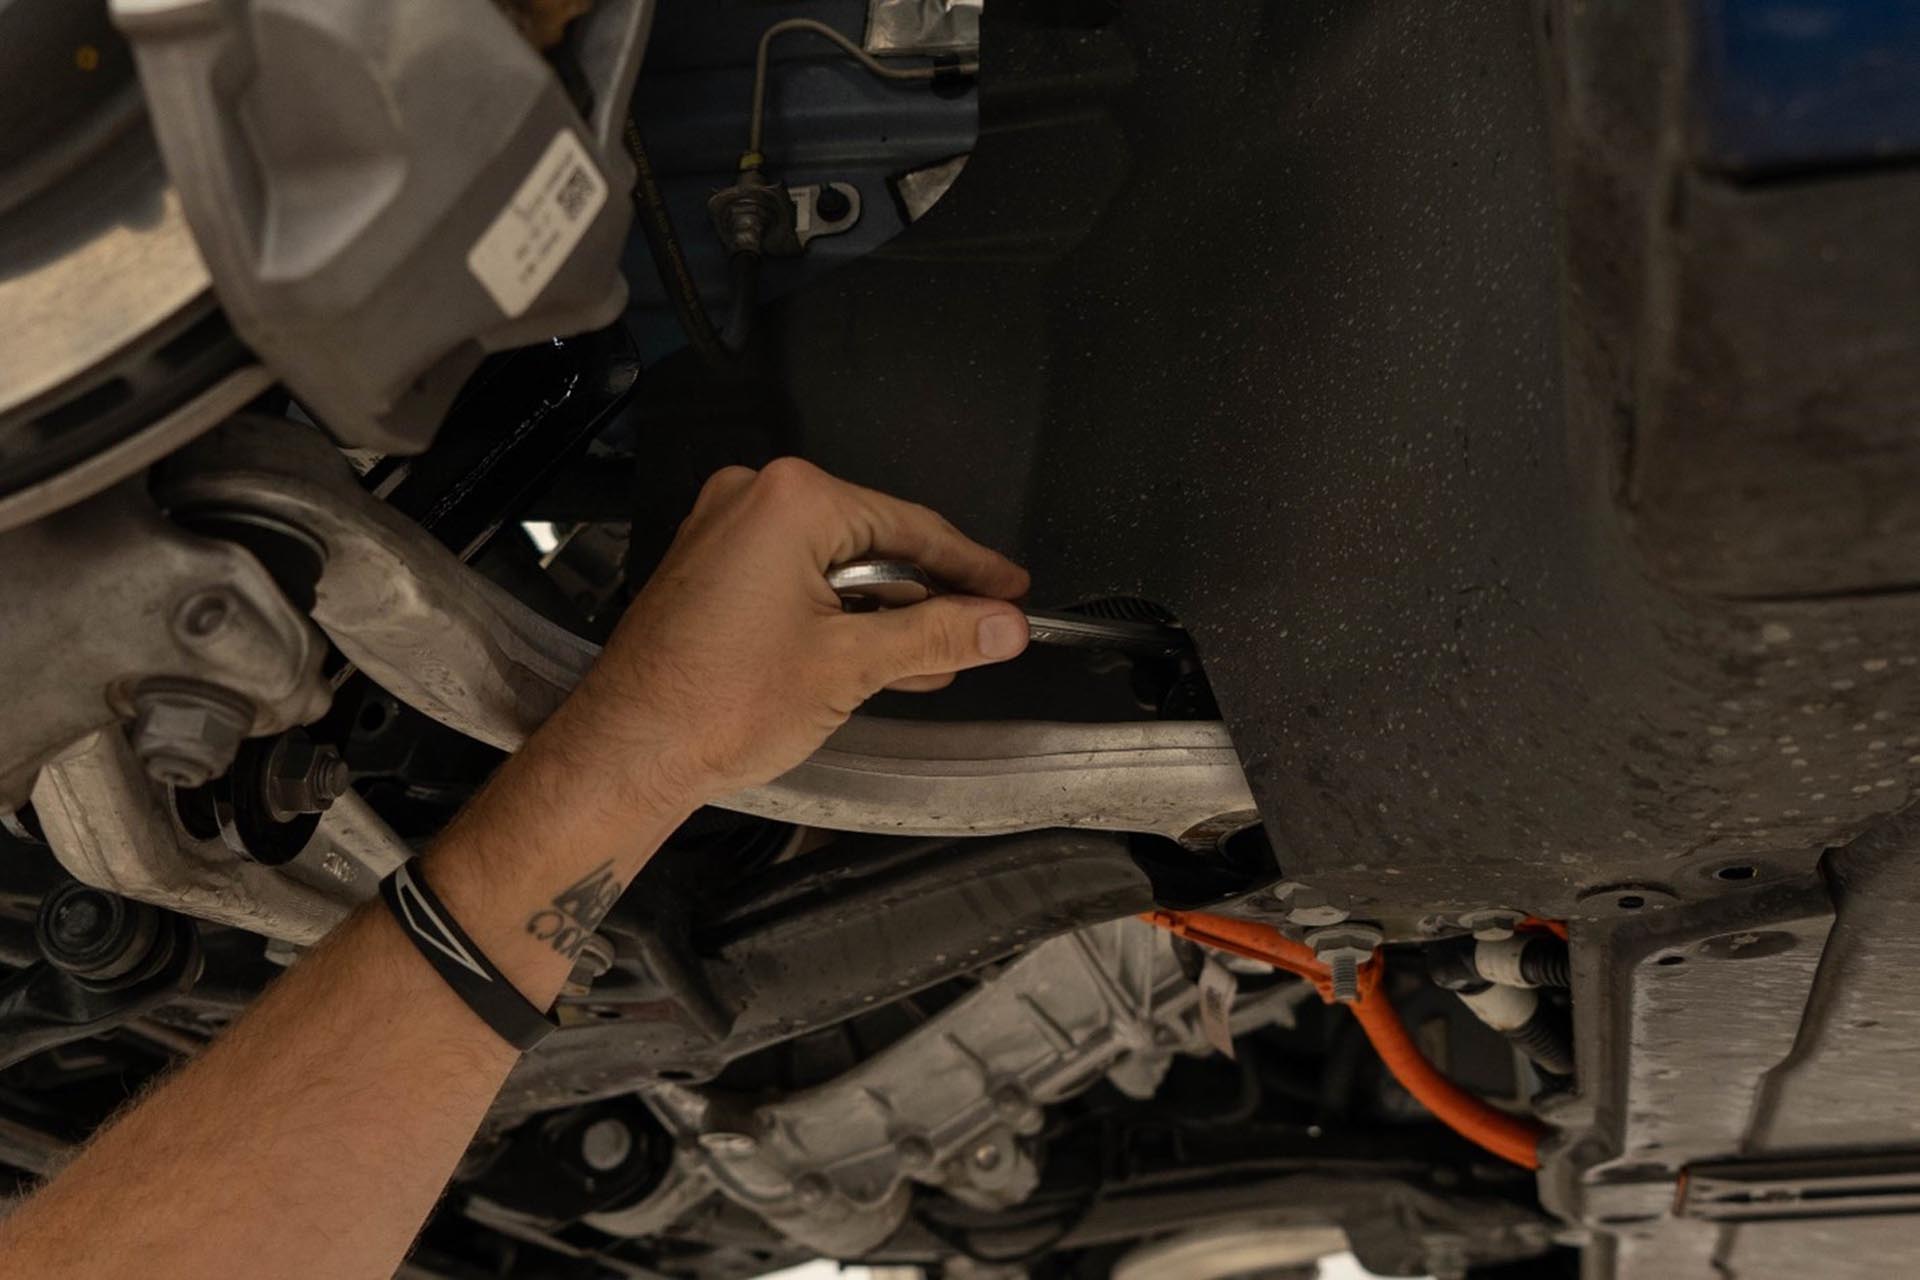
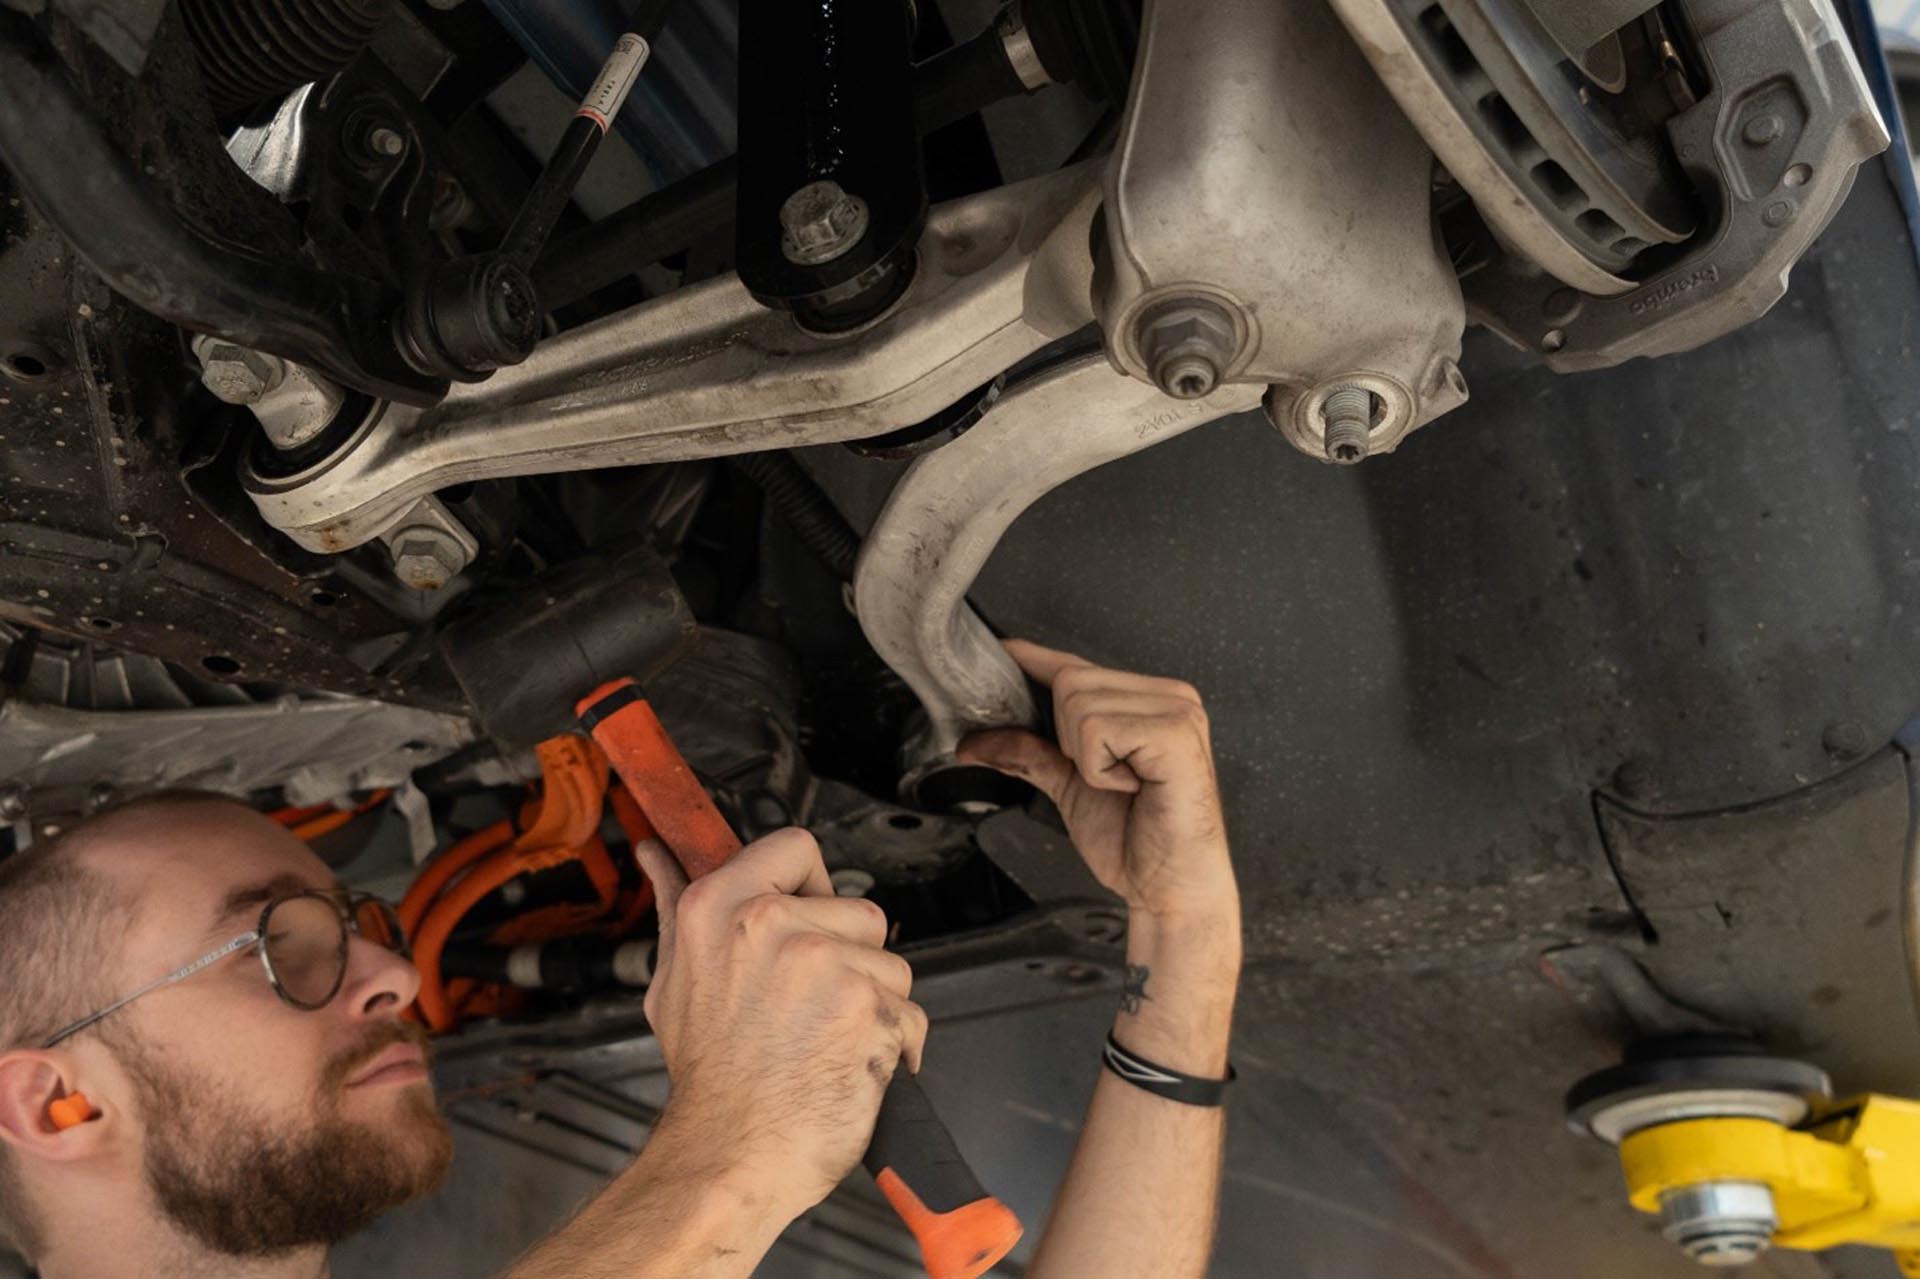
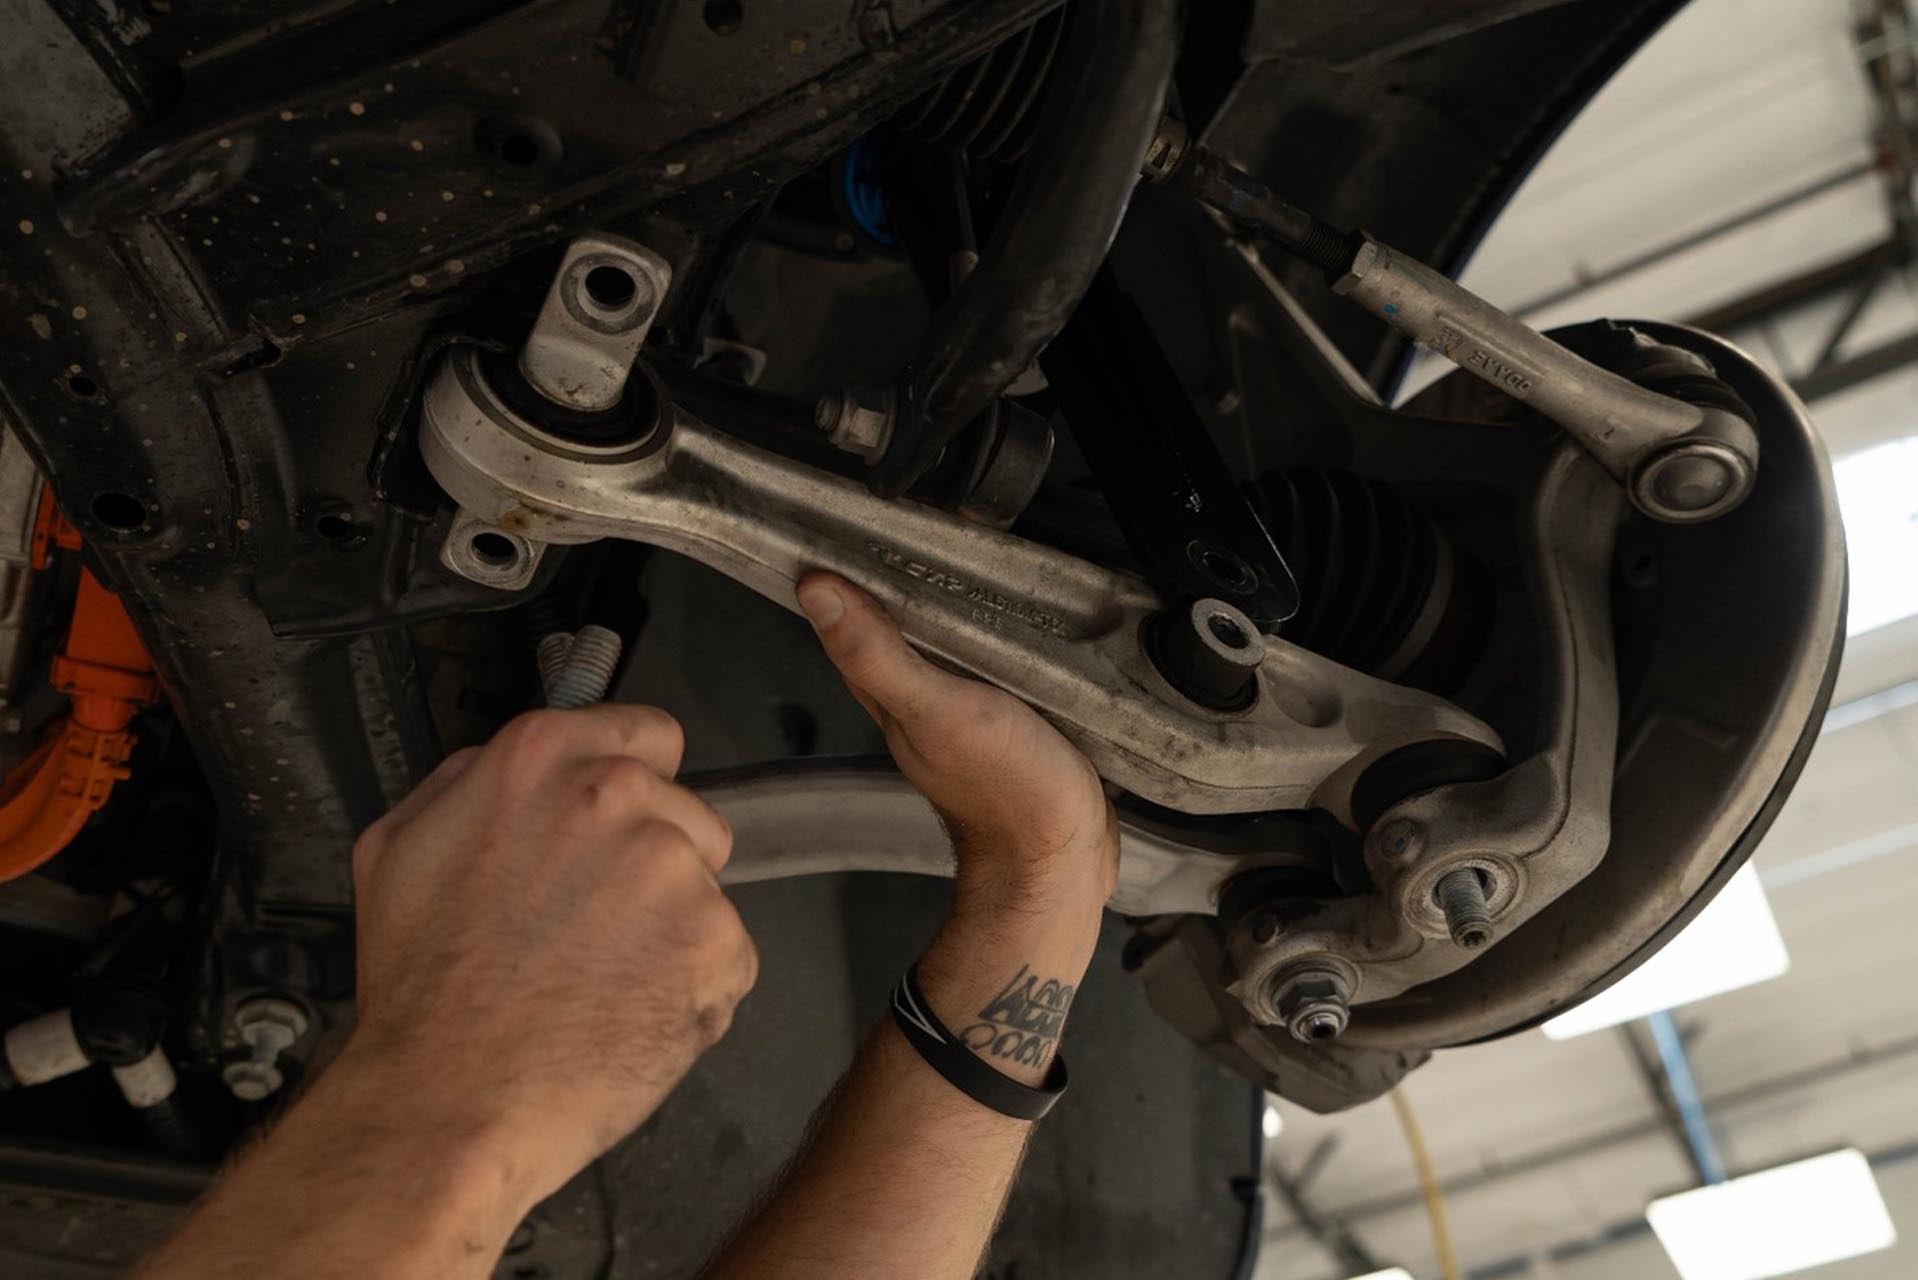
Once all nuts and bolts are loose and removed, carefully work the arm loose from the subframe outward by tapping the arm away from the vehicle using a rubber mallet.
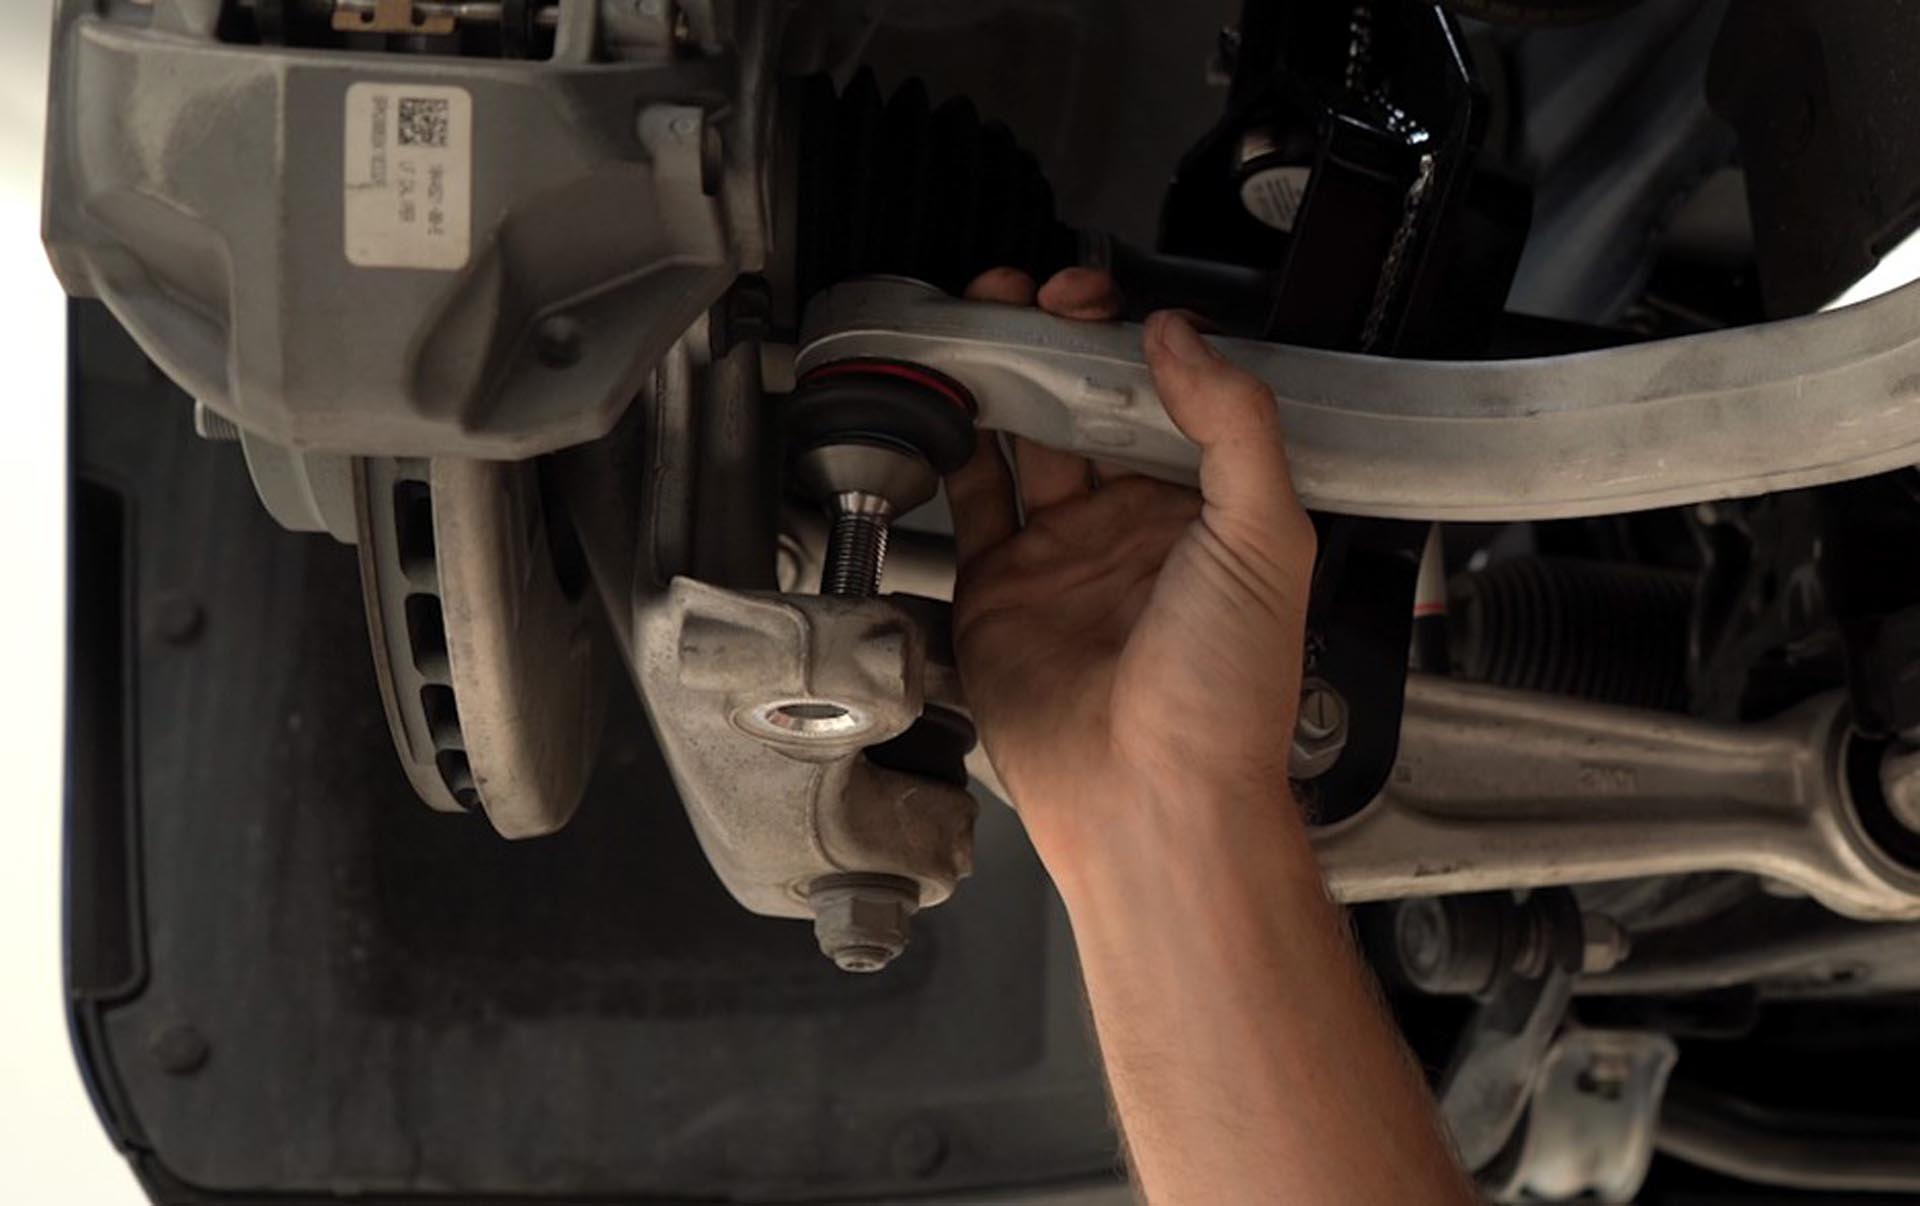
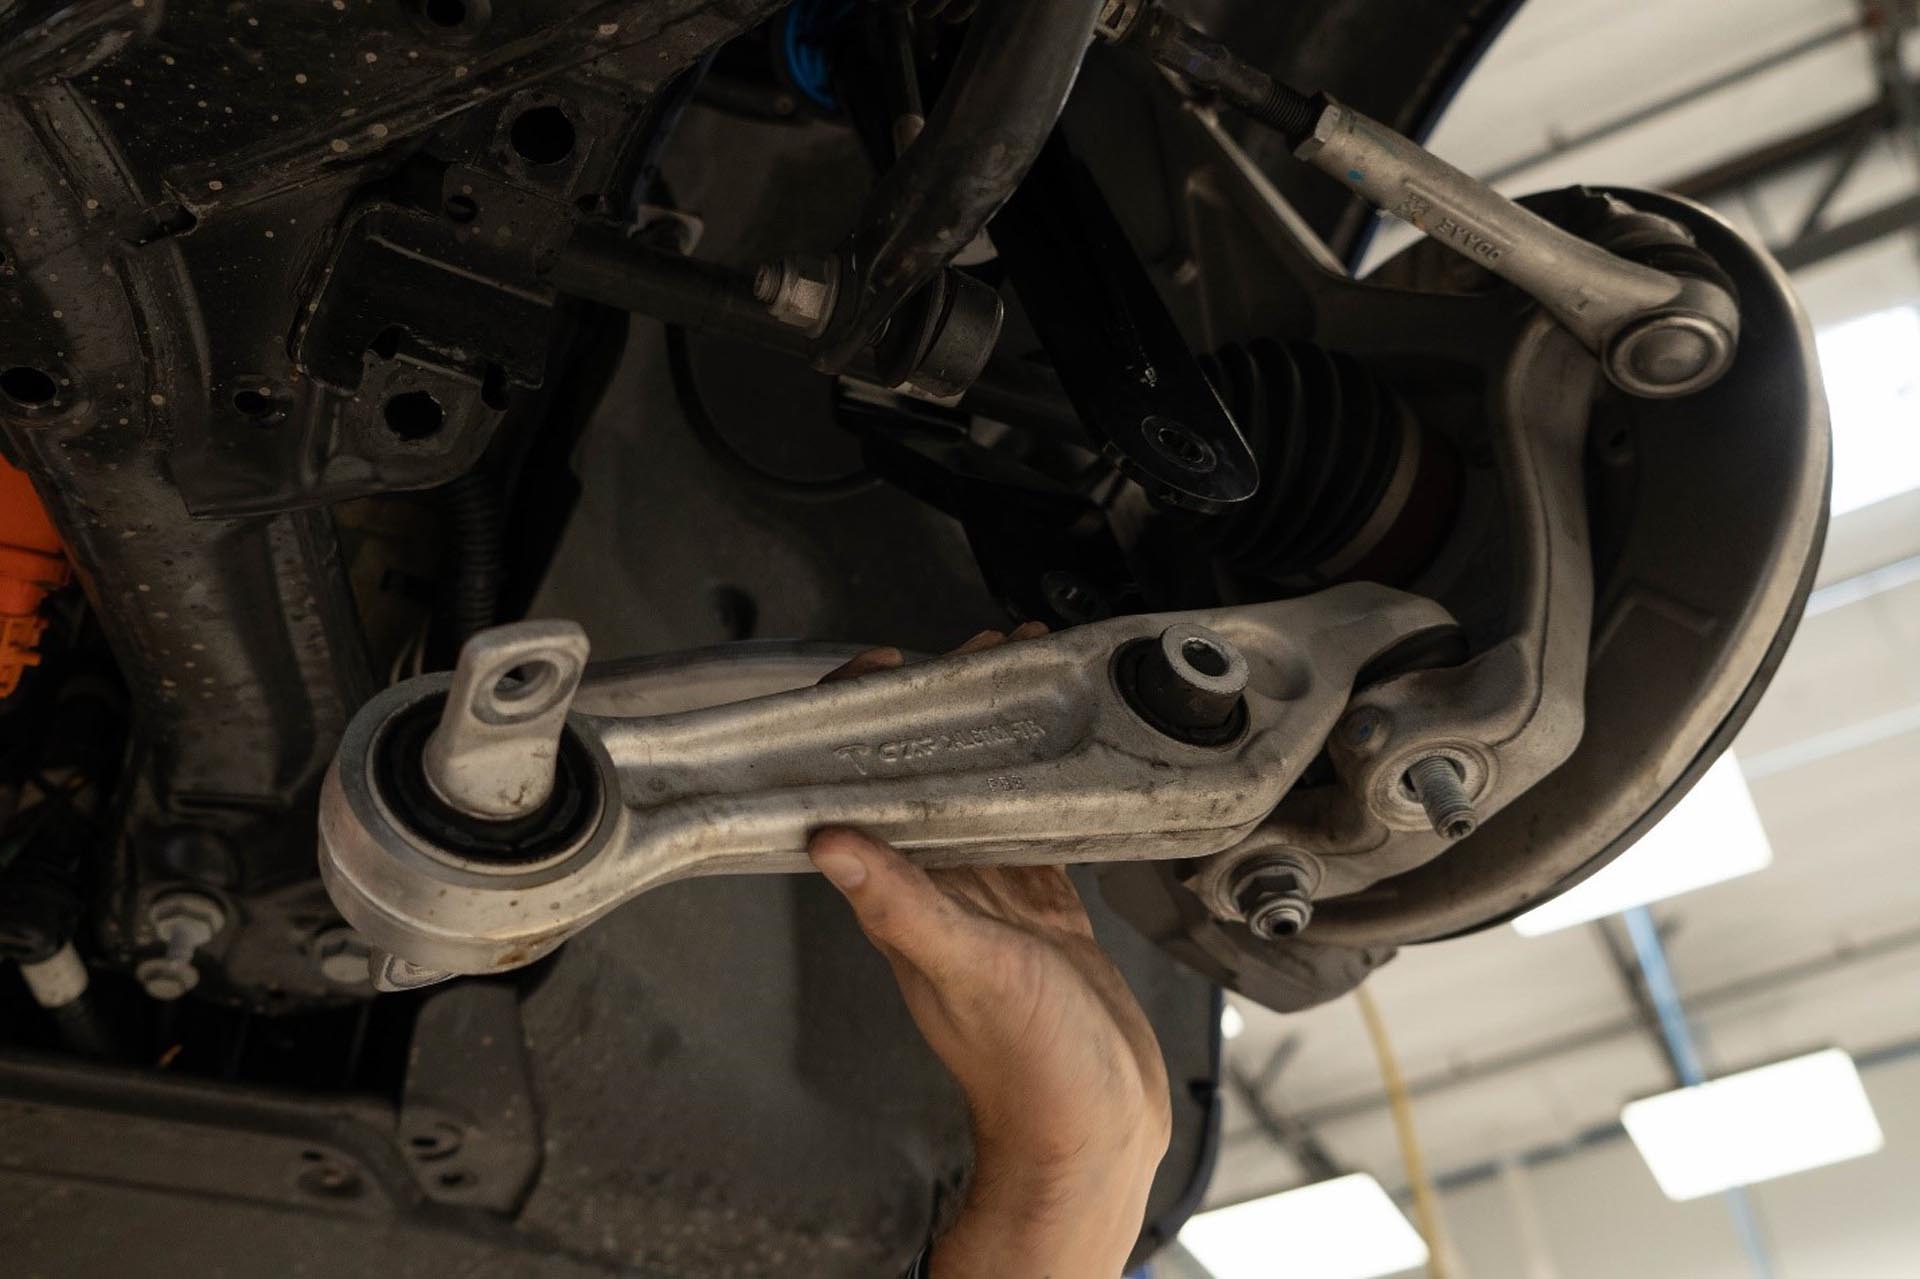
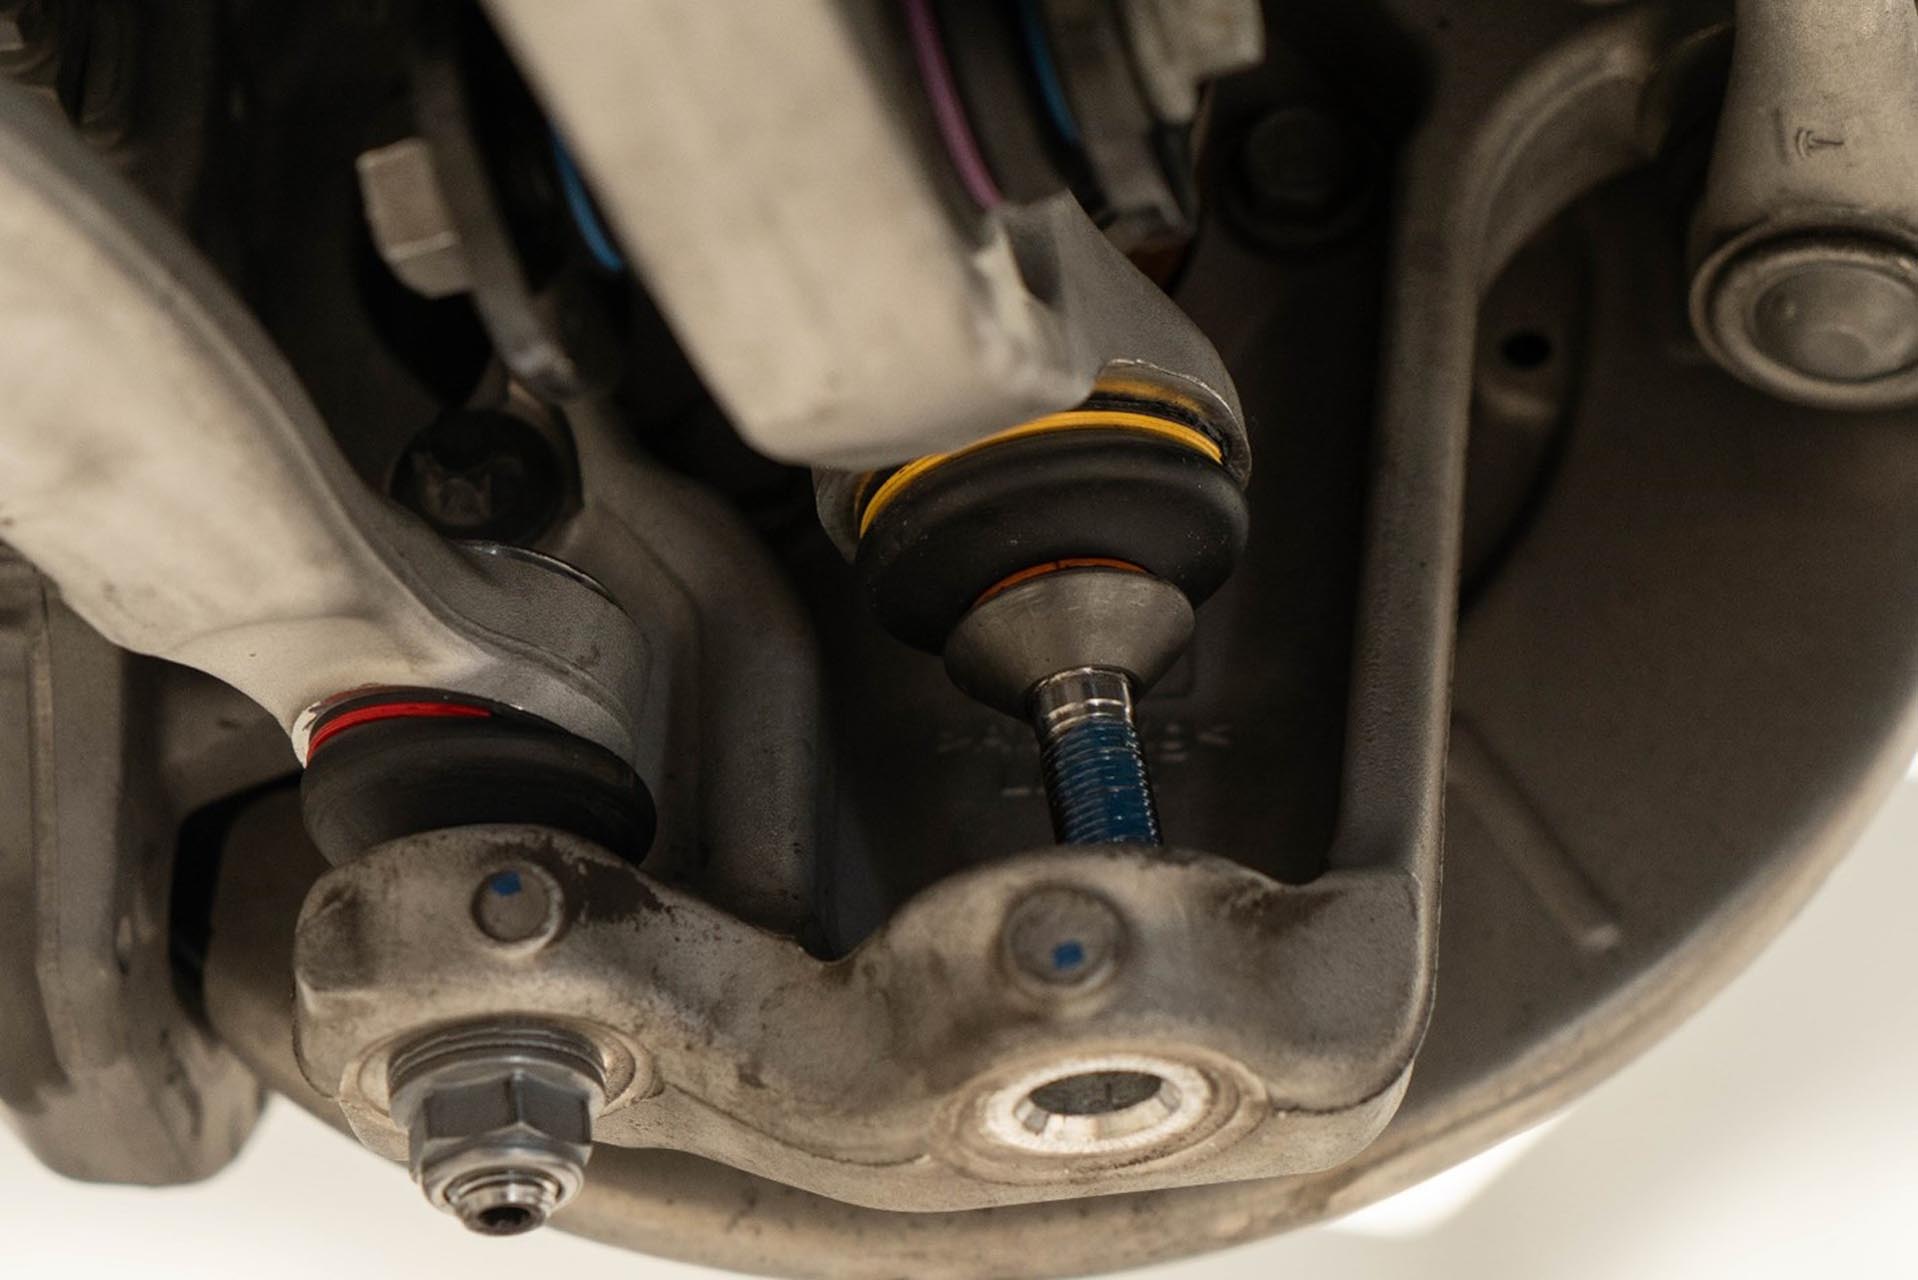
Once the compliance arm is removed from the subframe, the ball joint pin can be pulled upwards out of the hub, and pulled away from the vehicle.
Start by verifying you have the correct UP compliance arm needed for this side. These are left and right specific, and should be embossed on the arm showing “L” for left, and “R” for right.
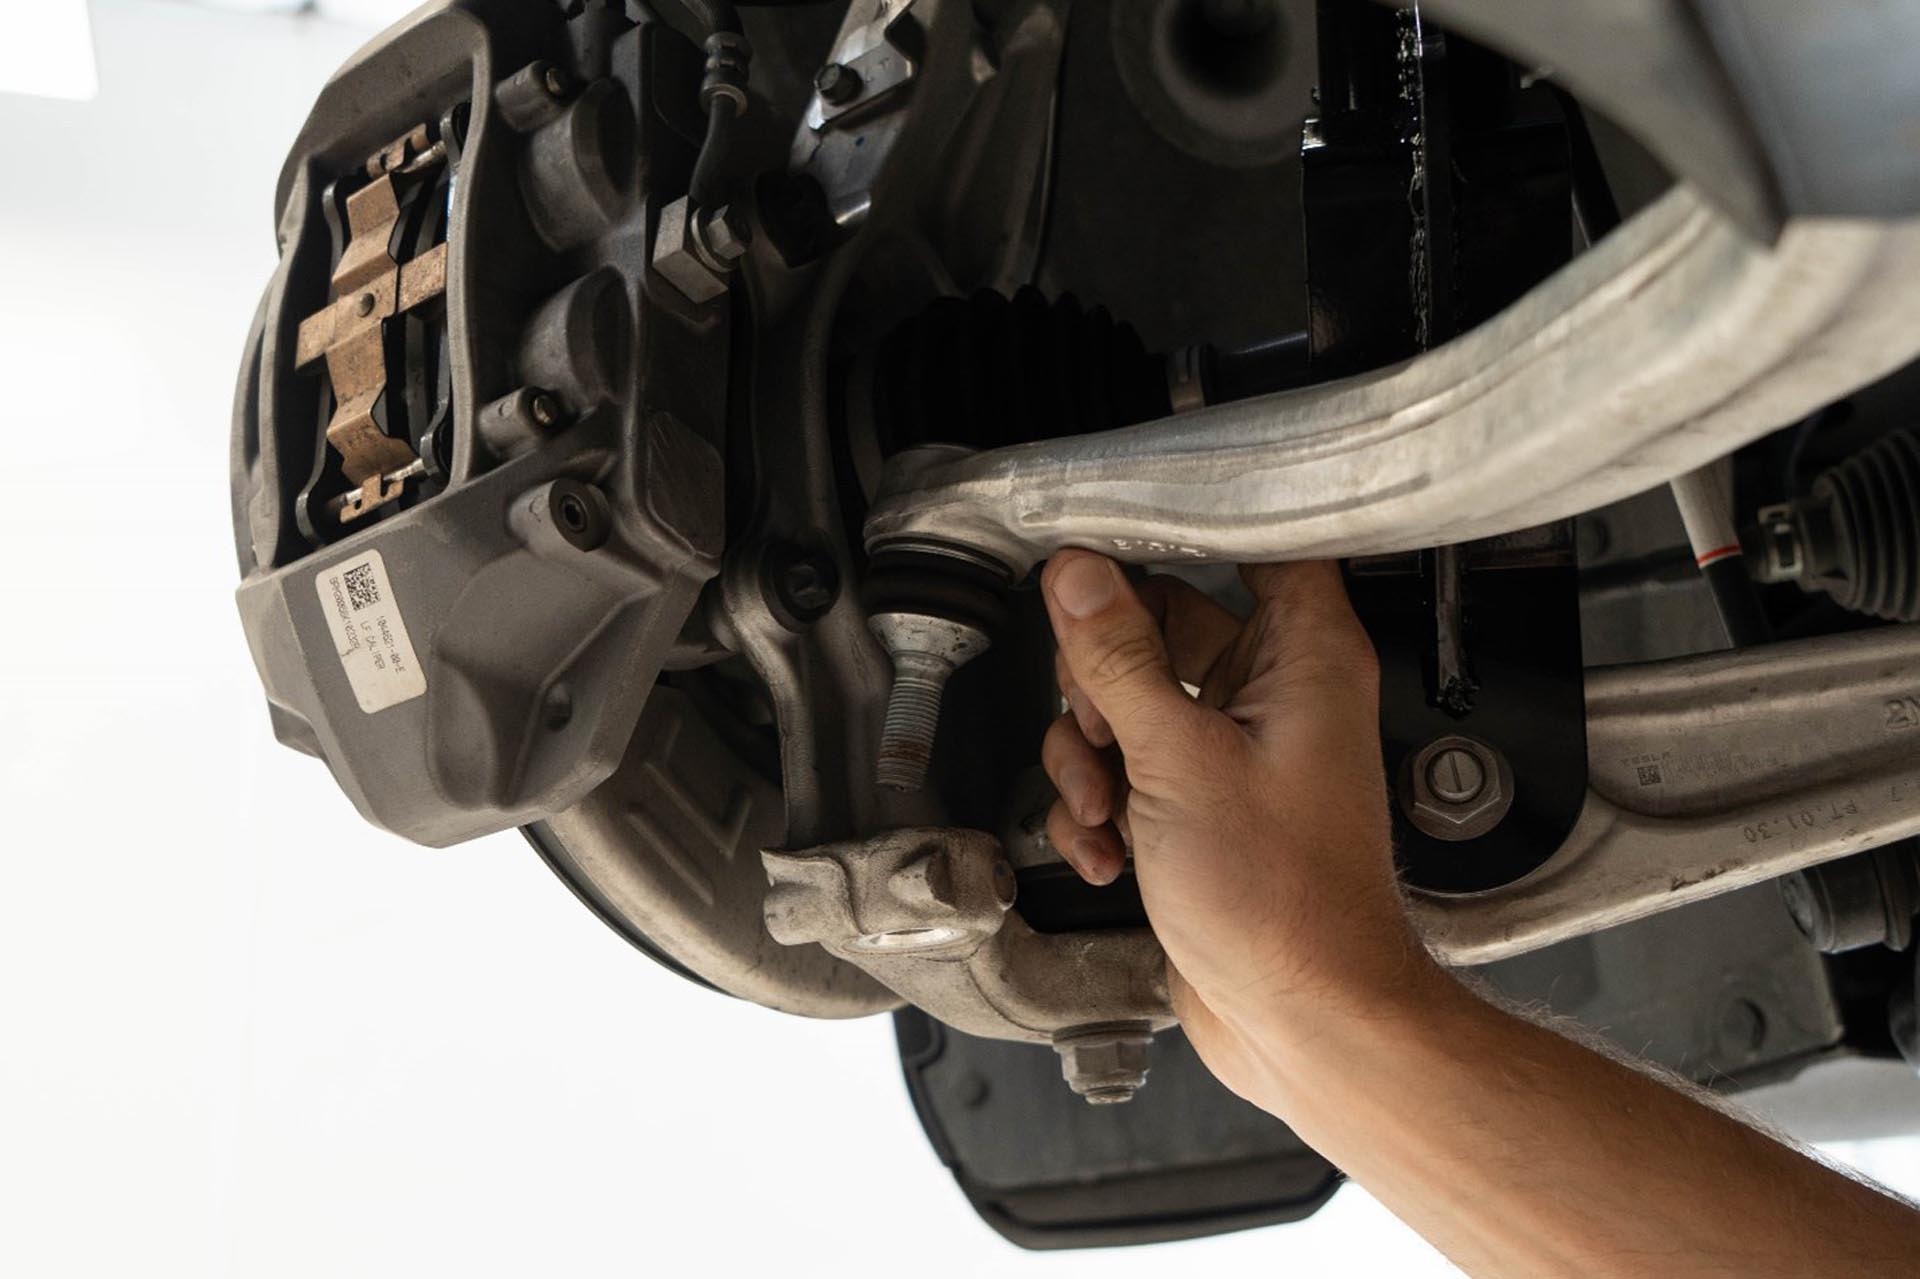
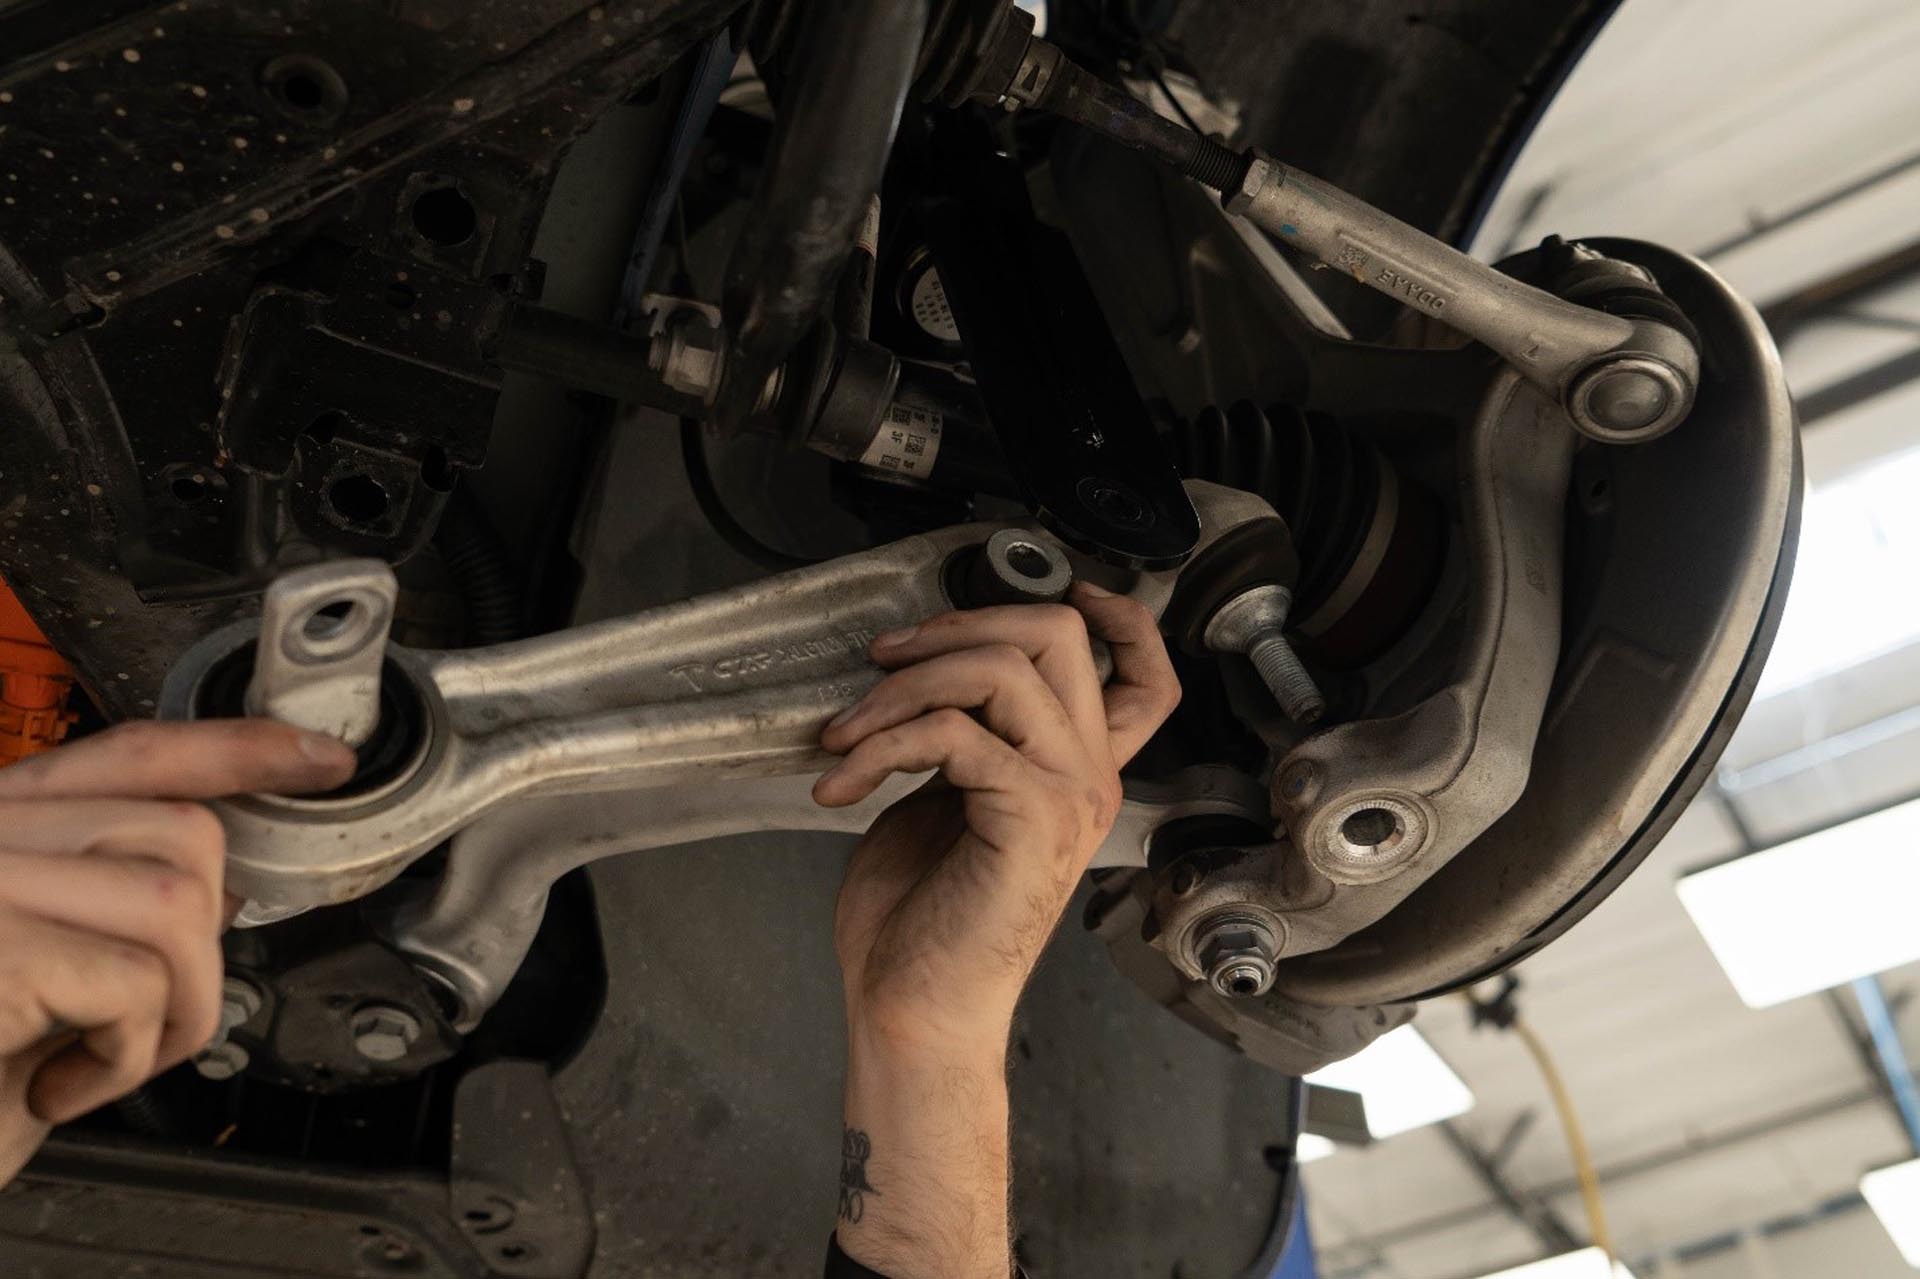
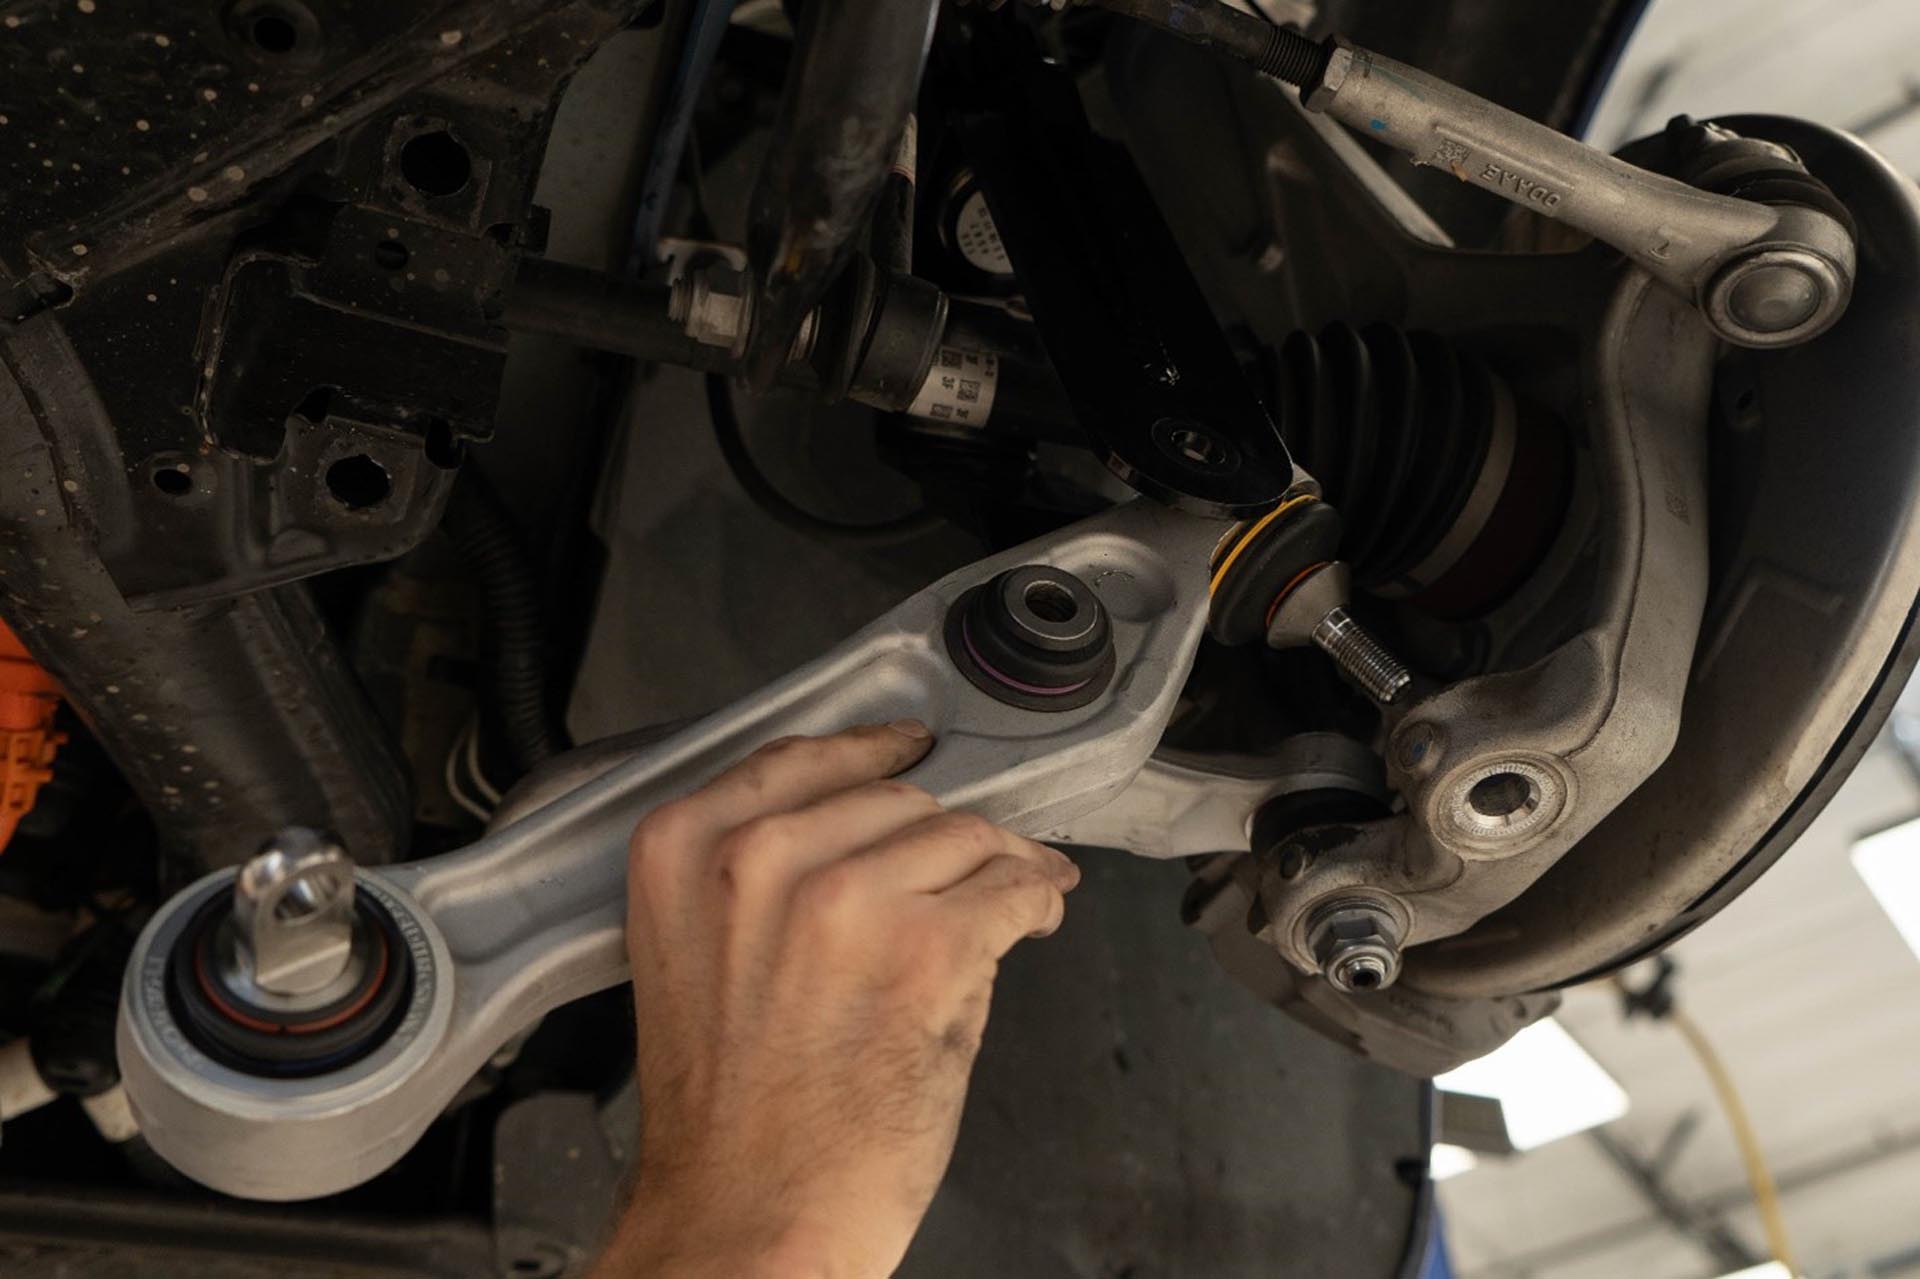
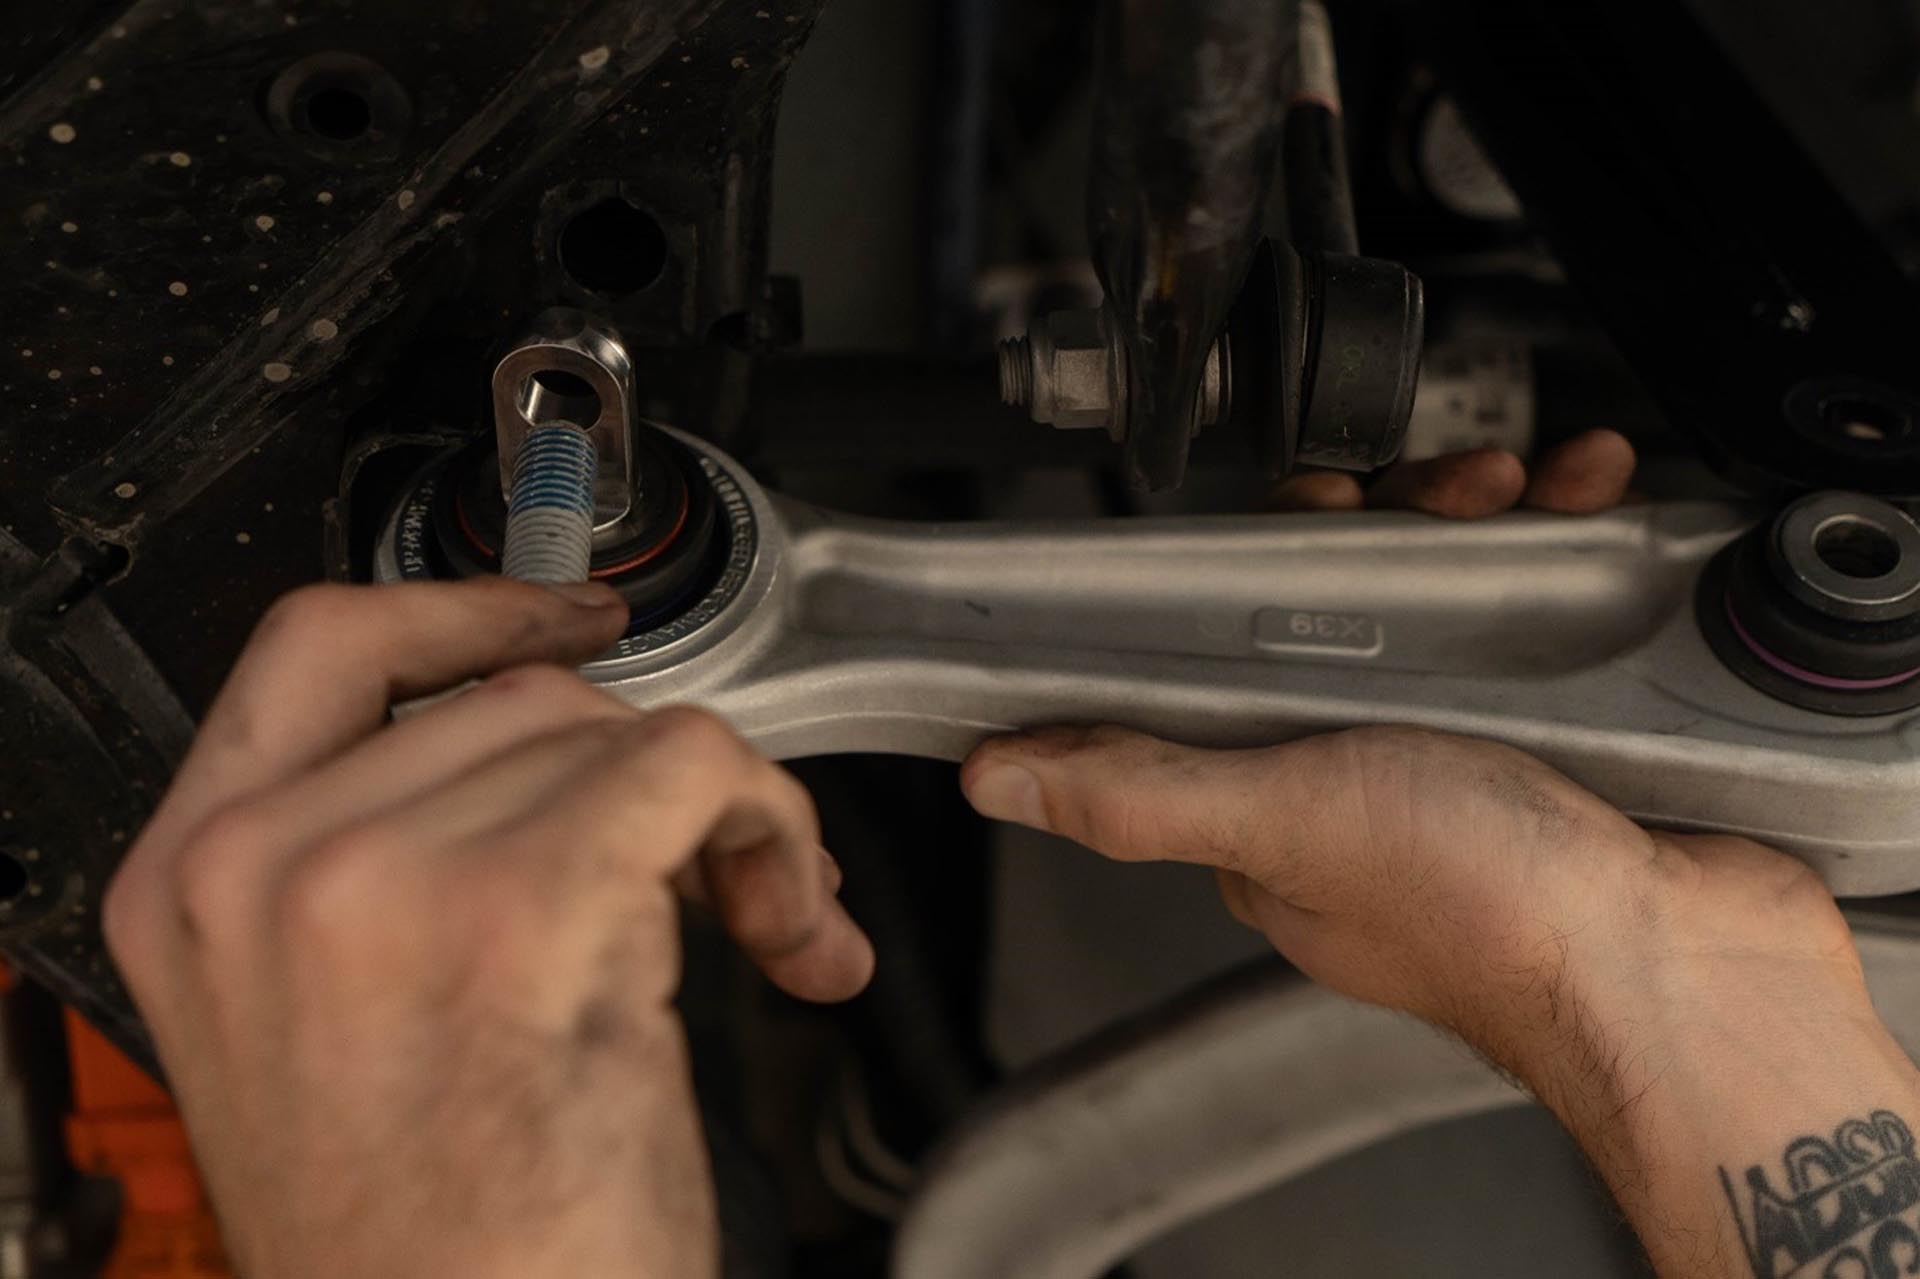
After you have verified the correct replacement arm for this side of the vehicle, position the new Unplugged Performance Front Lower Compliance Aft Arm into place by inserting the ball joint pin into the hub slot.
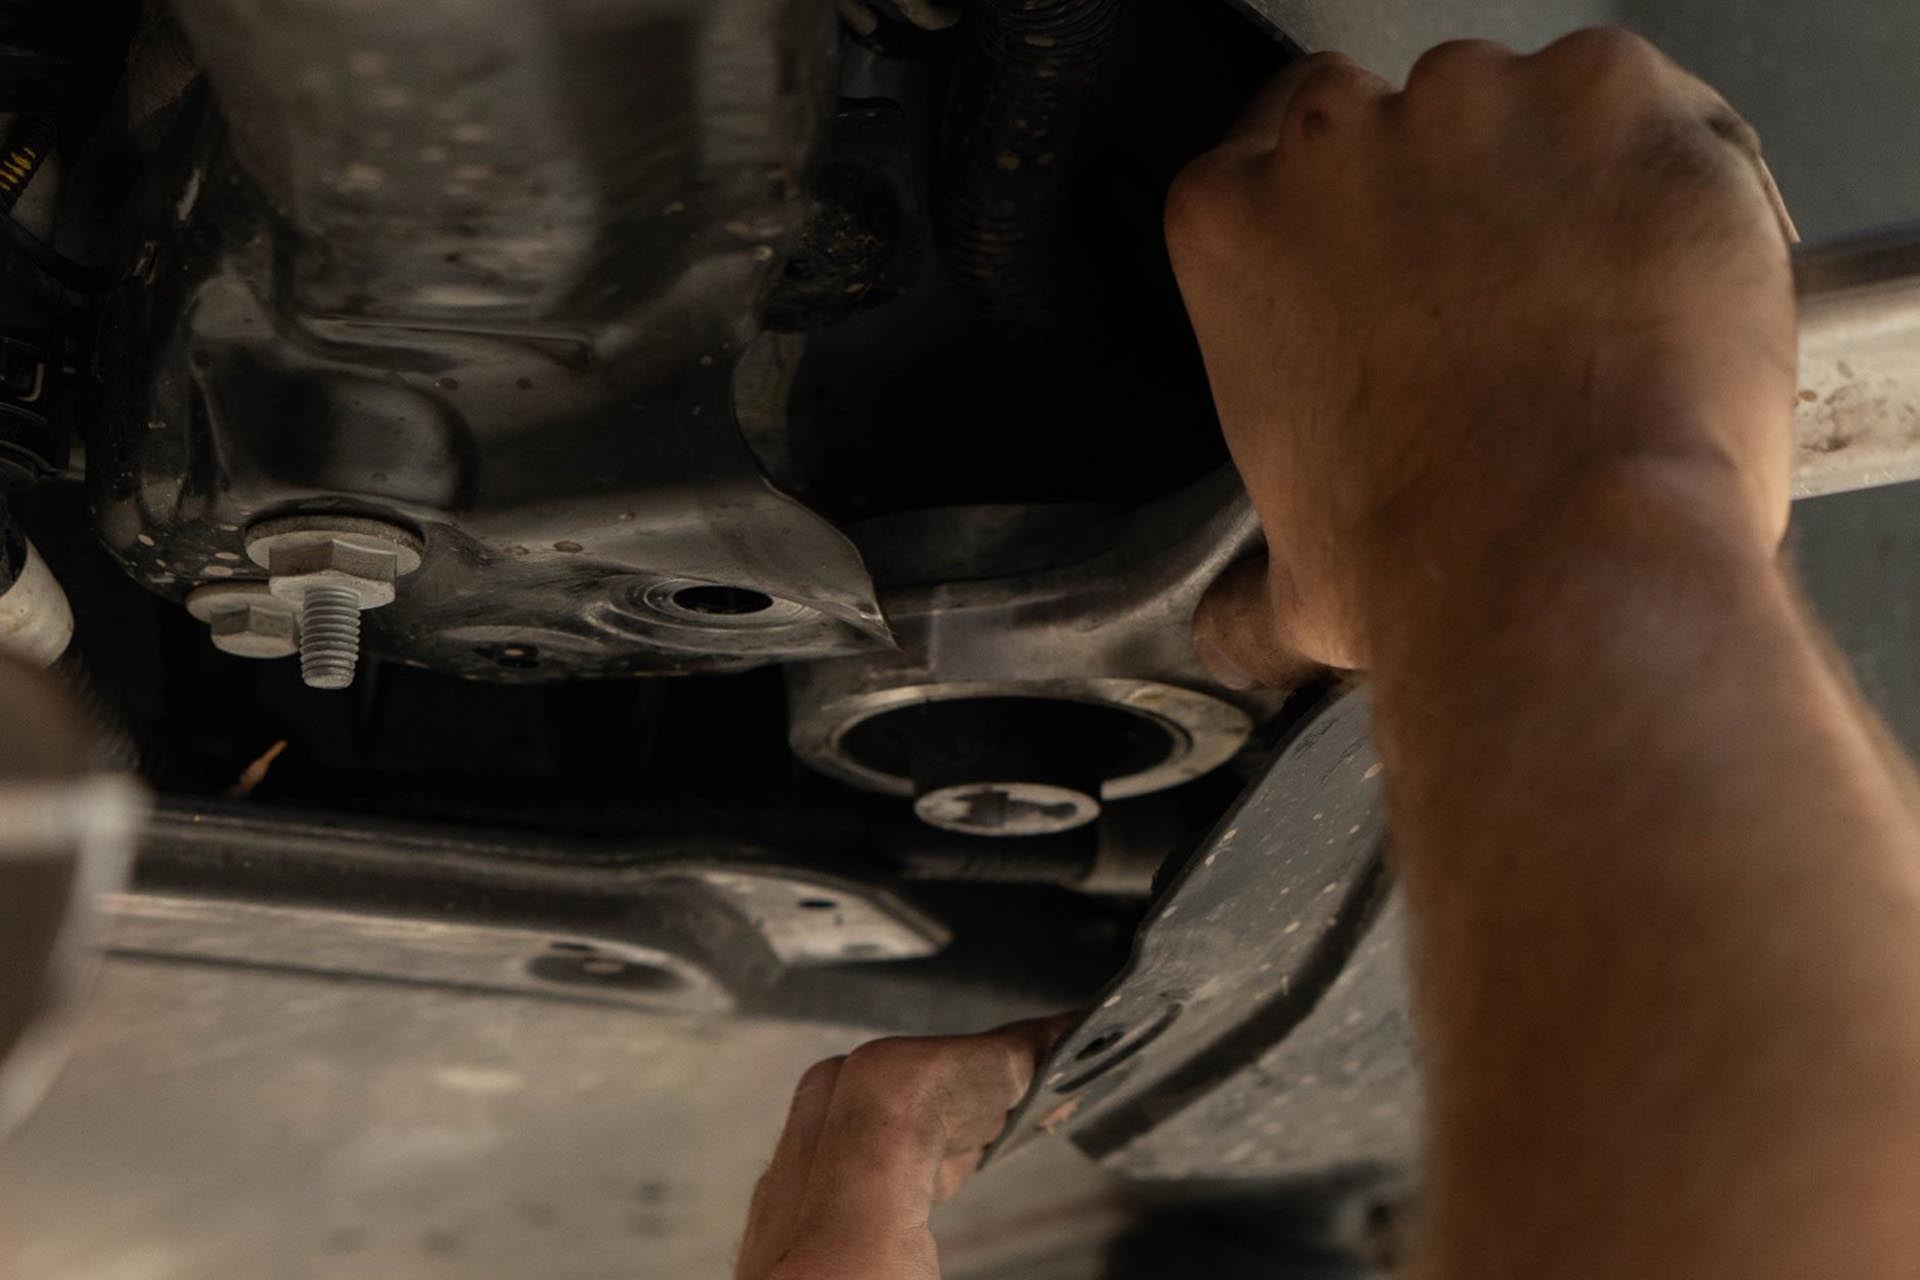
Next, install the subframe spherical bushing into the subframe. The subframe slot may be a tight fit, so consider using a rubber mallet and lightly tapping the center of the arm until the bushing has been aligned in the subframe housing.

You will secure the subframe hardware first, and then move on to the ball joint pin at the hub after the subframe bolt has been secured. Before resecuring the factory 21mm bolt and nut, be sure to apply medium strength thread locker to ensure the hardware is secure.
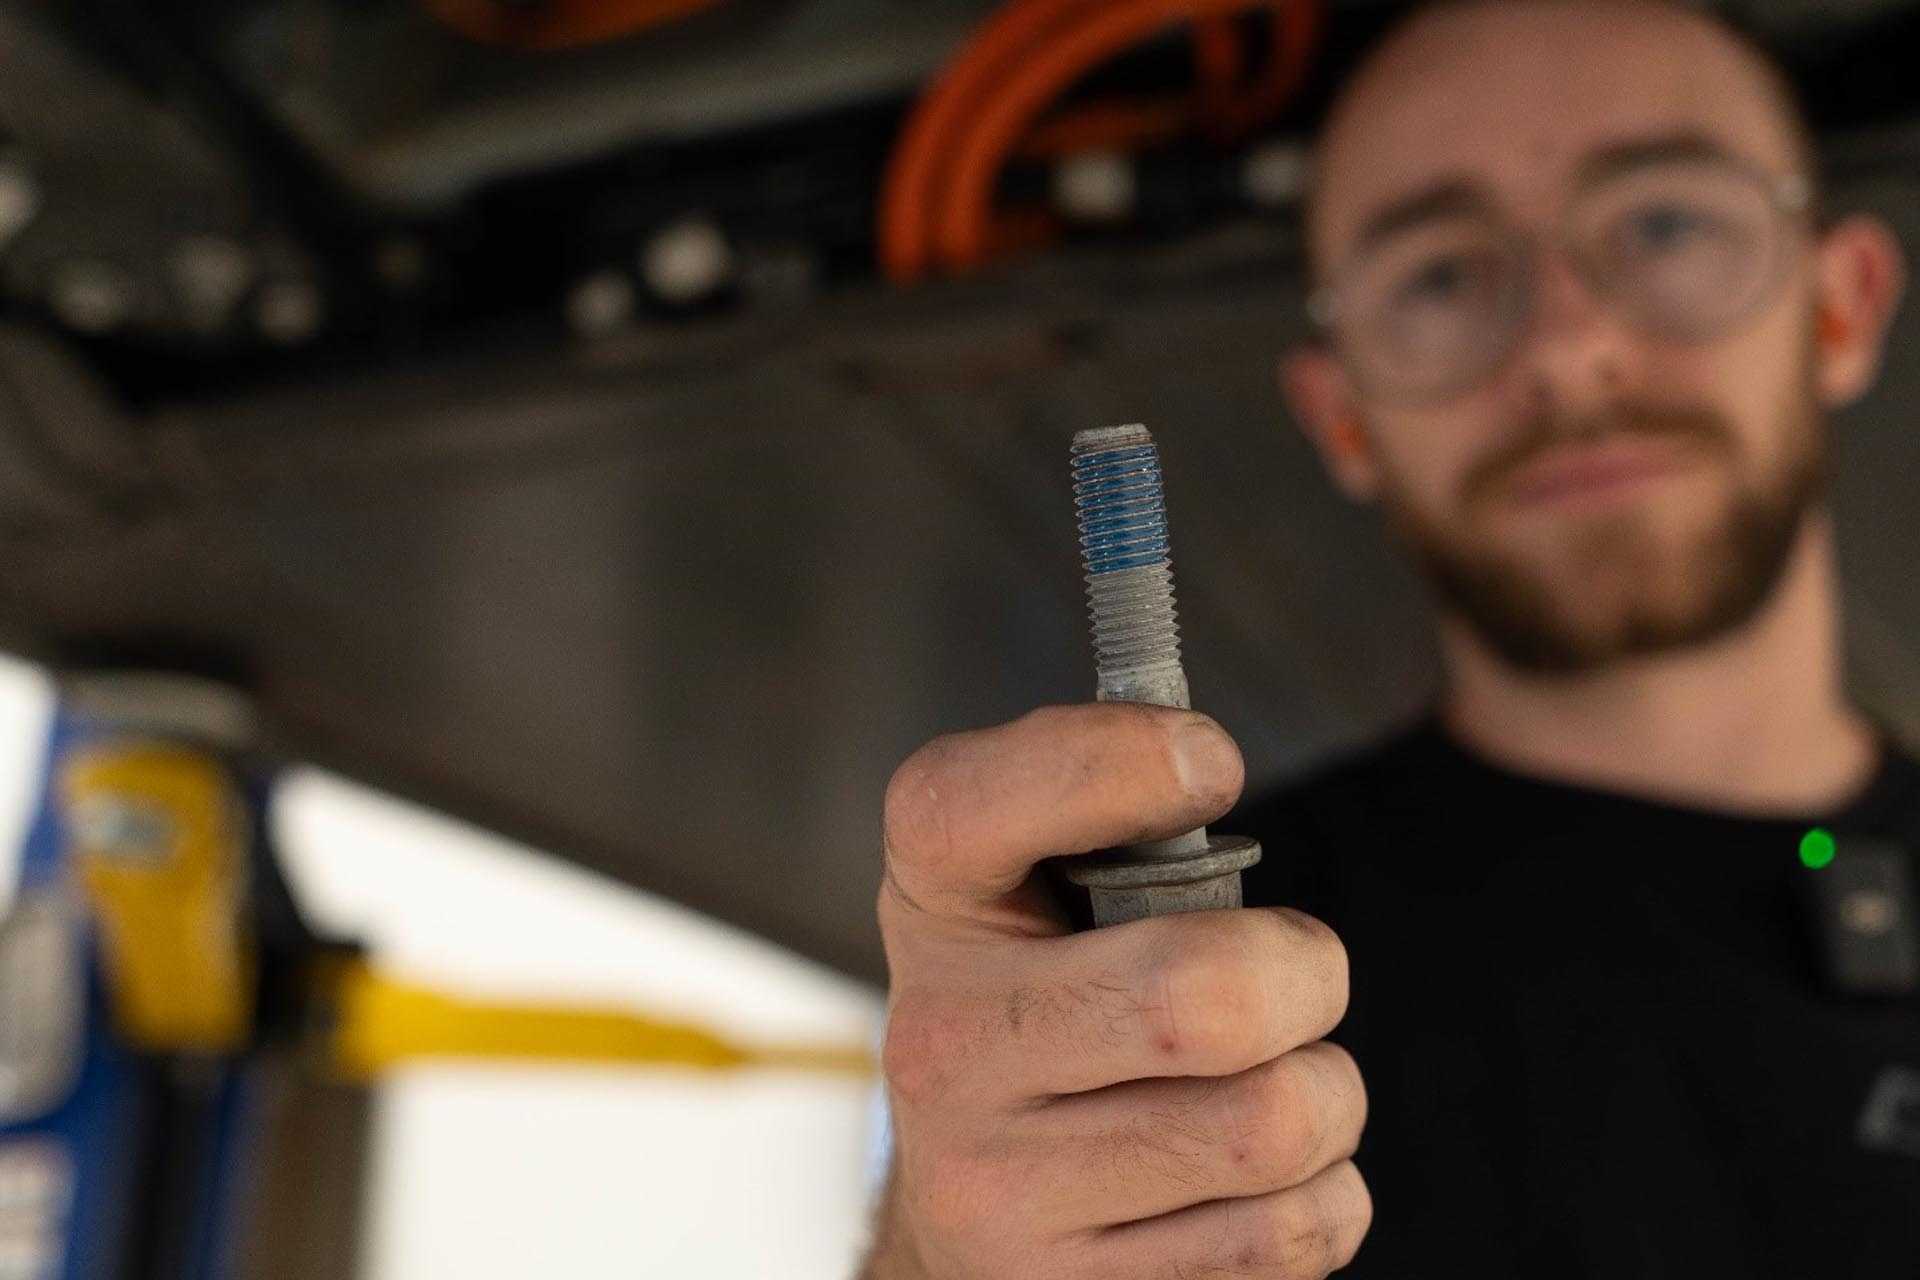
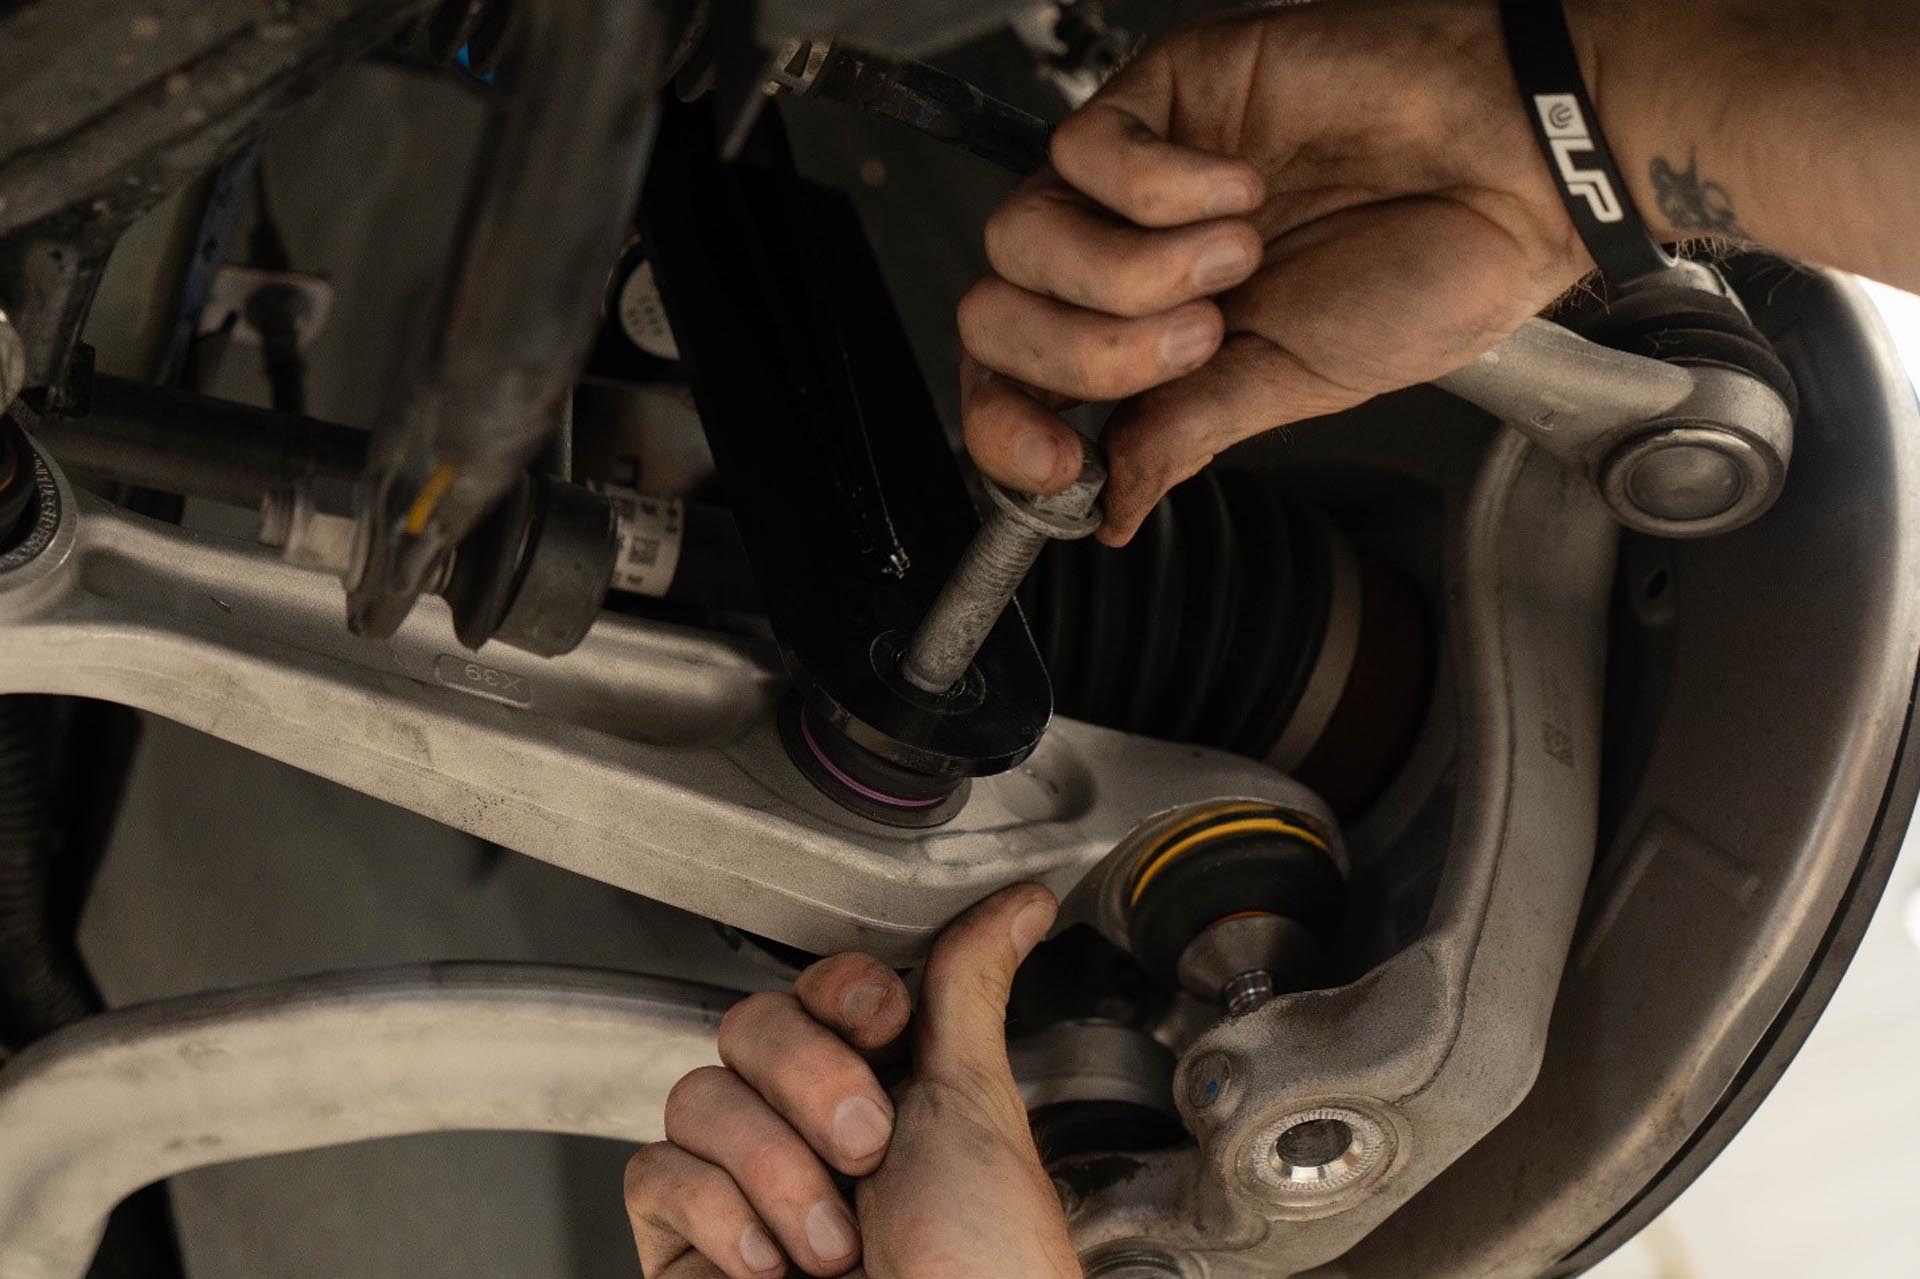
Next, apply medium strength thread lock to the ball joint pin threads.

Next, guide the ball joint pin into the hub slot accordingly. Use a 22mm wrench as well as a torx 40 or 5mm alan key to counter hold the pin as you tighten the nut. DO NOT APPLY FINAL TORQUE WITH THESE TOOLS. Only tighten by hand so that final torque can be applied using a torque wrench.
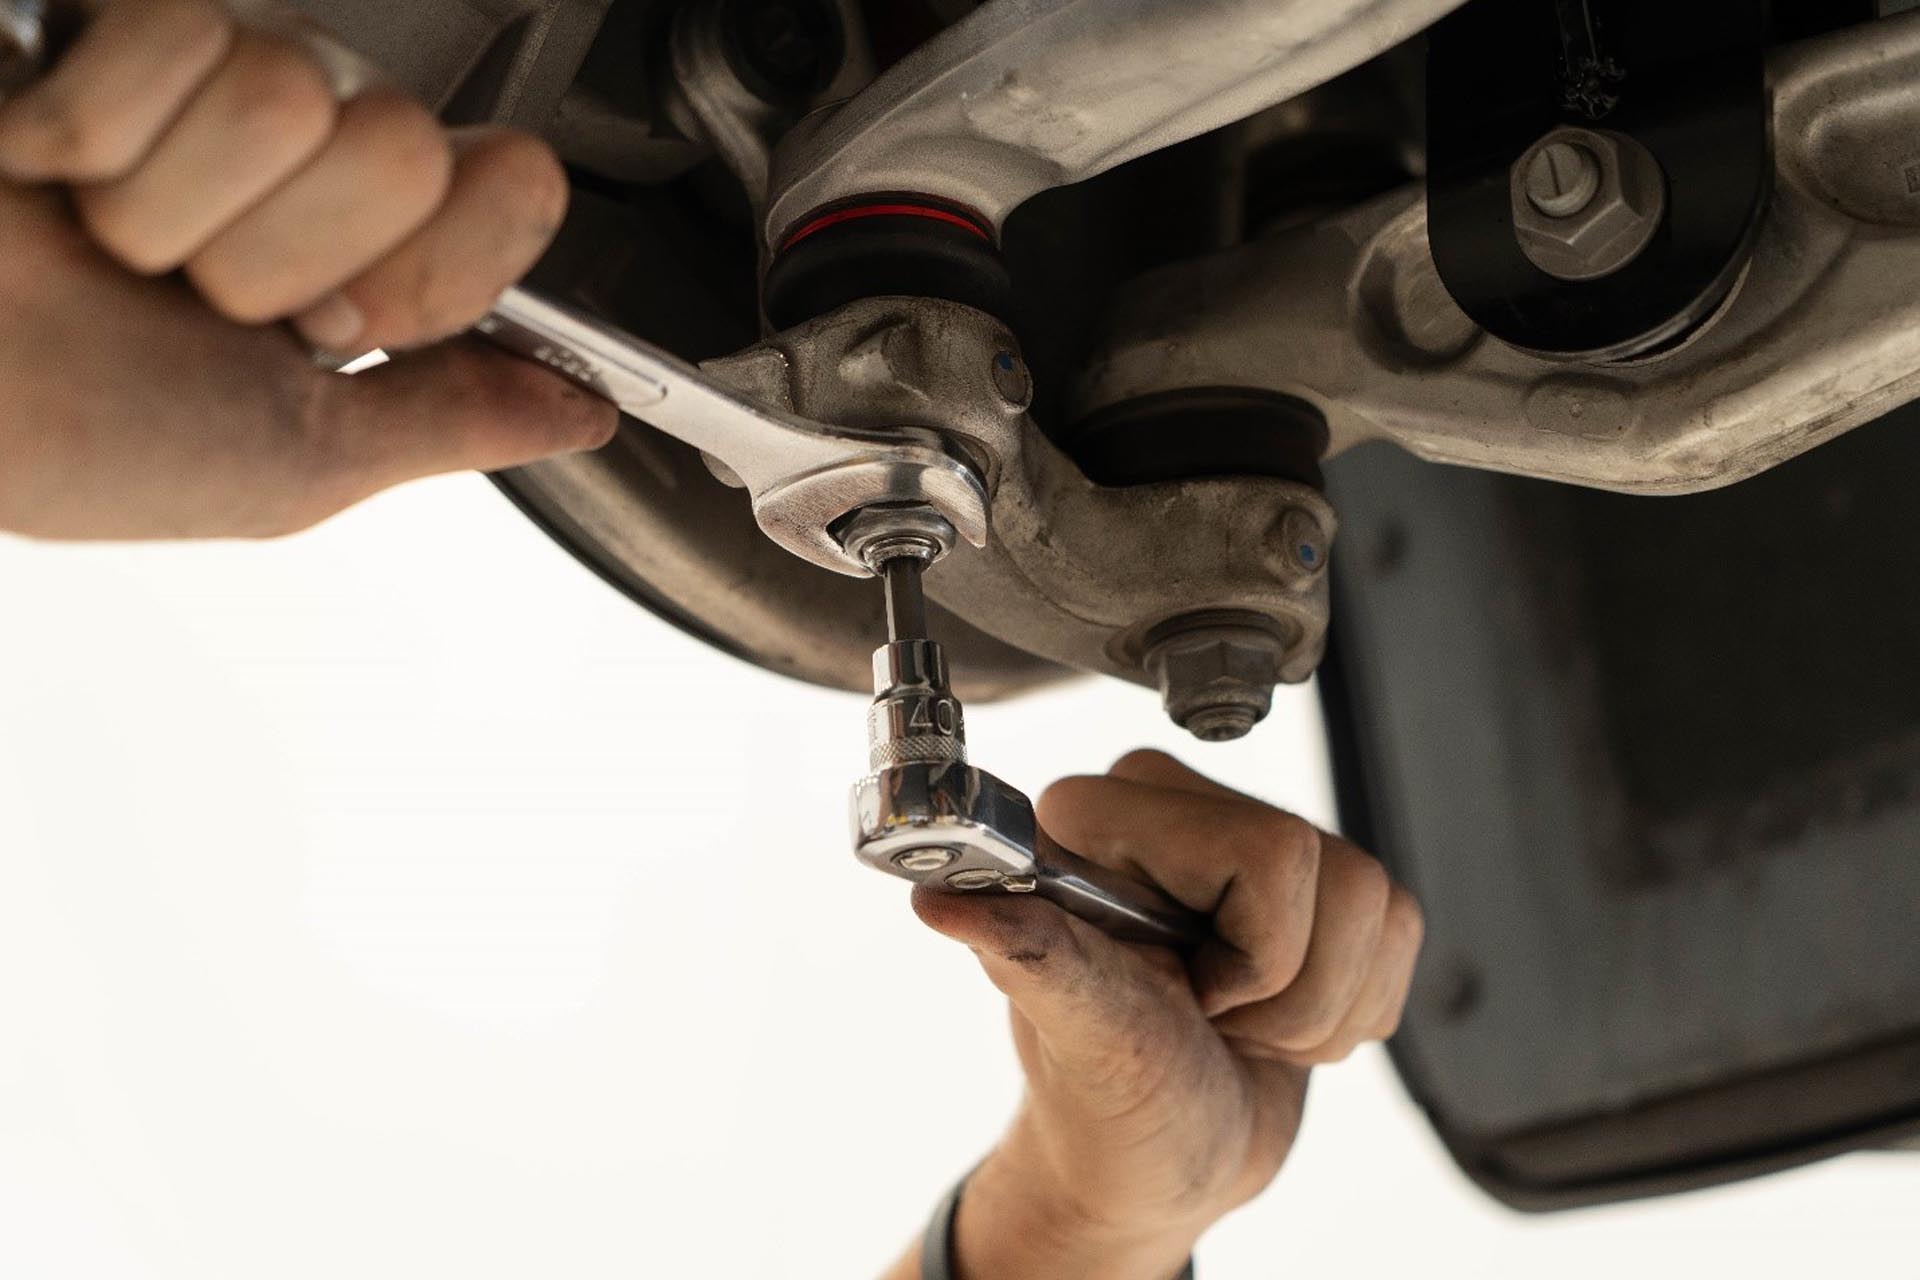
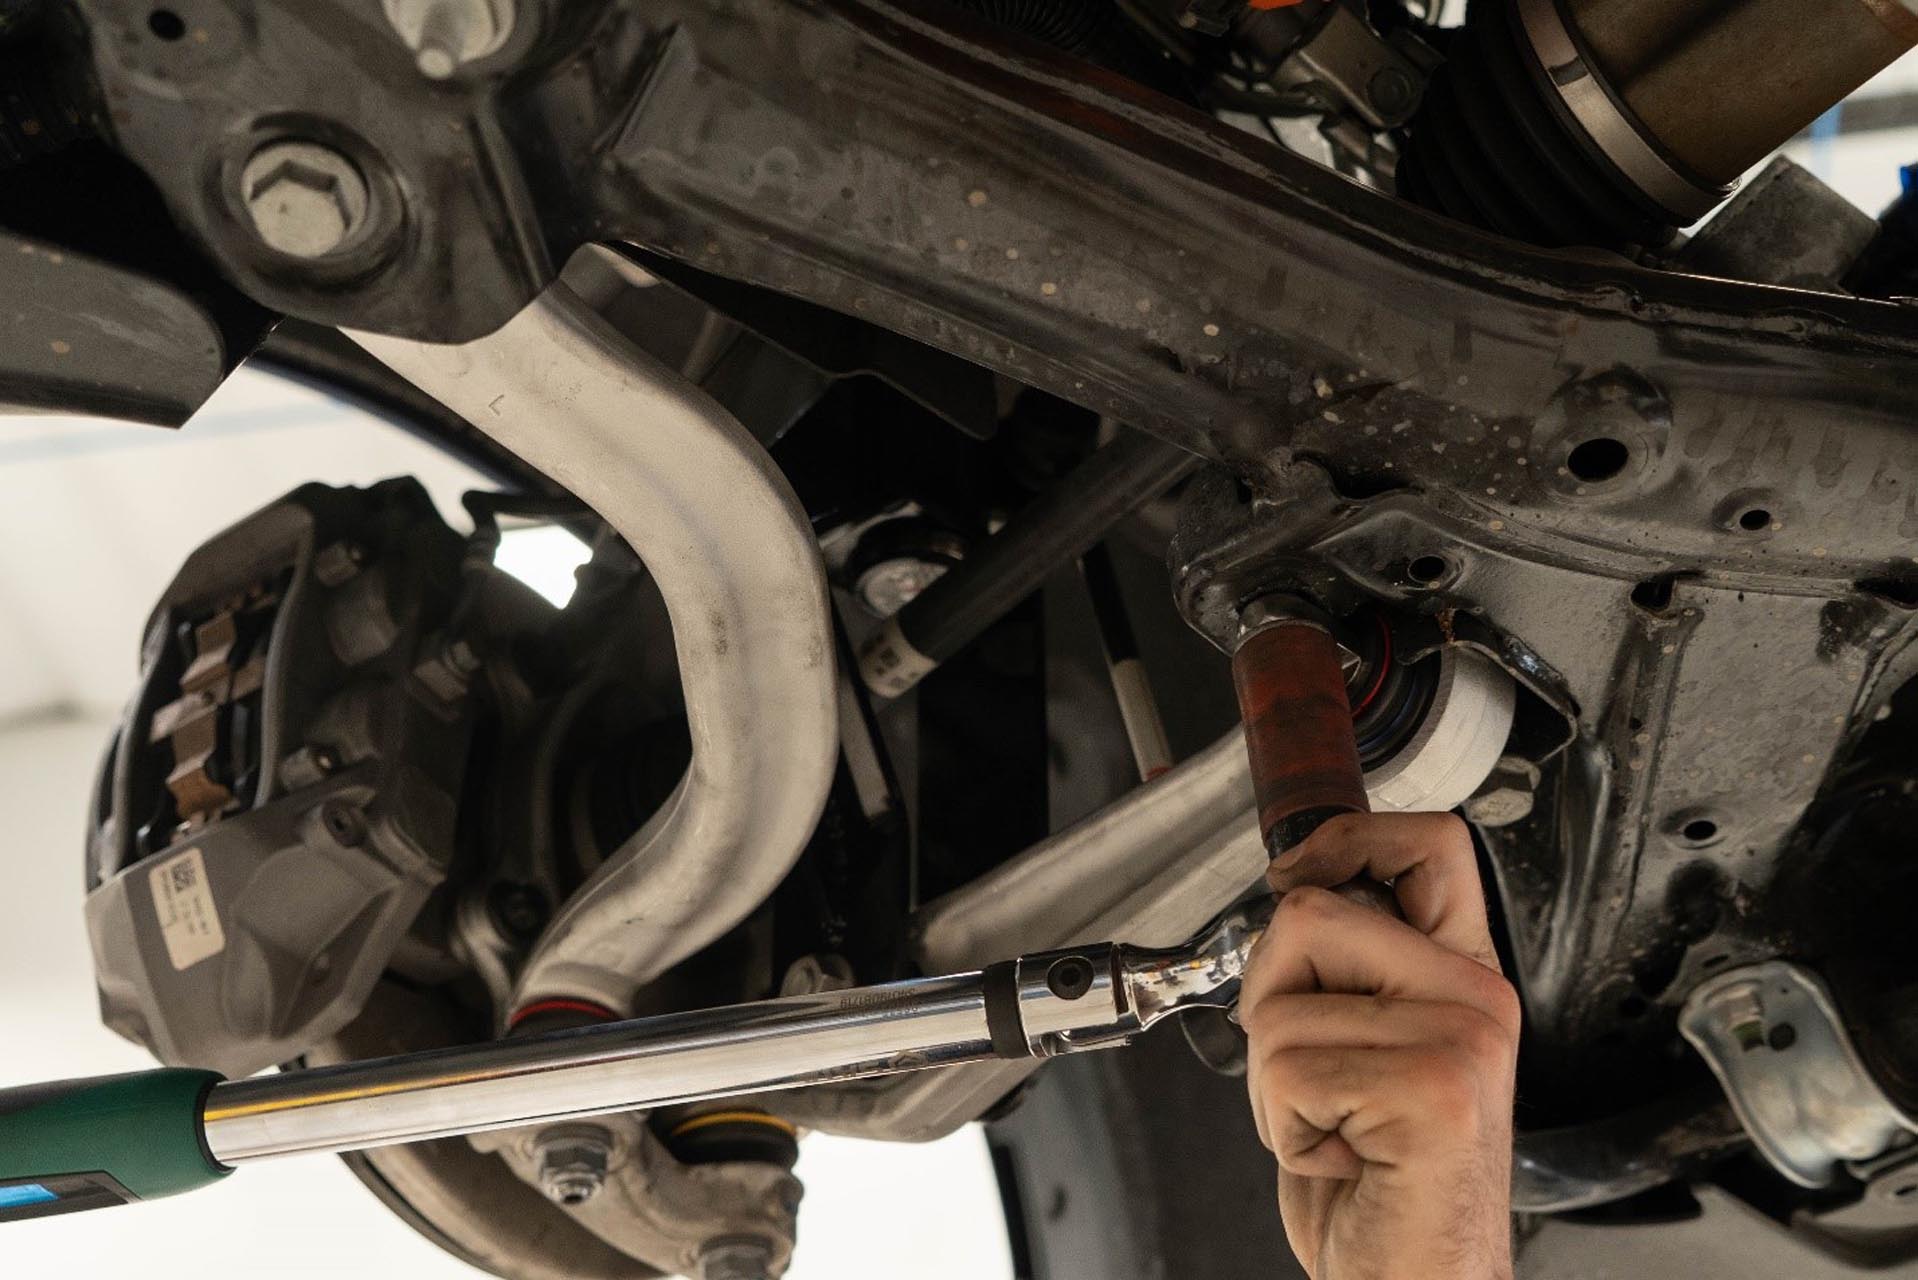
Next, torque the subframe hardware using a 21mm wrench on the nut, and a torque wrench with a 21mm socket on the bolt. Torque to 115 Nm (84.8 lbs-ft).
Torque hardware to spec to complete installation of the Front Lower Compliance Aft Arm: Using a 21mm wrench on the nut, and a torque wrench with a 21mm socket on the bolt, torque to 115 Nm (84.8 lbs-ft).
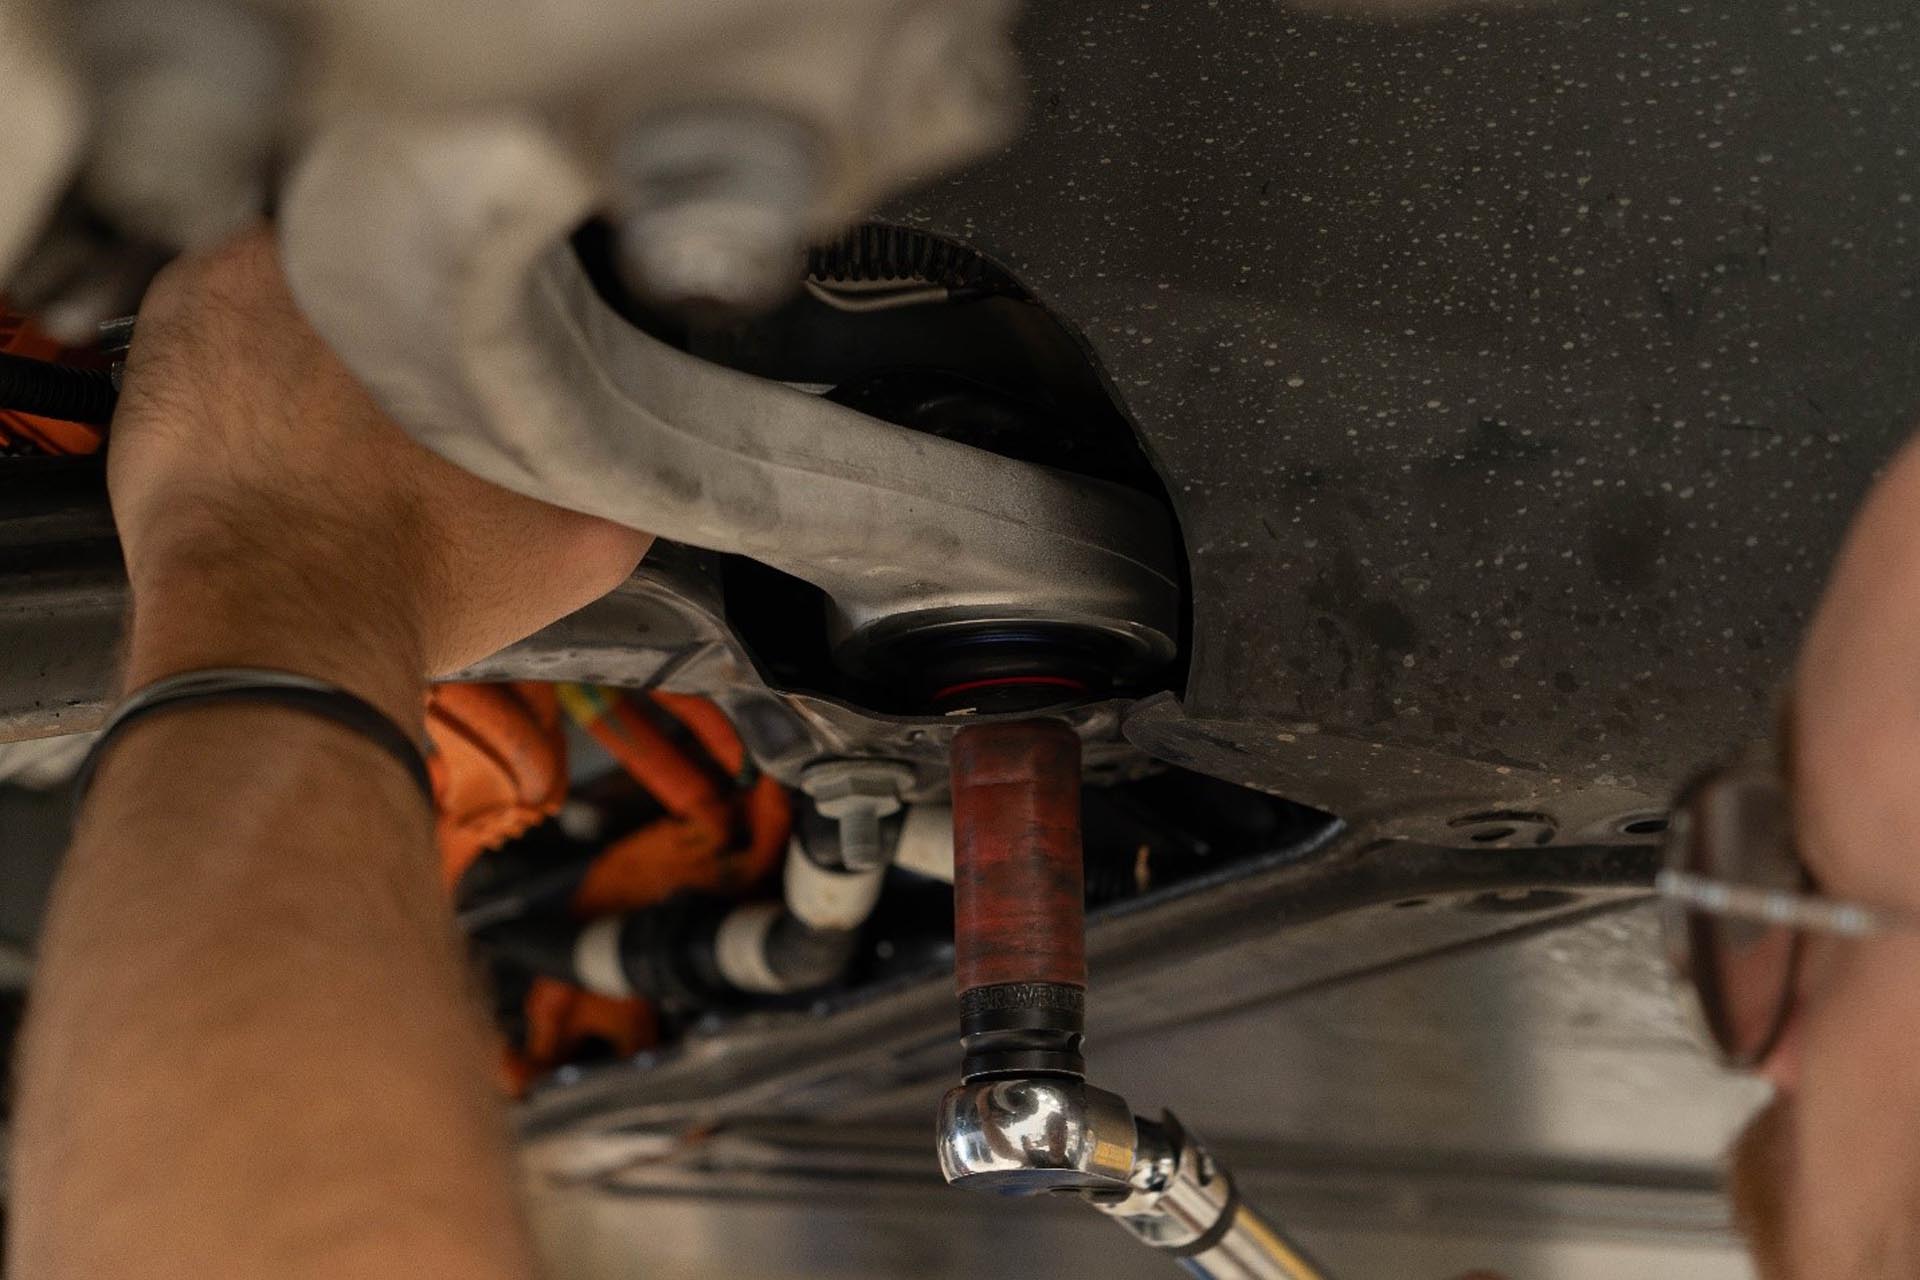
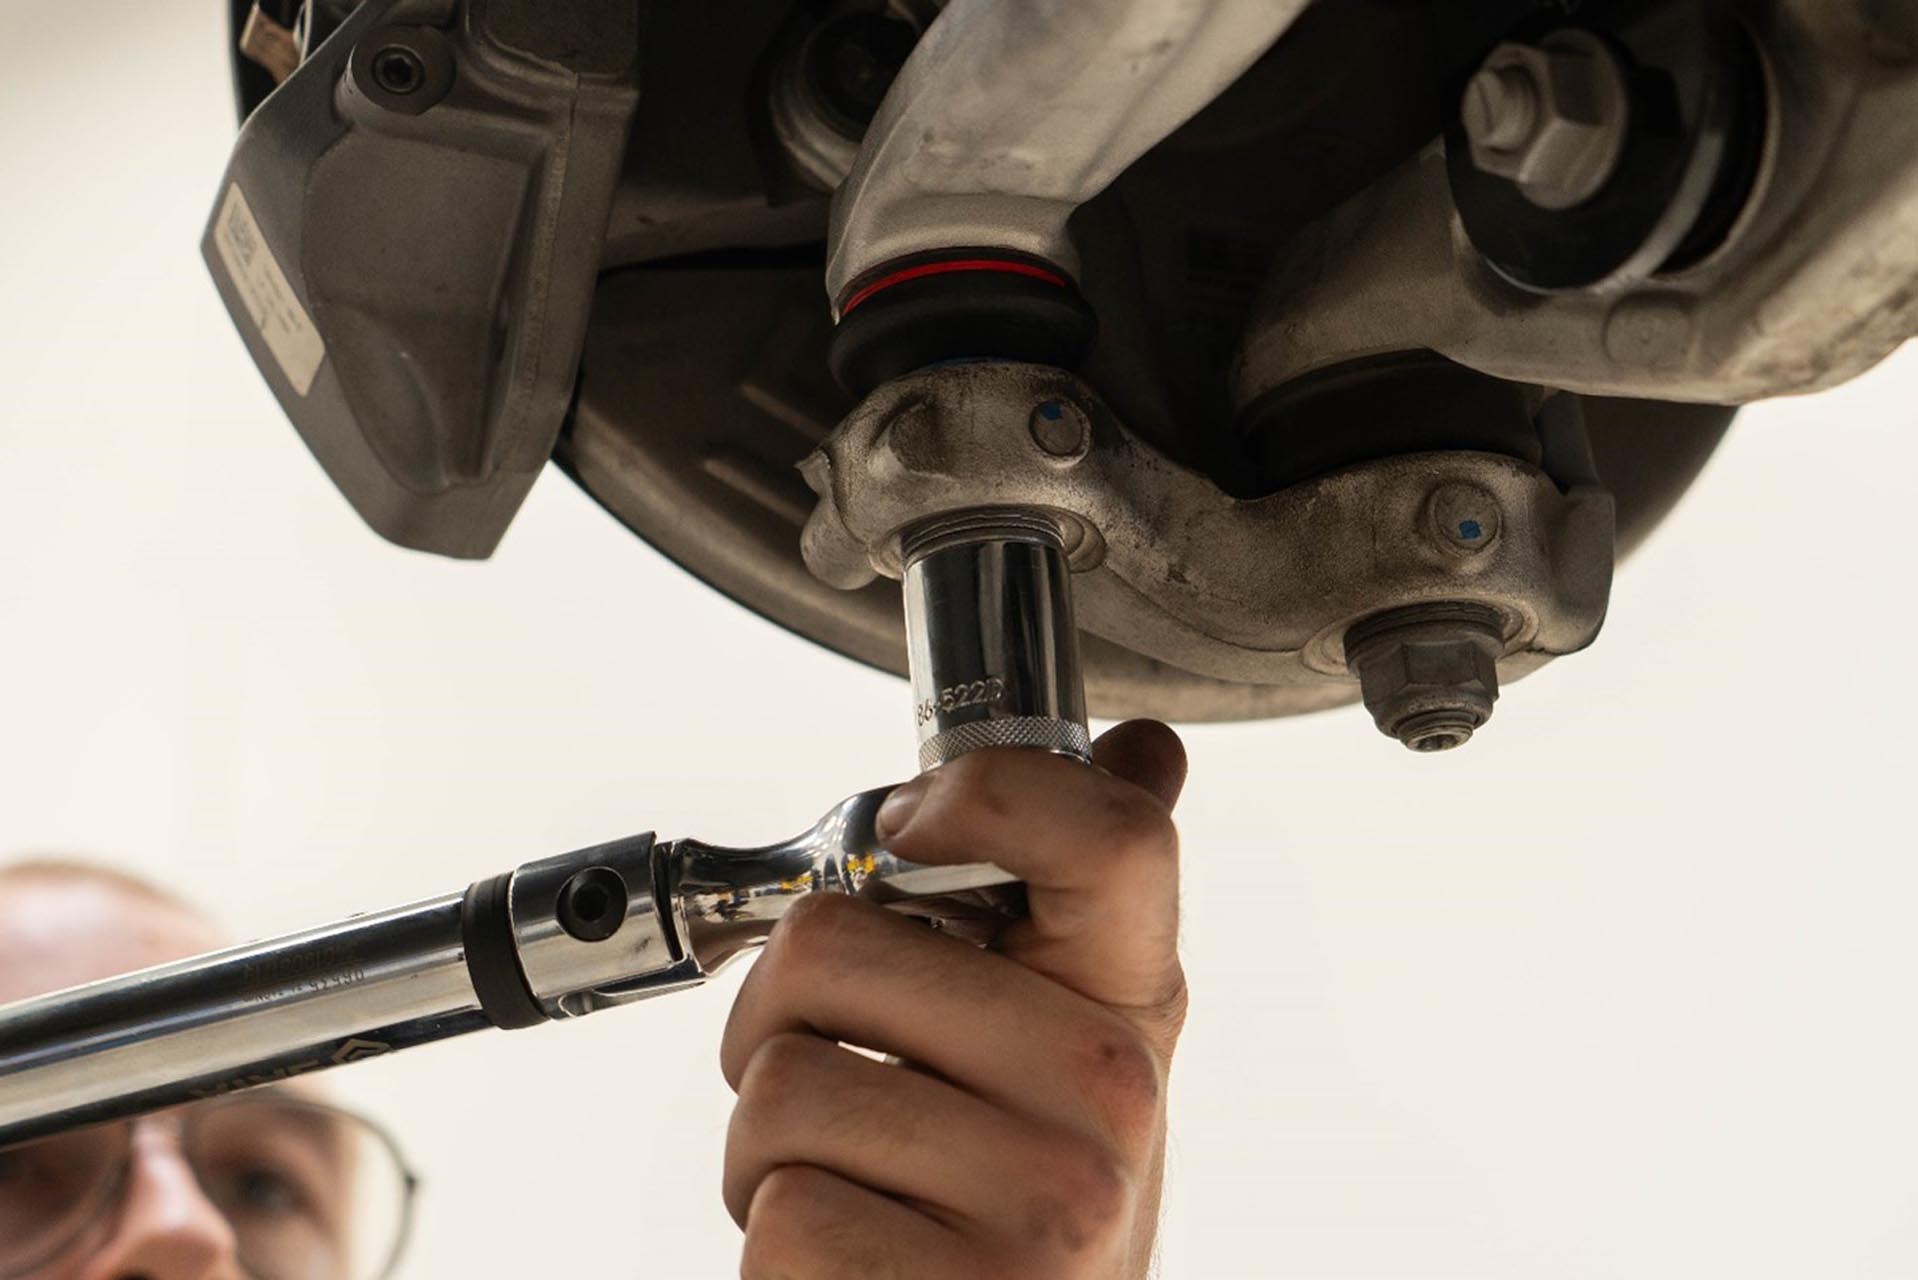
Next, using a torque wrench with a 22mm socket, tighten the provided lock nut to 180 Nm (132.7 lbs-ft).
Once the hardware is torqued to spec, the installation of the Front Lower Compliance Aft Arm is complete.
You are ready to remove the factory Front Lower Lateral Fore Arm.
Loosen the hardware at the three mounting points for the arms, beginning with the 22mm nut mounted at the hub. *Note: the hub will fall a couple of inches as soon as the threads on the nut disengage from the threads on the ball joint pin.* To prevent this, you can either use a jack to support the hub, or hold it up with one hand as you remove the 22mm nut with the other.
Next, Using a 21mm socket and/or wrench, loosen the bolt and nut securing the strut fork mount, and remove them from the assembly.
Finally, remove the 2 remaining 21mm bolts retaining the lateral fore link to the subframe. Be sure to support the arm with one hand as you remove the bolts to ensure the arm does not swing down.
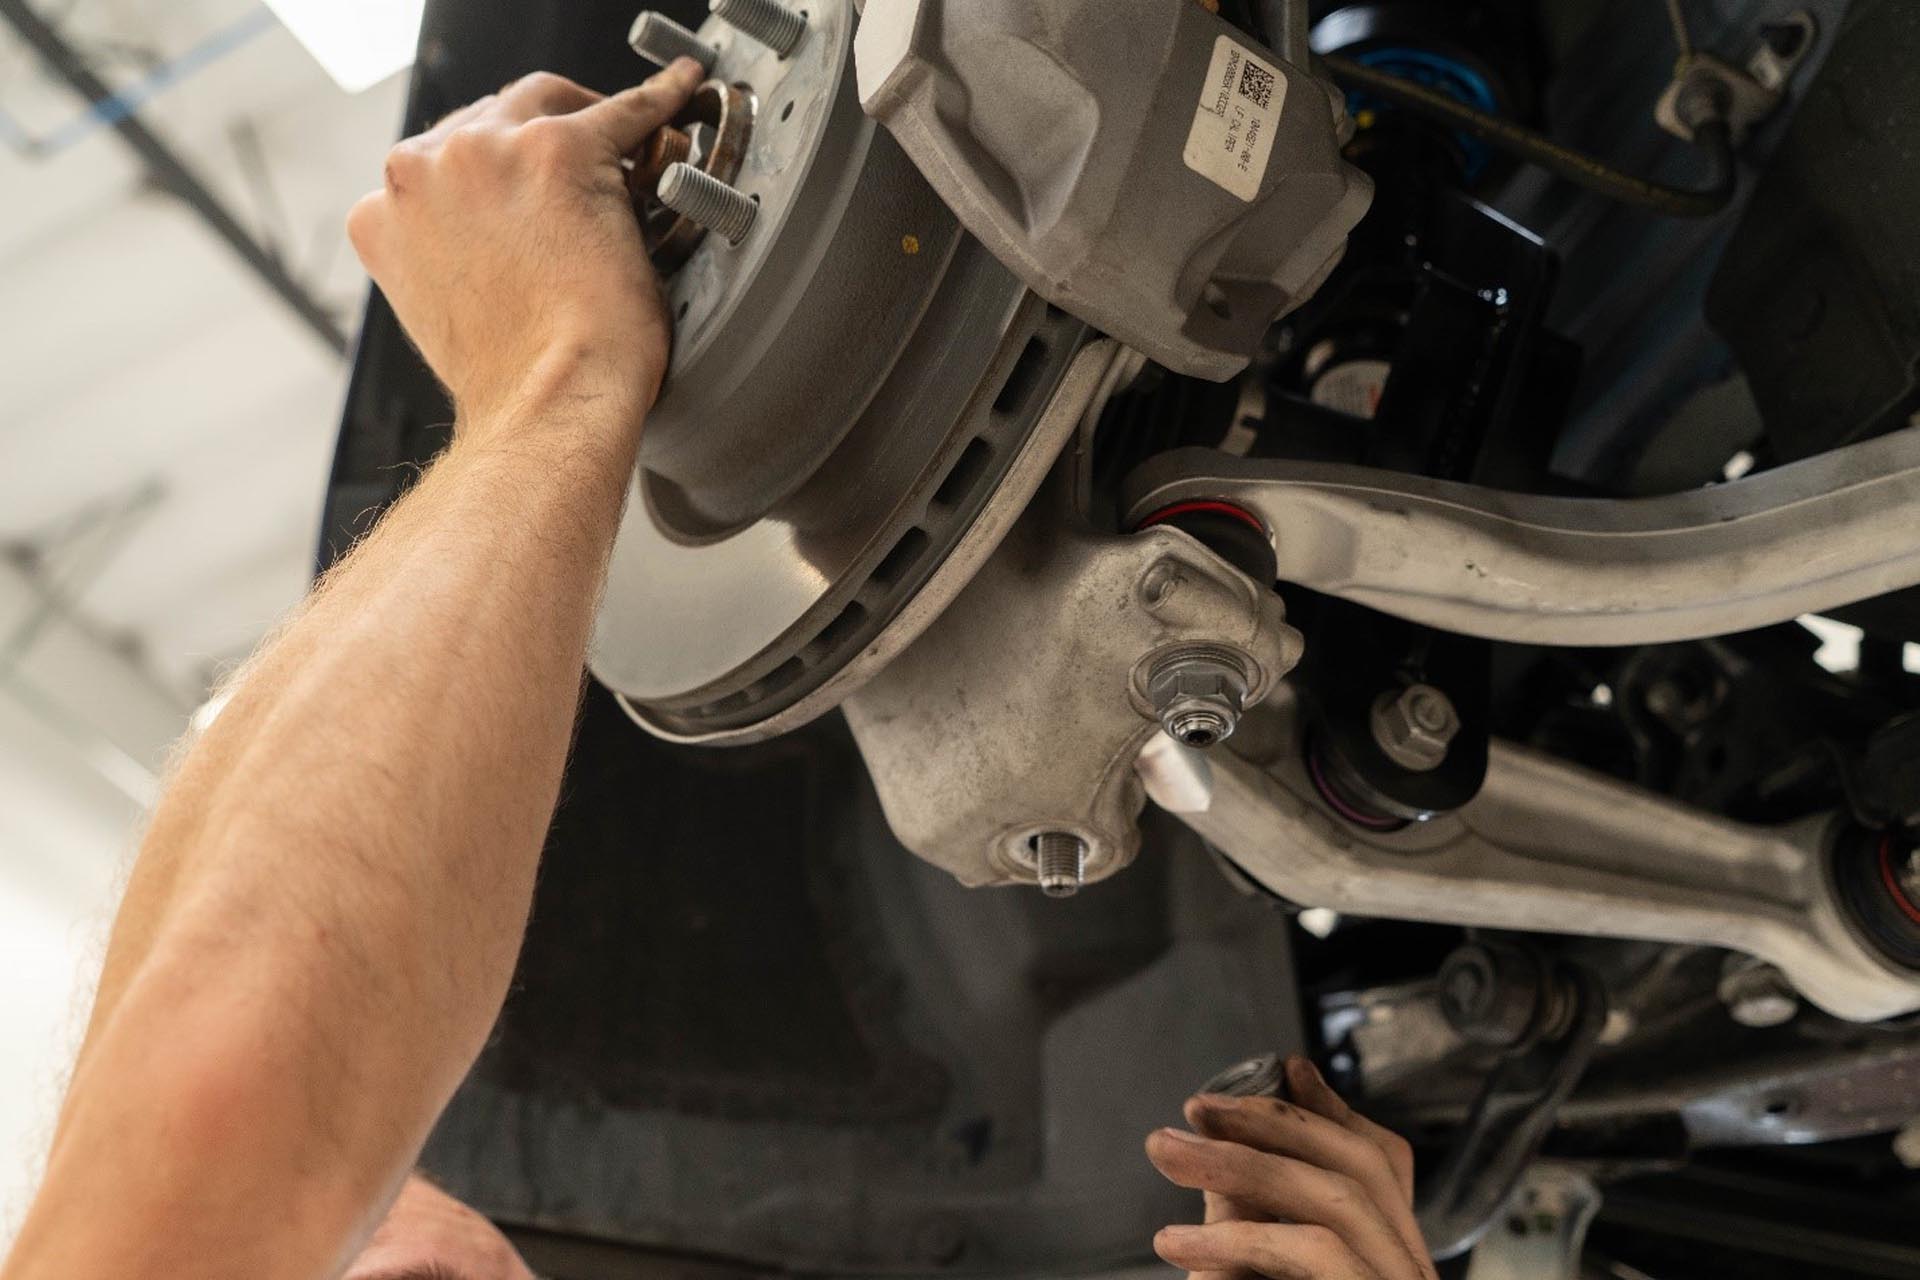
Once all nuts and bolts are removed, carefully work the arm loose from the hub by lifting upward at the hub while supporting the arm.
Once the ball joint pin has been removed from the hub, you can now slide the arm away from the vehicle.
The installation is the reverse of the removal process. First, position the Unplugged Performance Front Lower Lateral Fore Arm into place by inserting the ball joint into the hub first.
Then, let the arm rest in this position while you apply medium strength thread lock to the 21mm subframe bolts.

Next, lift the arm into place at the subframe mount to insert both 21mm bolts.
With the subframe bolts tightened by hand, proceed to install the 21mm bolt and nut into the lower shock mount. You may need to lift the suspension arm into place to allow the bolt to slide through the arm.
Then, apply medium strength thread lock onto the ball joint pin threads.
Then, lift the hub either by hand, or using a jack to allow the ball joint pin threads to be exposed below the hub assembly to secure the provided lock nut.
Similar to the assembly of the compliance arm, use a 22mm wrench as well as a torx 40 or 5mm alan key to counter hold the pin as you tighten the nut. DO NOT APPLY FINAL TORQUE WITH THESE TOOLS. Only tighten by hand to seat the tapered washer on the bottom of the ball joint pin to the hub.

Using a torque wrench and a 21mm socket, these 21mm subframe bolts to 115 Nm (84.8 lbs-ft).
Then, use a torque wrench with a 22mm socket, tighten the provided lower lock nut at the hub to 180 Nm (132.7 lbs-ft).
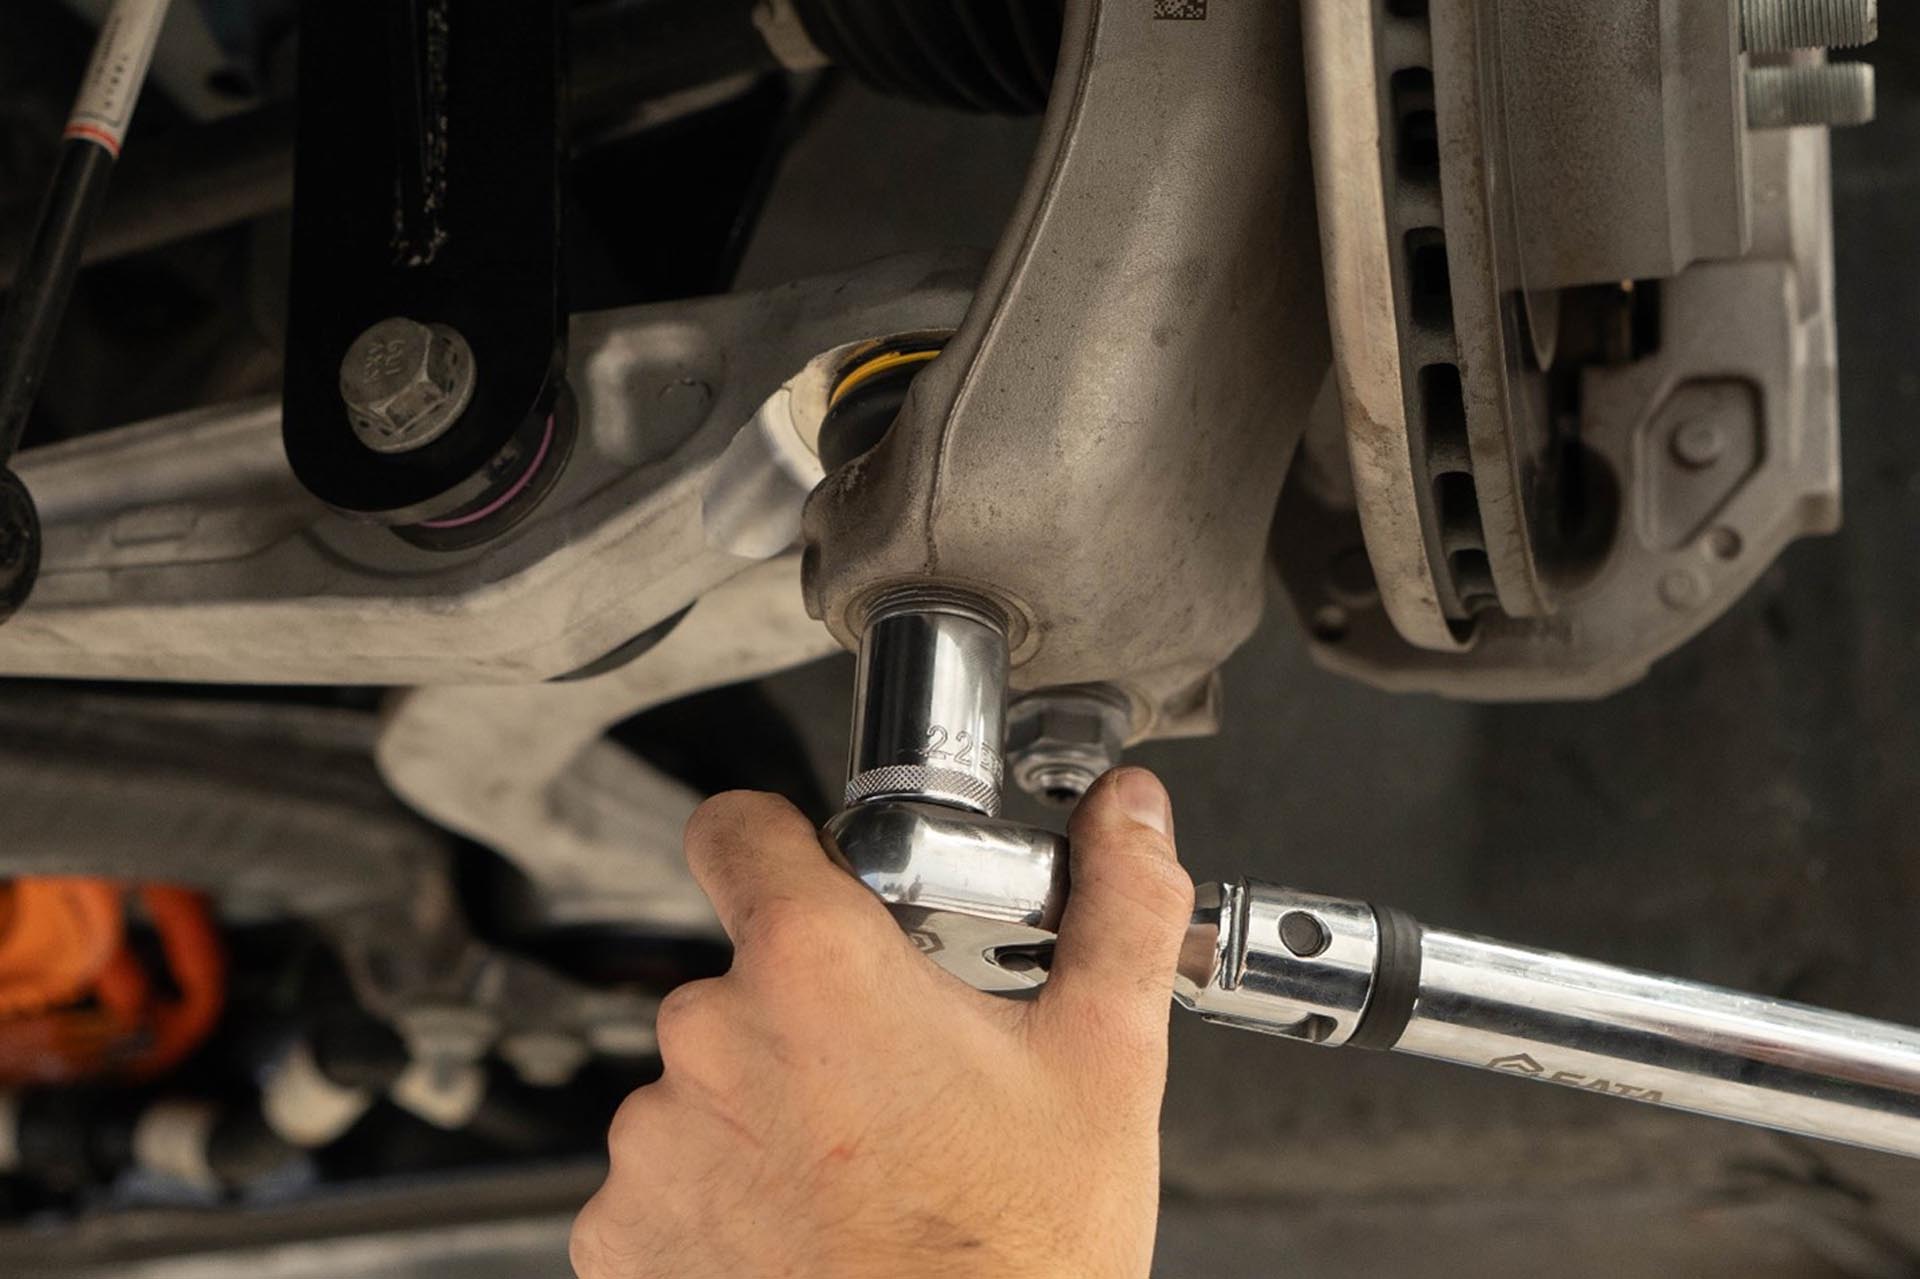
Using a 21mm crescent wrench and a torque wrench with a 21mm socket, tighten the lower shock mount 21mm nut and bolt to 106 Nm (78 lb-ft).

Once the hardware is torqued to spec, lower the hub assembly. You have now completed the installation of the Front Lower Lateral Aft Arms and are ready to move to the Front Lower Lateral Aft Arm.
Using the reverse process from removal, reinstall the 10mm bolts and 14mm nuts that attach the underbody panel to the vehicle, and install the wheels, lower the vehicle onto the ground, and Torque wheel lug nuts to 175 Nm (129 lb-ft).
Because alignment components were removed and/or adjusted as a result of this installation process, your vehicle will require an alignment to ensure drivability and tire wear are optimized.
It is recommended during the alignment process to unload the tension on bushings by loosening the hardware at each joint with tension (spherical joints do not carry tension), and retorquing to spec while the vehicle is on the alignment rack.
Thank you for choosing Unplugged Performance. If you have questions about this product or the installation process, please contact us via phone, email, or via our website.