
Tesla Model 3/Y
Luxury/Sport Suspension Kit
INSTALLATION GUIDE
- UP Adjustable Front Right Shock
- UP Adjustable Front Left Shock
- UP Adjustable Rear Shock (x2)
- UP Dual Rate Front Spring (x2)
- UP Dual Rate Rear Spring (x2)
Adjustments
Our recommended damper setting for most comfort is a maximum of 16 clicks to maintain safe drivability on the road. Any softer can lead to premature shock failure. The starting point should be full clockwise. Adjusting to full clockwise both sets the shock at the stiffest setting, but more importantly, it resets the shims internally. The stiffest setting is full clockwise, and the softest setting is 16 clicks counterclockwise from full stiff. Note that adjustments outside of this range may cause damage to the shock internals and will void your product warranty.
- Vehicle lift (or floor jack)
- Pry tool
- Ratchet
- Torque wrench
- 8mm socket
- 10mm socket
- 13mm socket
- 15mm socket
- 18mm socket
- 21mm socket
- 21mm end wrench
- T50 torx bit
- Transmission jack (or floor jack)
- Spring compressor
By installing or using this product, you understand and agree with the following: If you do not agree, do not proceed with the installation and return this product within 30 days for a full refund of the purchase price from the company from which you have purchased it.
- I understand and agree that this product is intended to be installed for use on private roads and in jurisdictions where the use of this product is deemed legal by the local authorities. Furthermore, I understand and agree Unplugged Performance does not have any knowledge or control of regulations in my local jurisdiction, and it is up to me to determine if the product is acceptable for use with my vehicle.
- I understand that Unplugged Performance has done testing of this product on road and on closed racetracks but does not have the ability to test the vehicle for localized standards and regulations.
- I understand and agree that if the vehicle manufacturer determines that any Unplugged Performance products have contributed to a problem with the vehicle it may affect the vehicle’s warranty. Furthermore, I understand and agree that Unplugged Performance has no duty nor ability to be involved in internal manufacturer decisions.
- I understand and agree that if this product is given to an installer for installation on my vehicle, I have read and agreed with all the previous, even if I am not personally installing these parts on my vehicle. Furthermore, I understand and agree that this product should be installed by a trained professional that is familiar with both the vehicle as well as this product. Furthermore, I understand and agree that I and/or my chosen installer will follow the installation instructions carefully and dutifully test the vehicle post-installation in a safe and controlled environment to ensure proper operation.
- I understand and agree that by installing this product Unplugged Performance and all associated persons and entities as well as the vehicle manufacturer and all associated entities must be held harmless in the event of any suit, damages, or other legal action. Furthermore, I hereby release Unplugged Performance and any associated entities from any and all liability for any potential claim or claims.
If you do not agree with any of the above statements, you should return the product immediately. For more information please see our Terms and Conditions.
1. Start by safely lifting the vehicle on either a 4-point lift, or using floor jacks with jack stands.
2. Using a 21mm socket and impact wrench, remove the front wheels to access the front suspension.
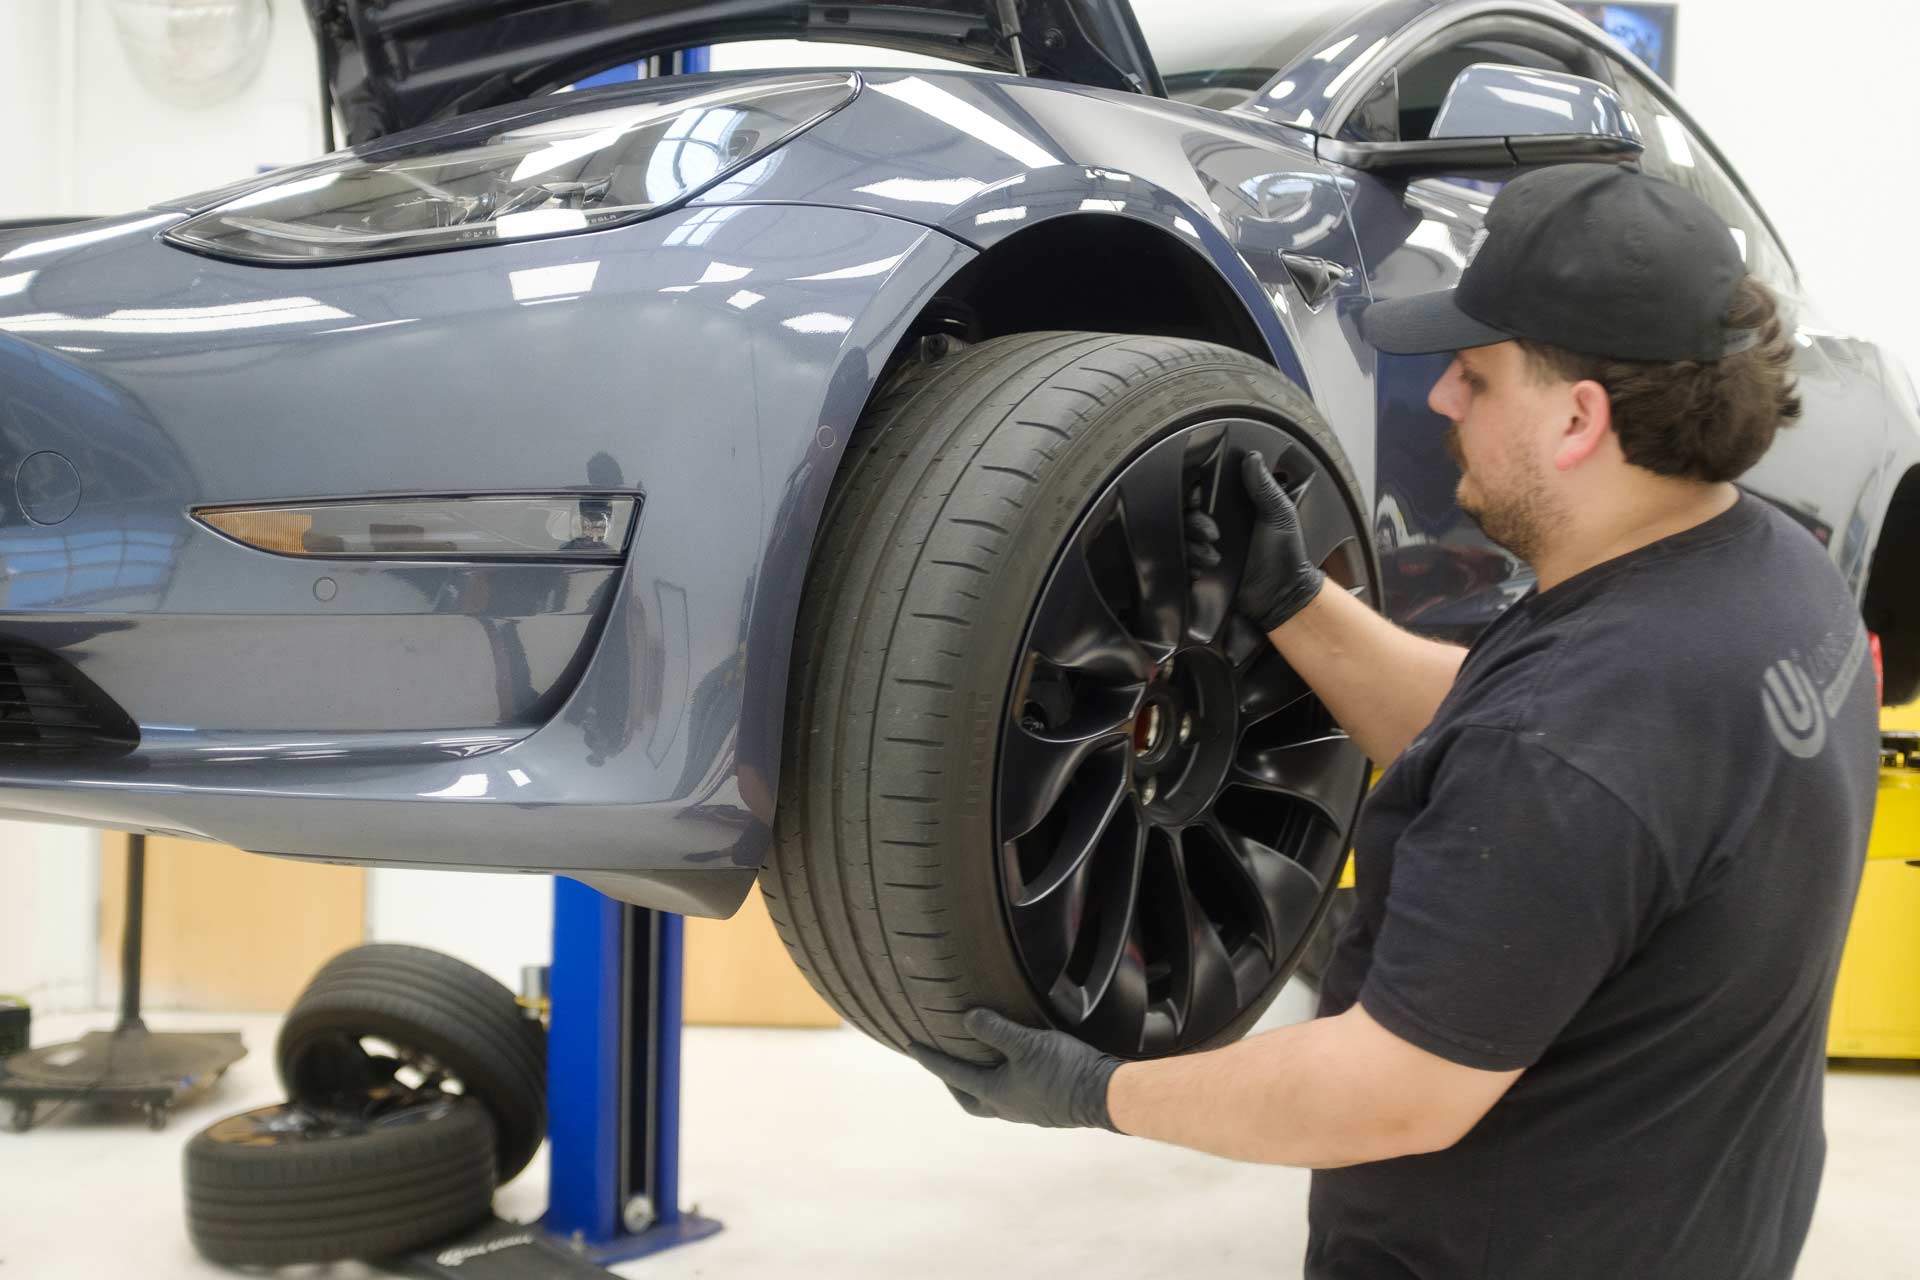
3. Next, open the hood, and swiftly pull the upper plastic cowling trim piece away from the vehicle.
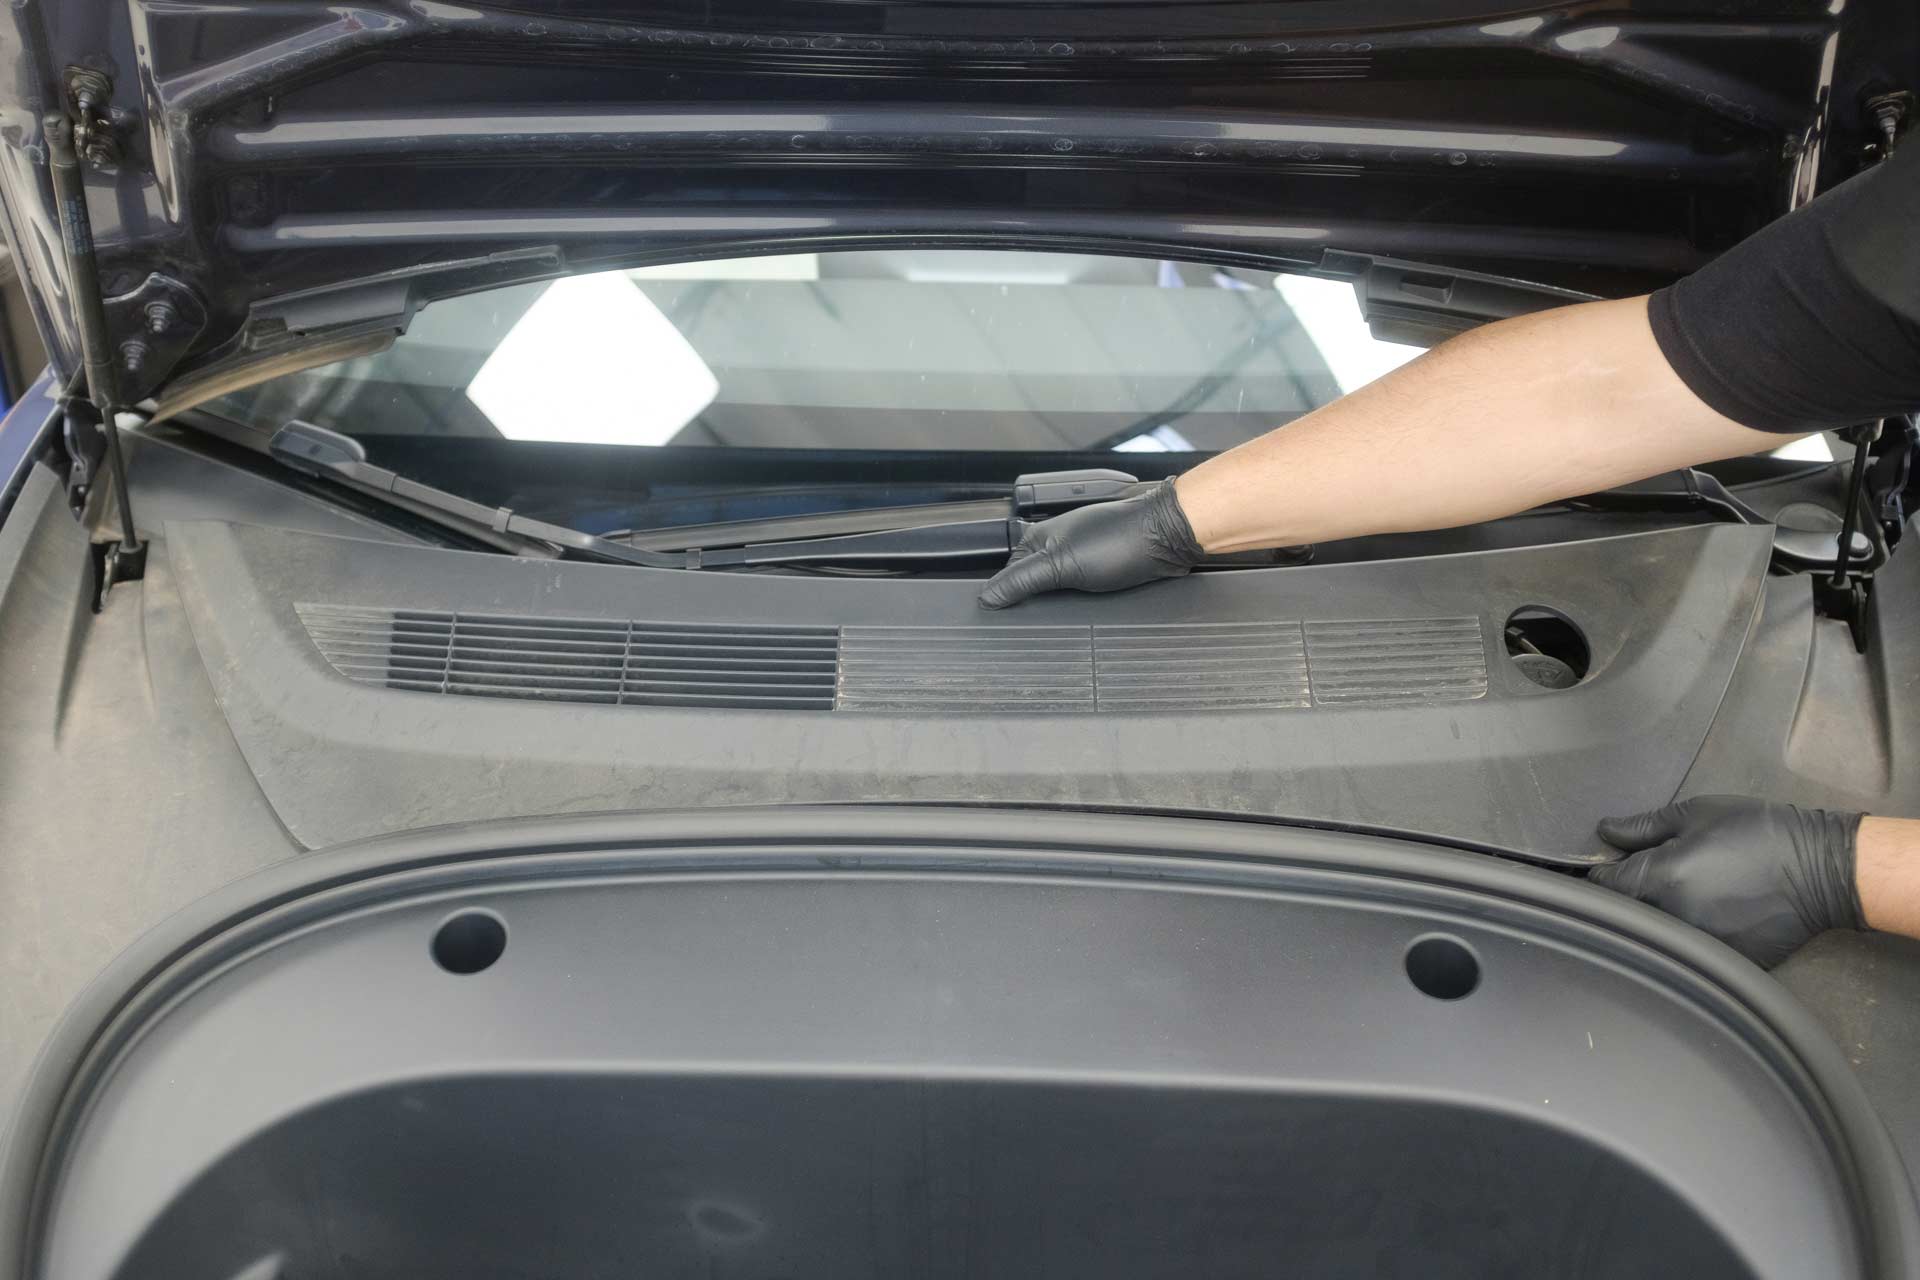
4. Using a pry tool, disengage the plastic push clips securing the exposed air duct to the vehicle as shown below.
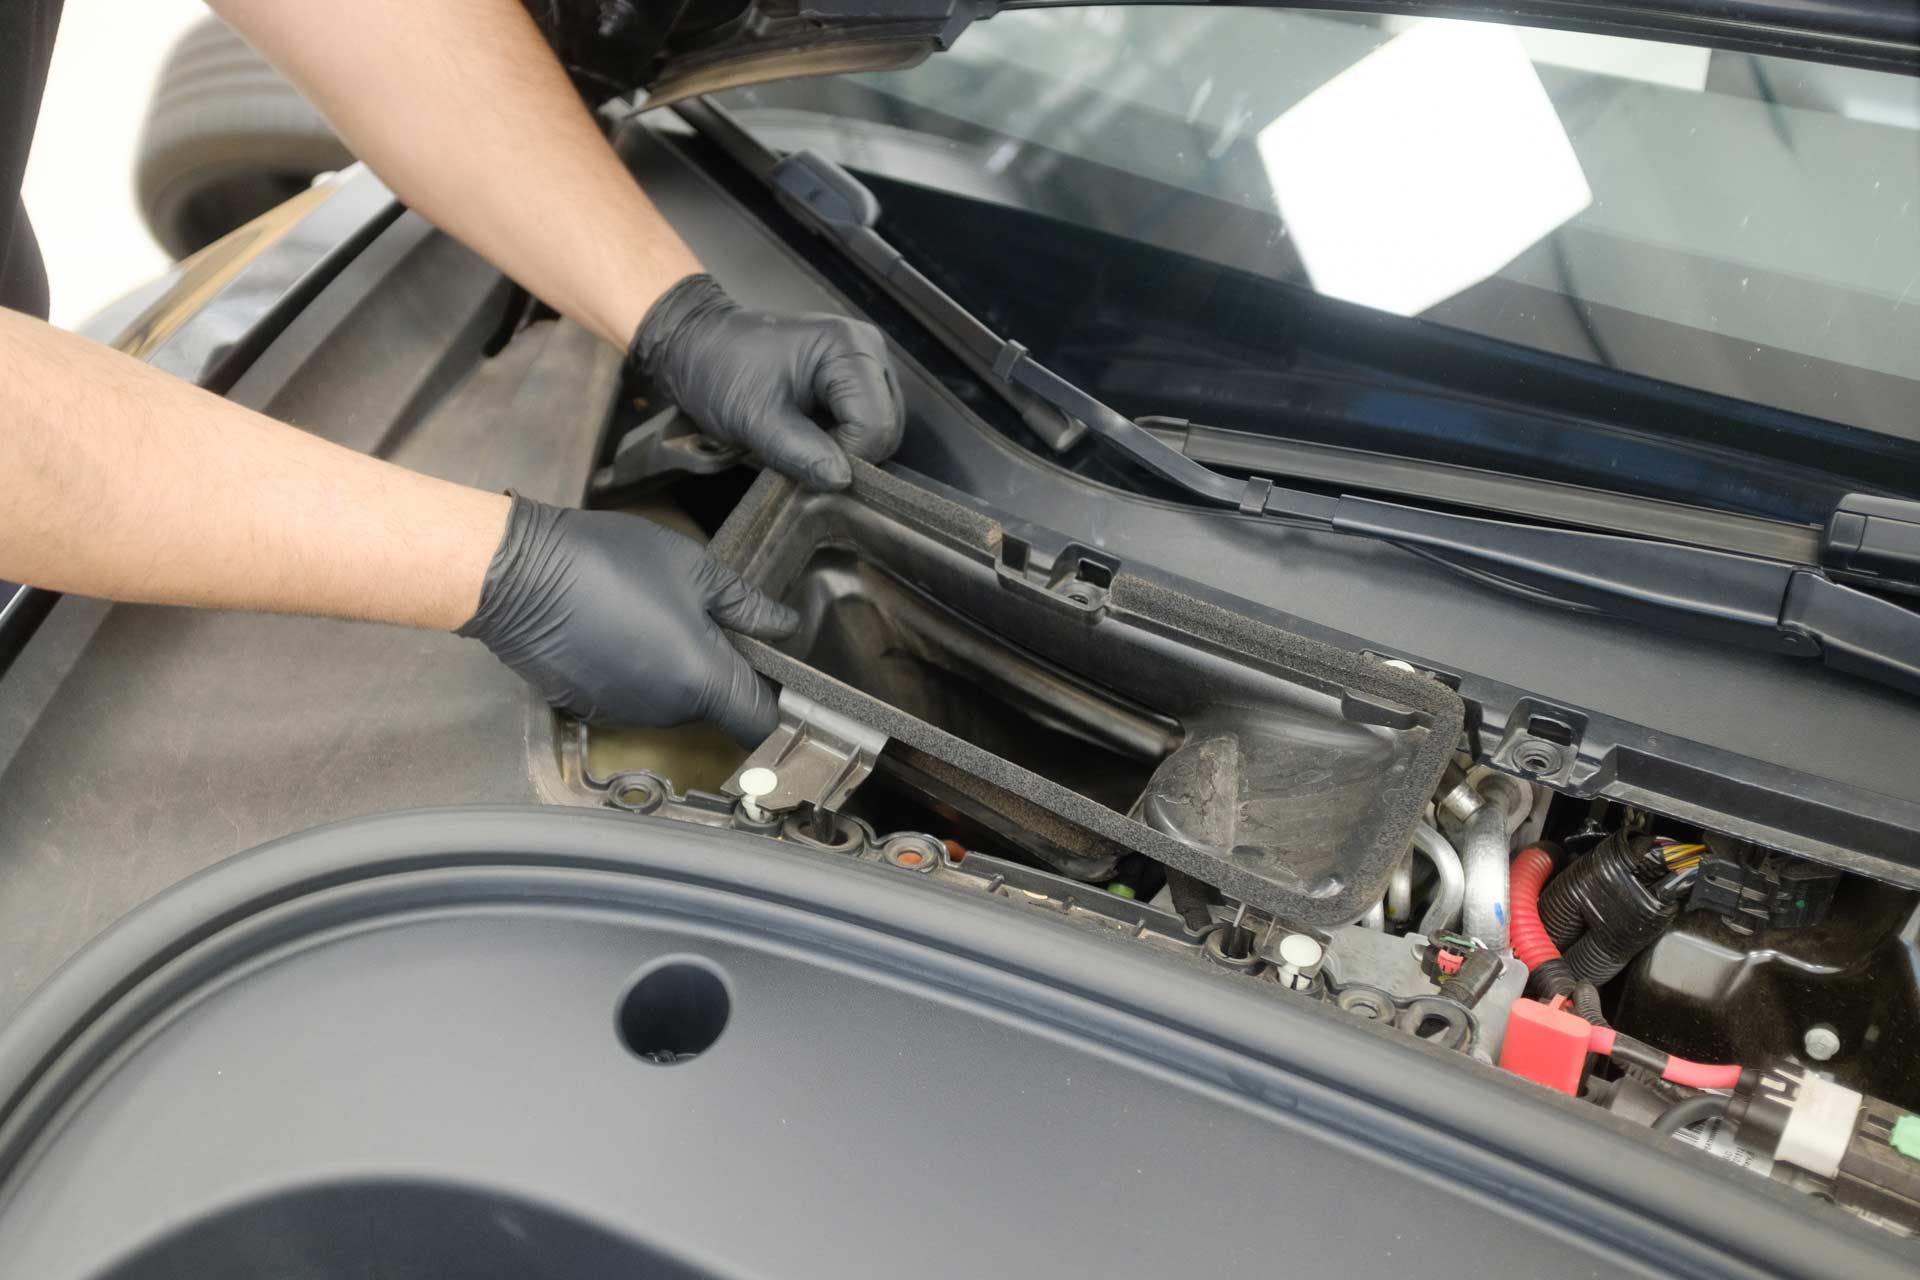
5. Using a pry tool, remove the front trunk light assembly. Be careful not to damage the power cable when disconnecting the socket.
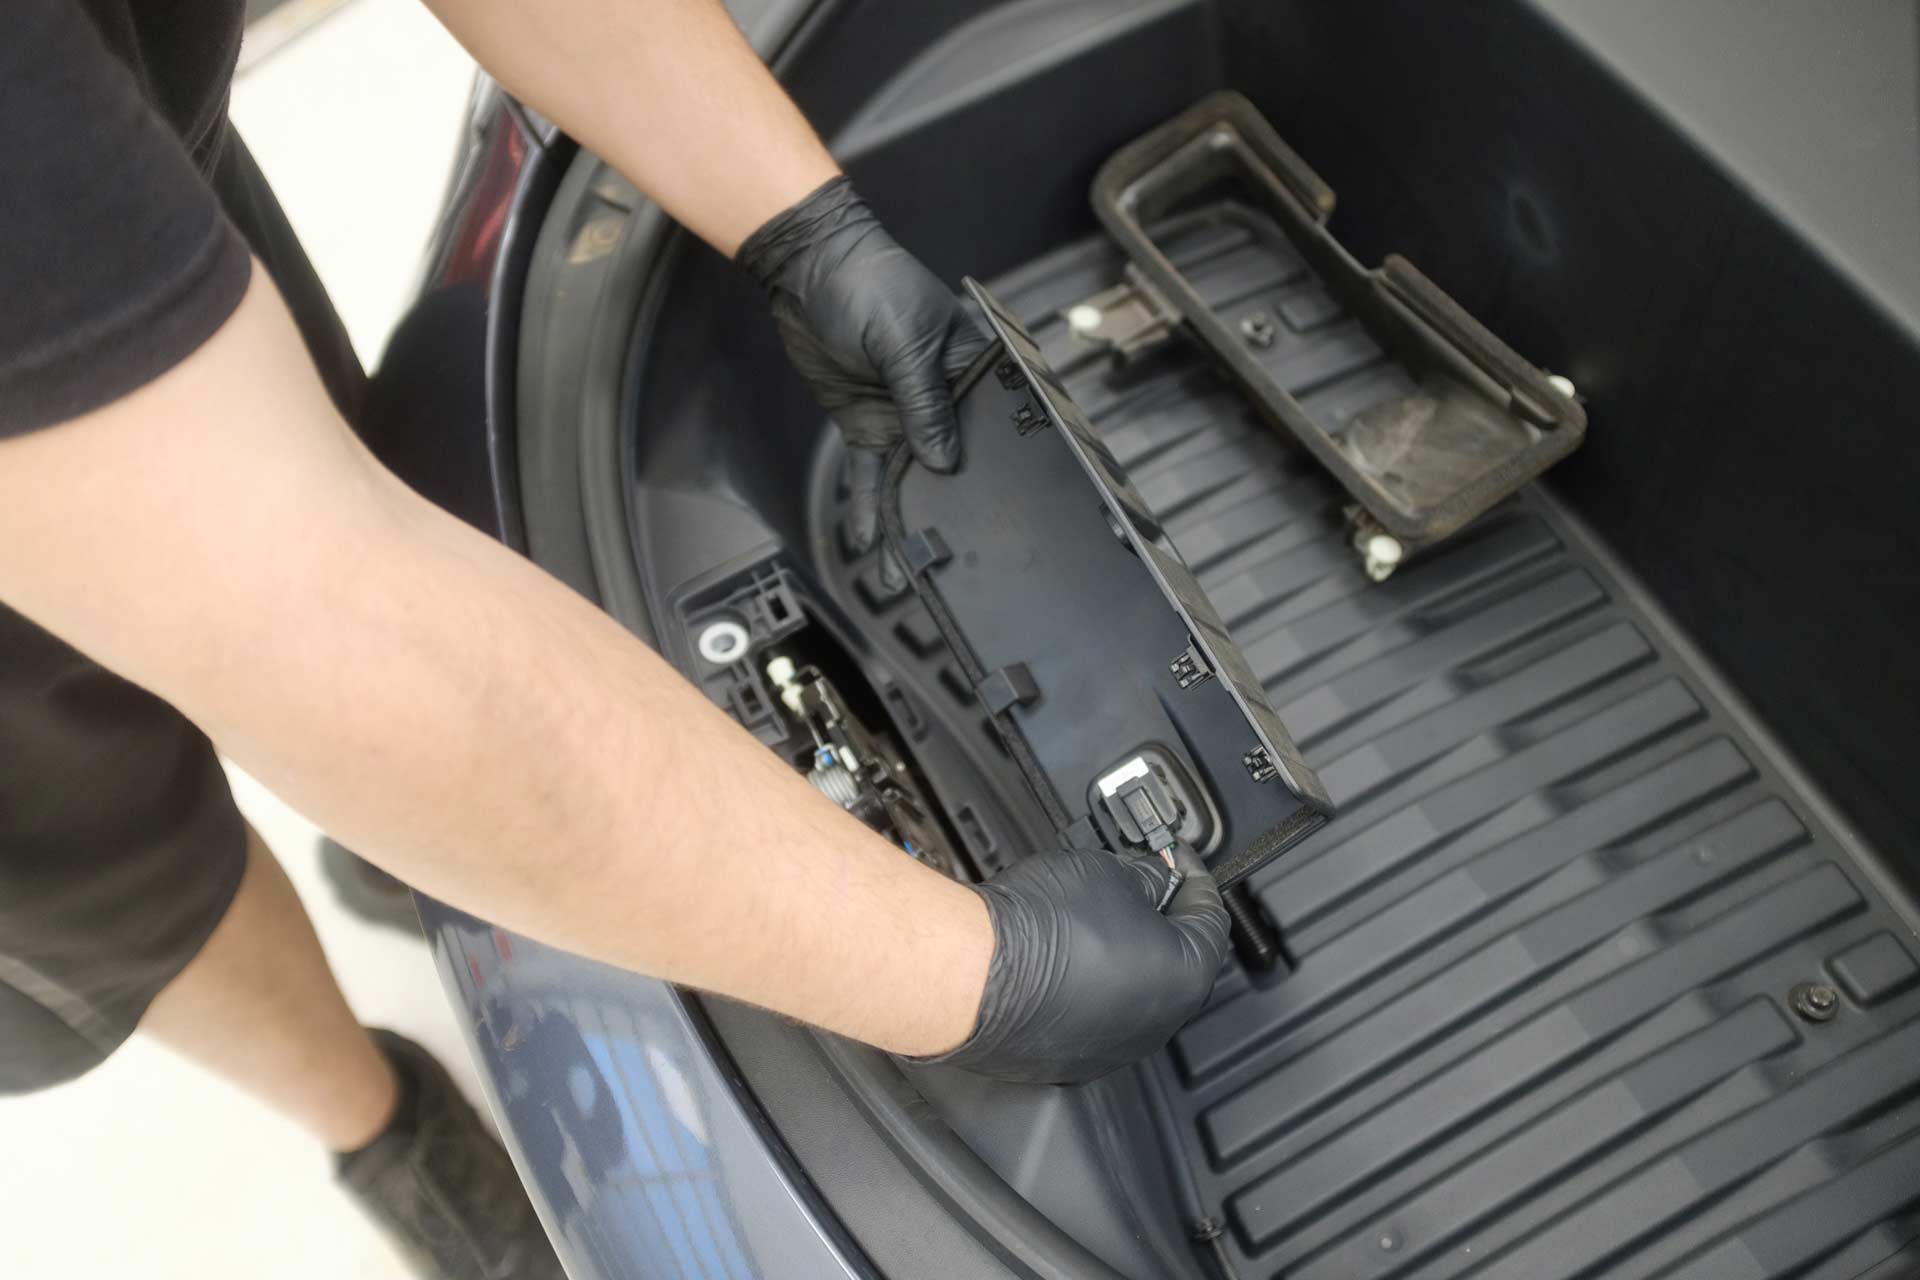
6. Using a 10mm socket, remove the bolts securing the front tub assembly to the vehicle, and remove the tub from the vehicle. Note that some tubs may have a push clip securing the windshield wiper fluid funnel to the frunk as opposed to a 10mm bolt.
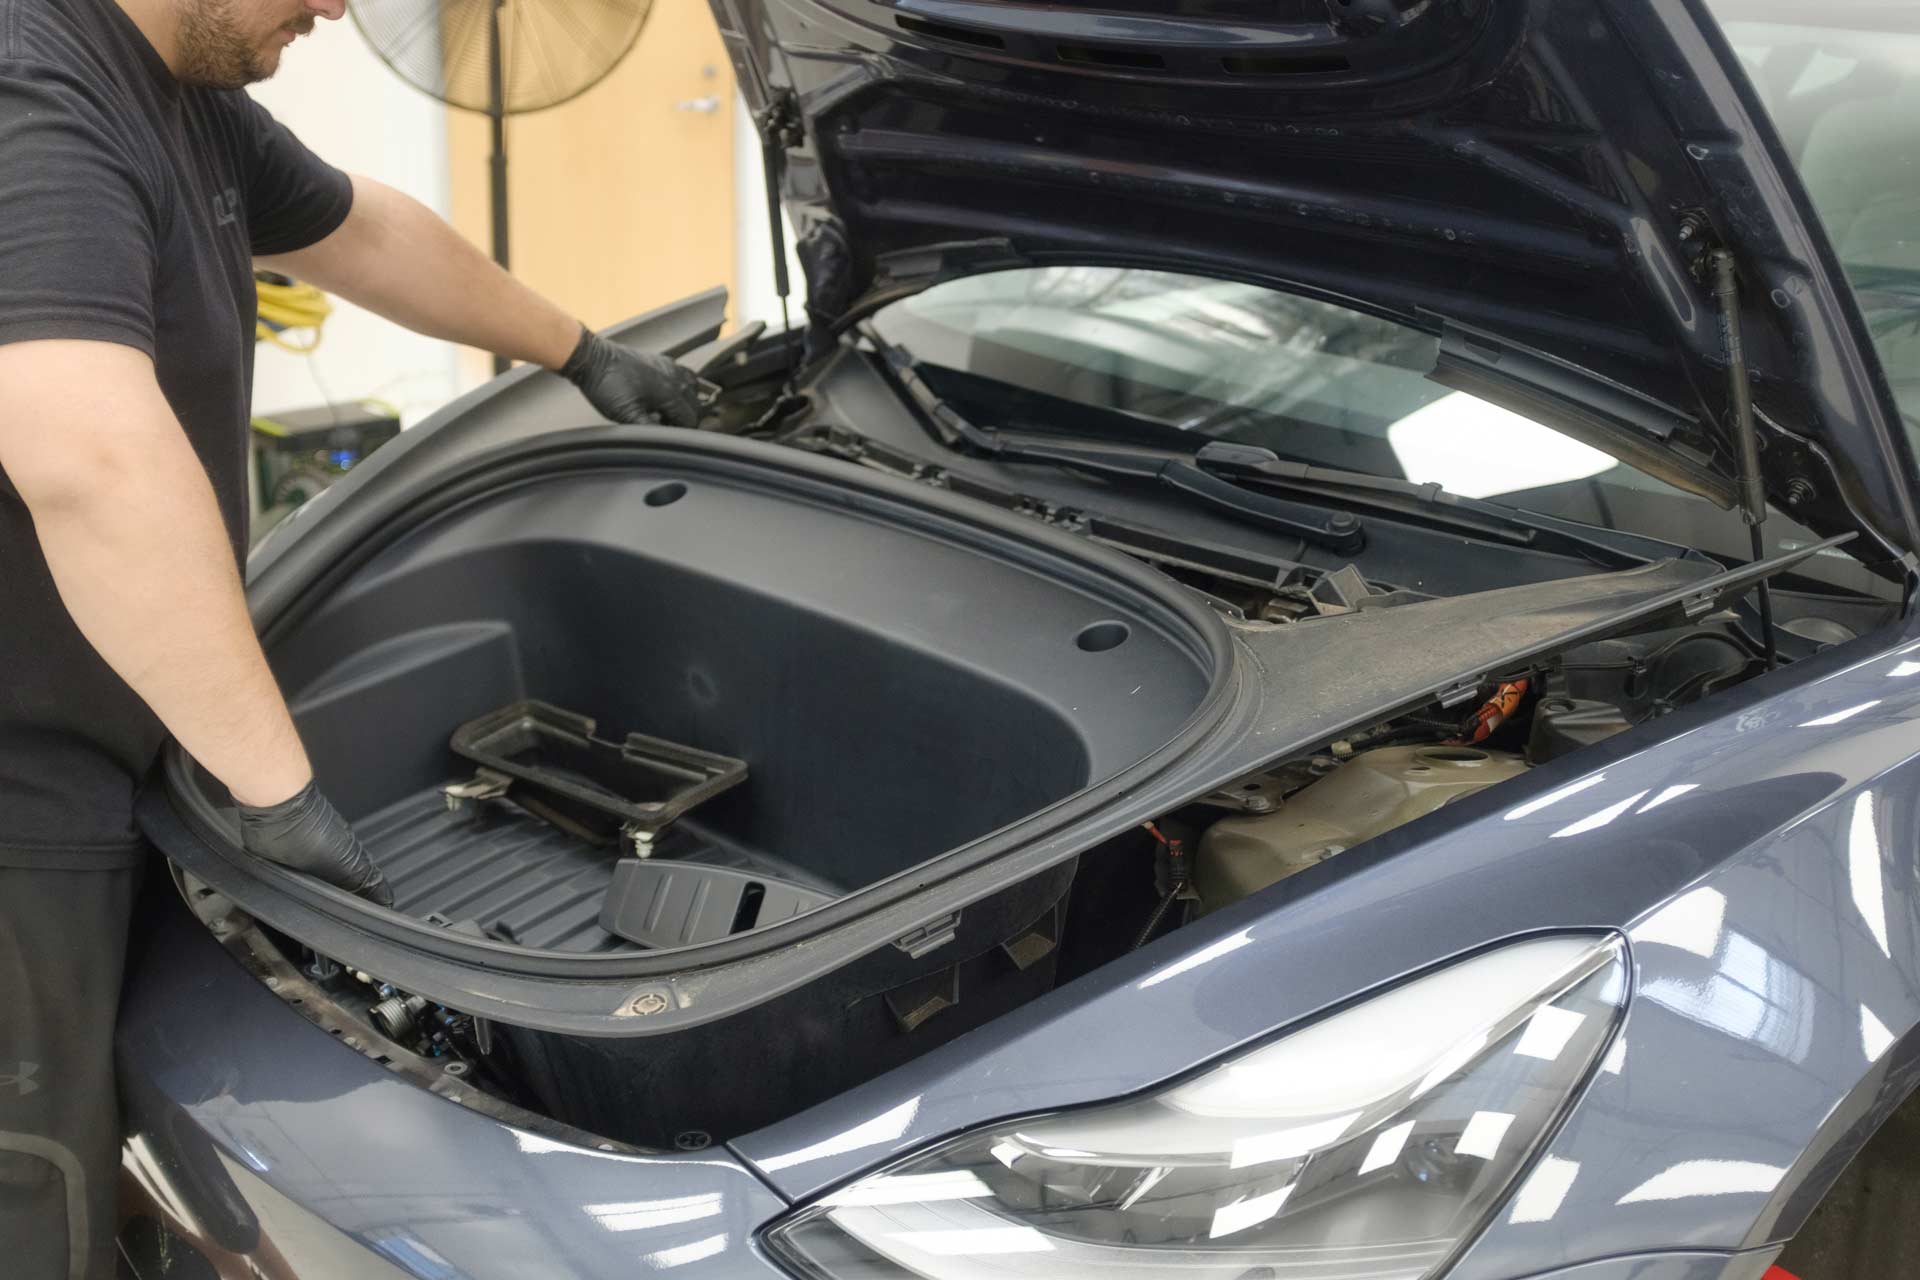
7. Using a pry tool, remove the shock tower flap covers on either side of the vehicle.
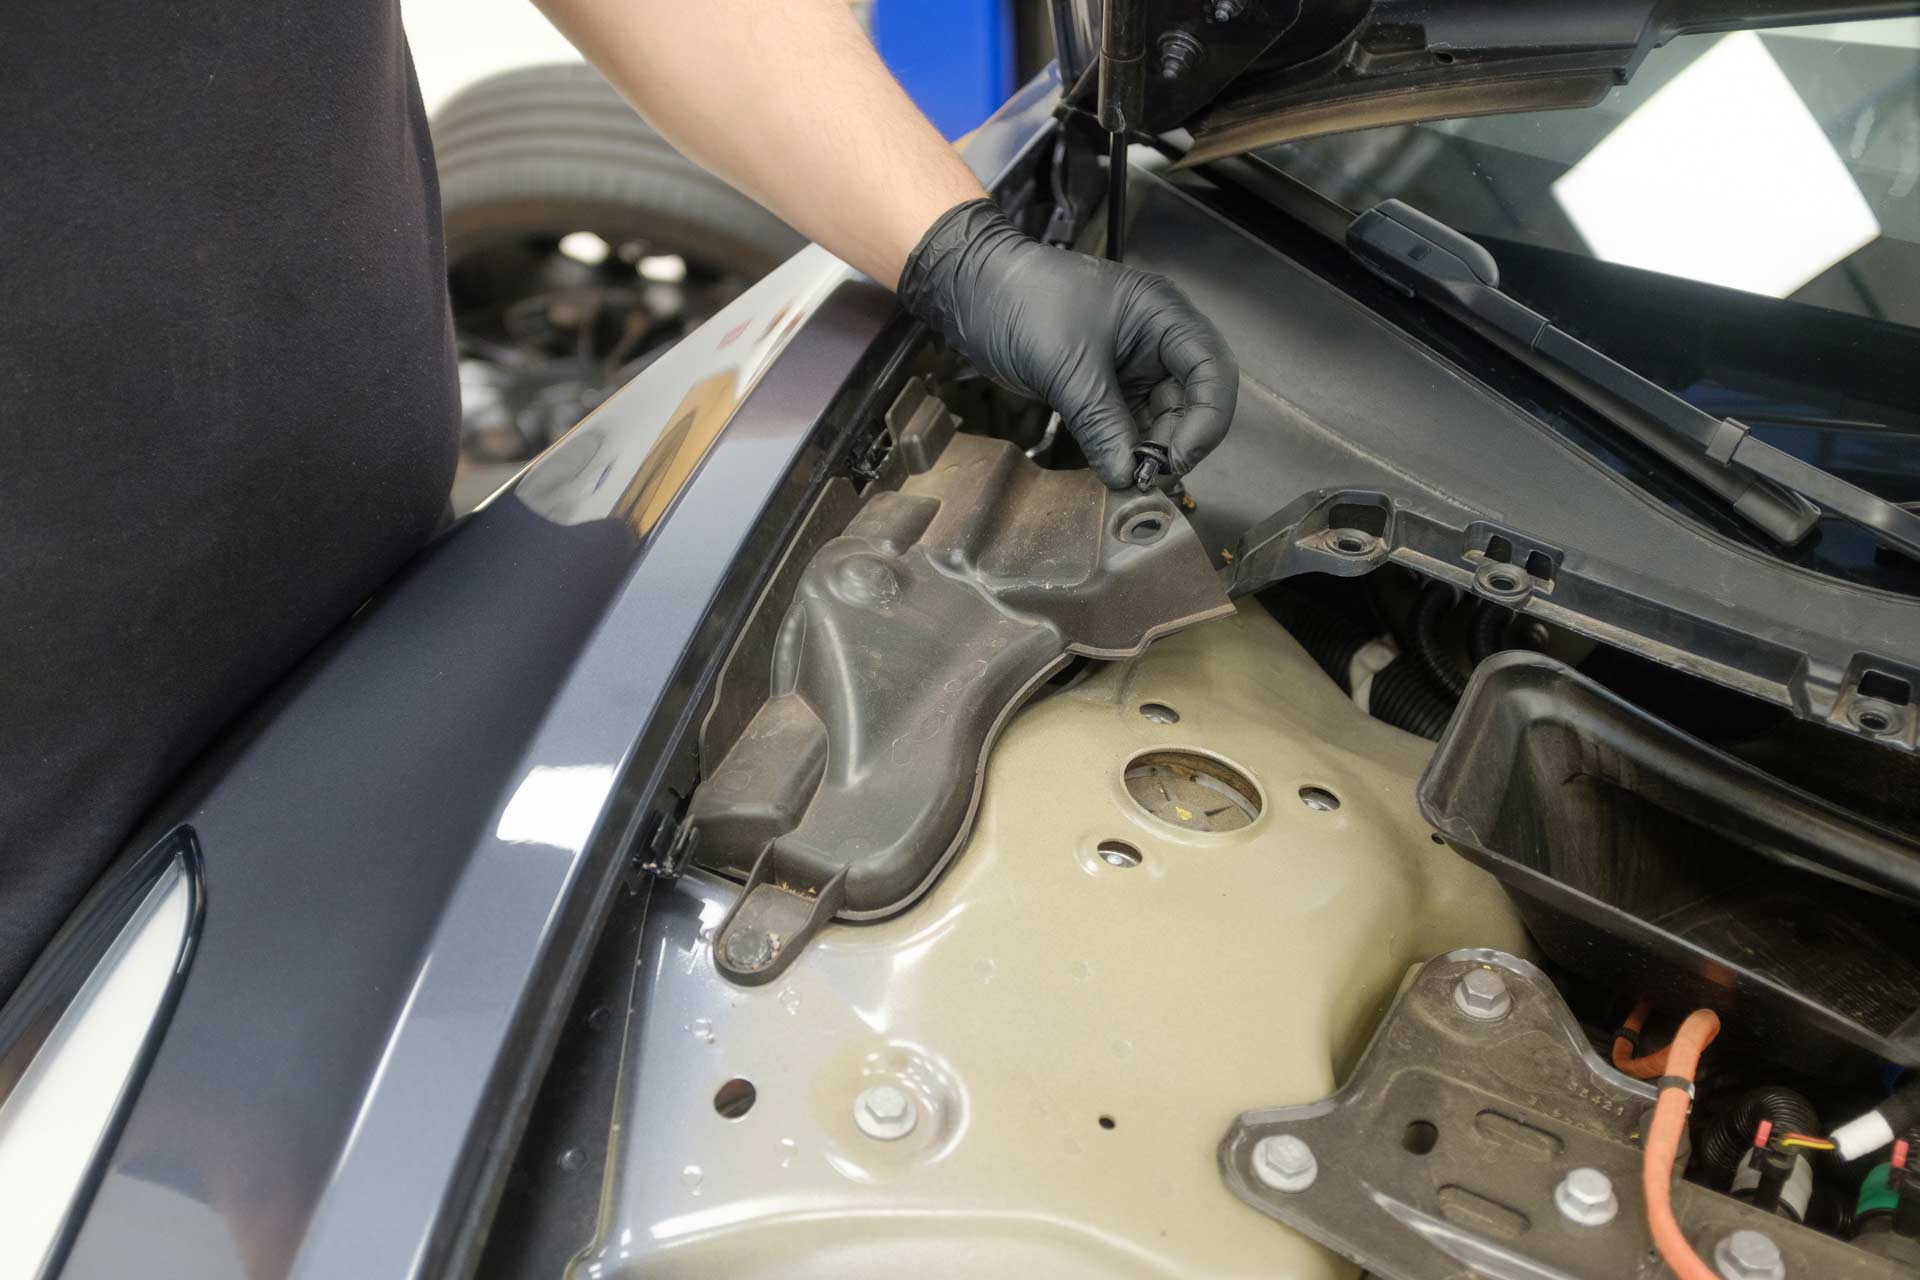
8. Using a pry tool, remove the wheel speed sensor cable assembly from the upright, as well as the front upper control arm assembly.
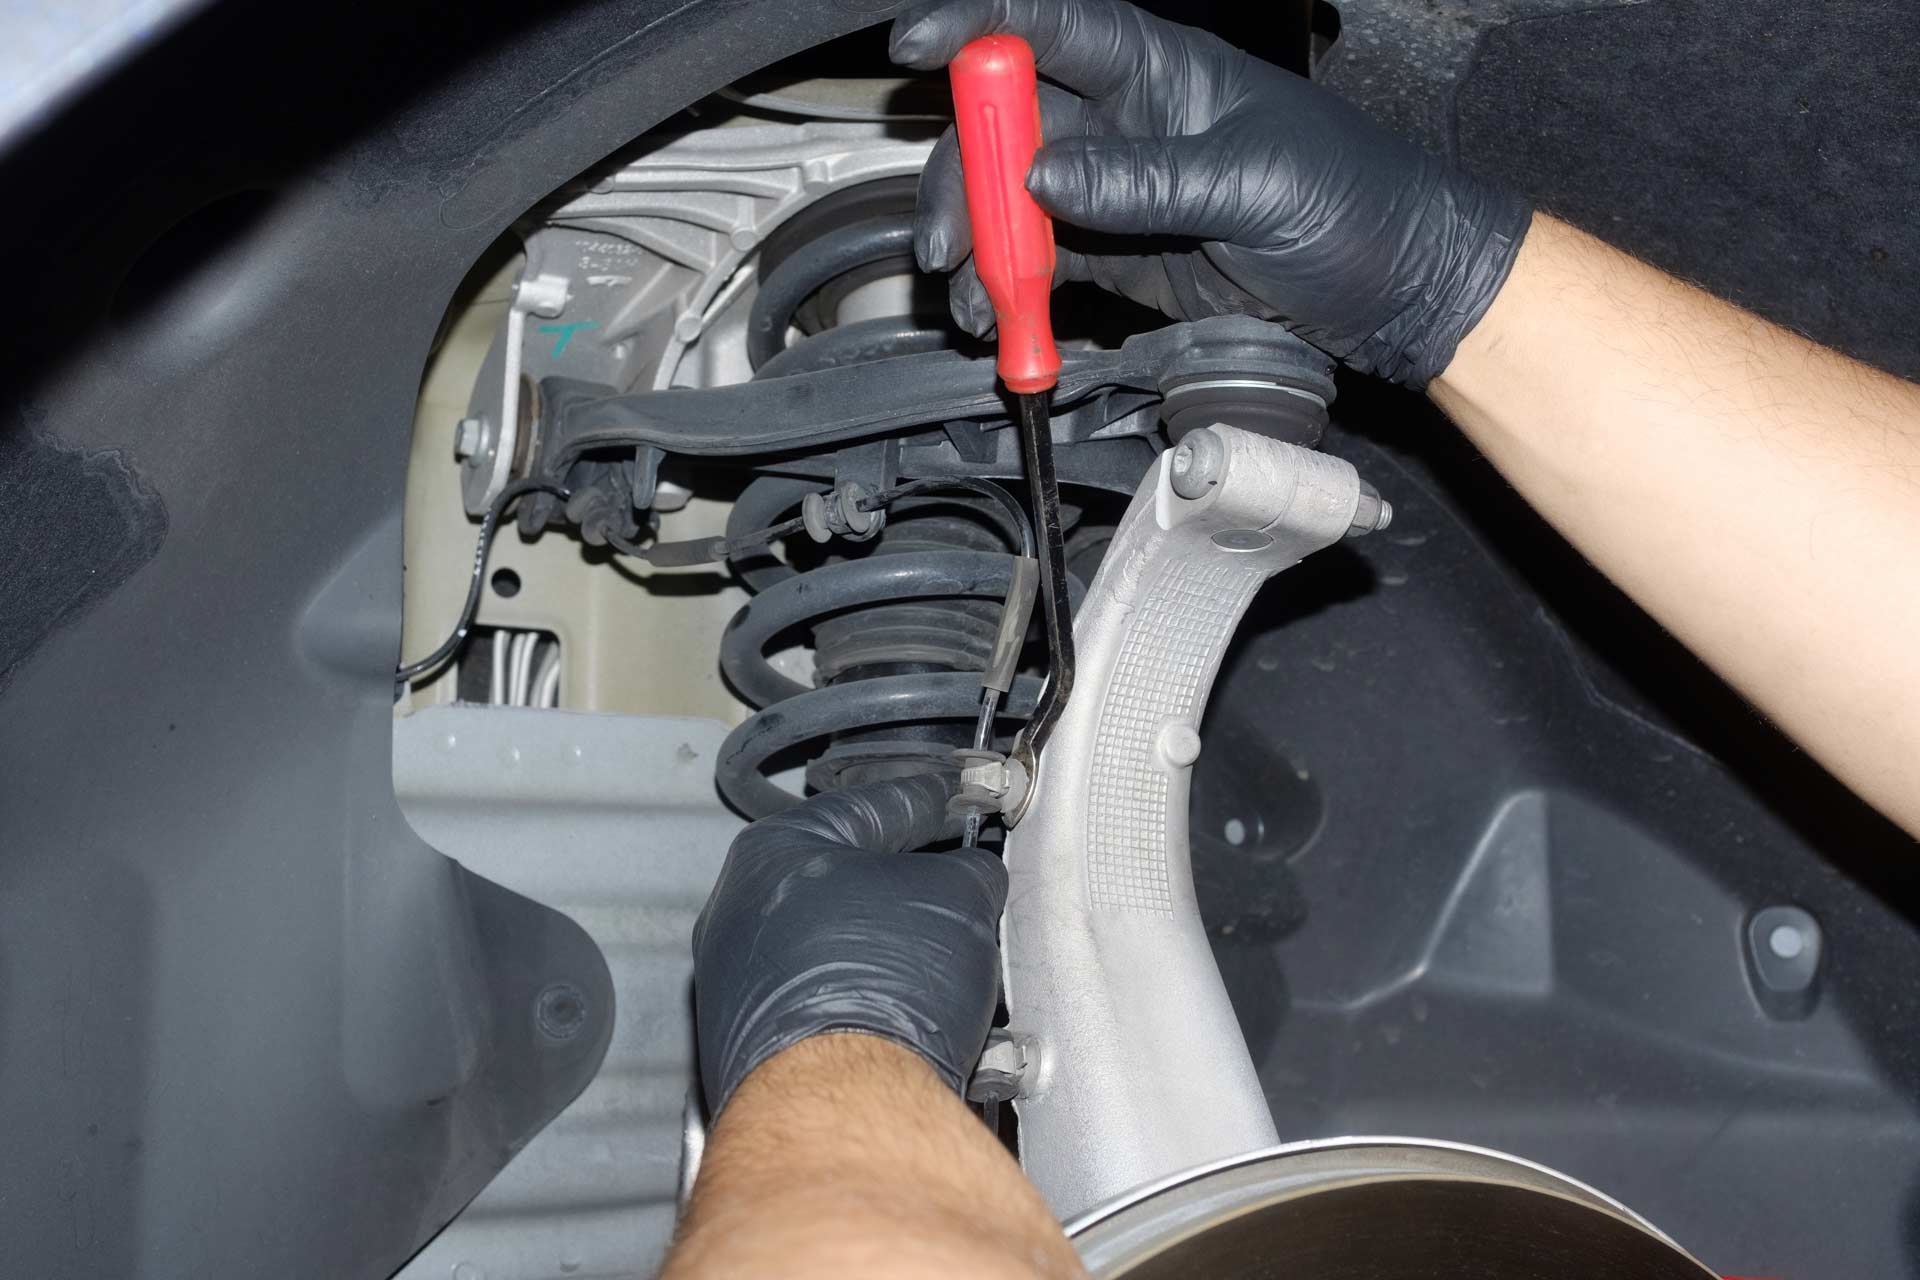
9. Using a 10mm socket, remove the brake line bracket from the upright.
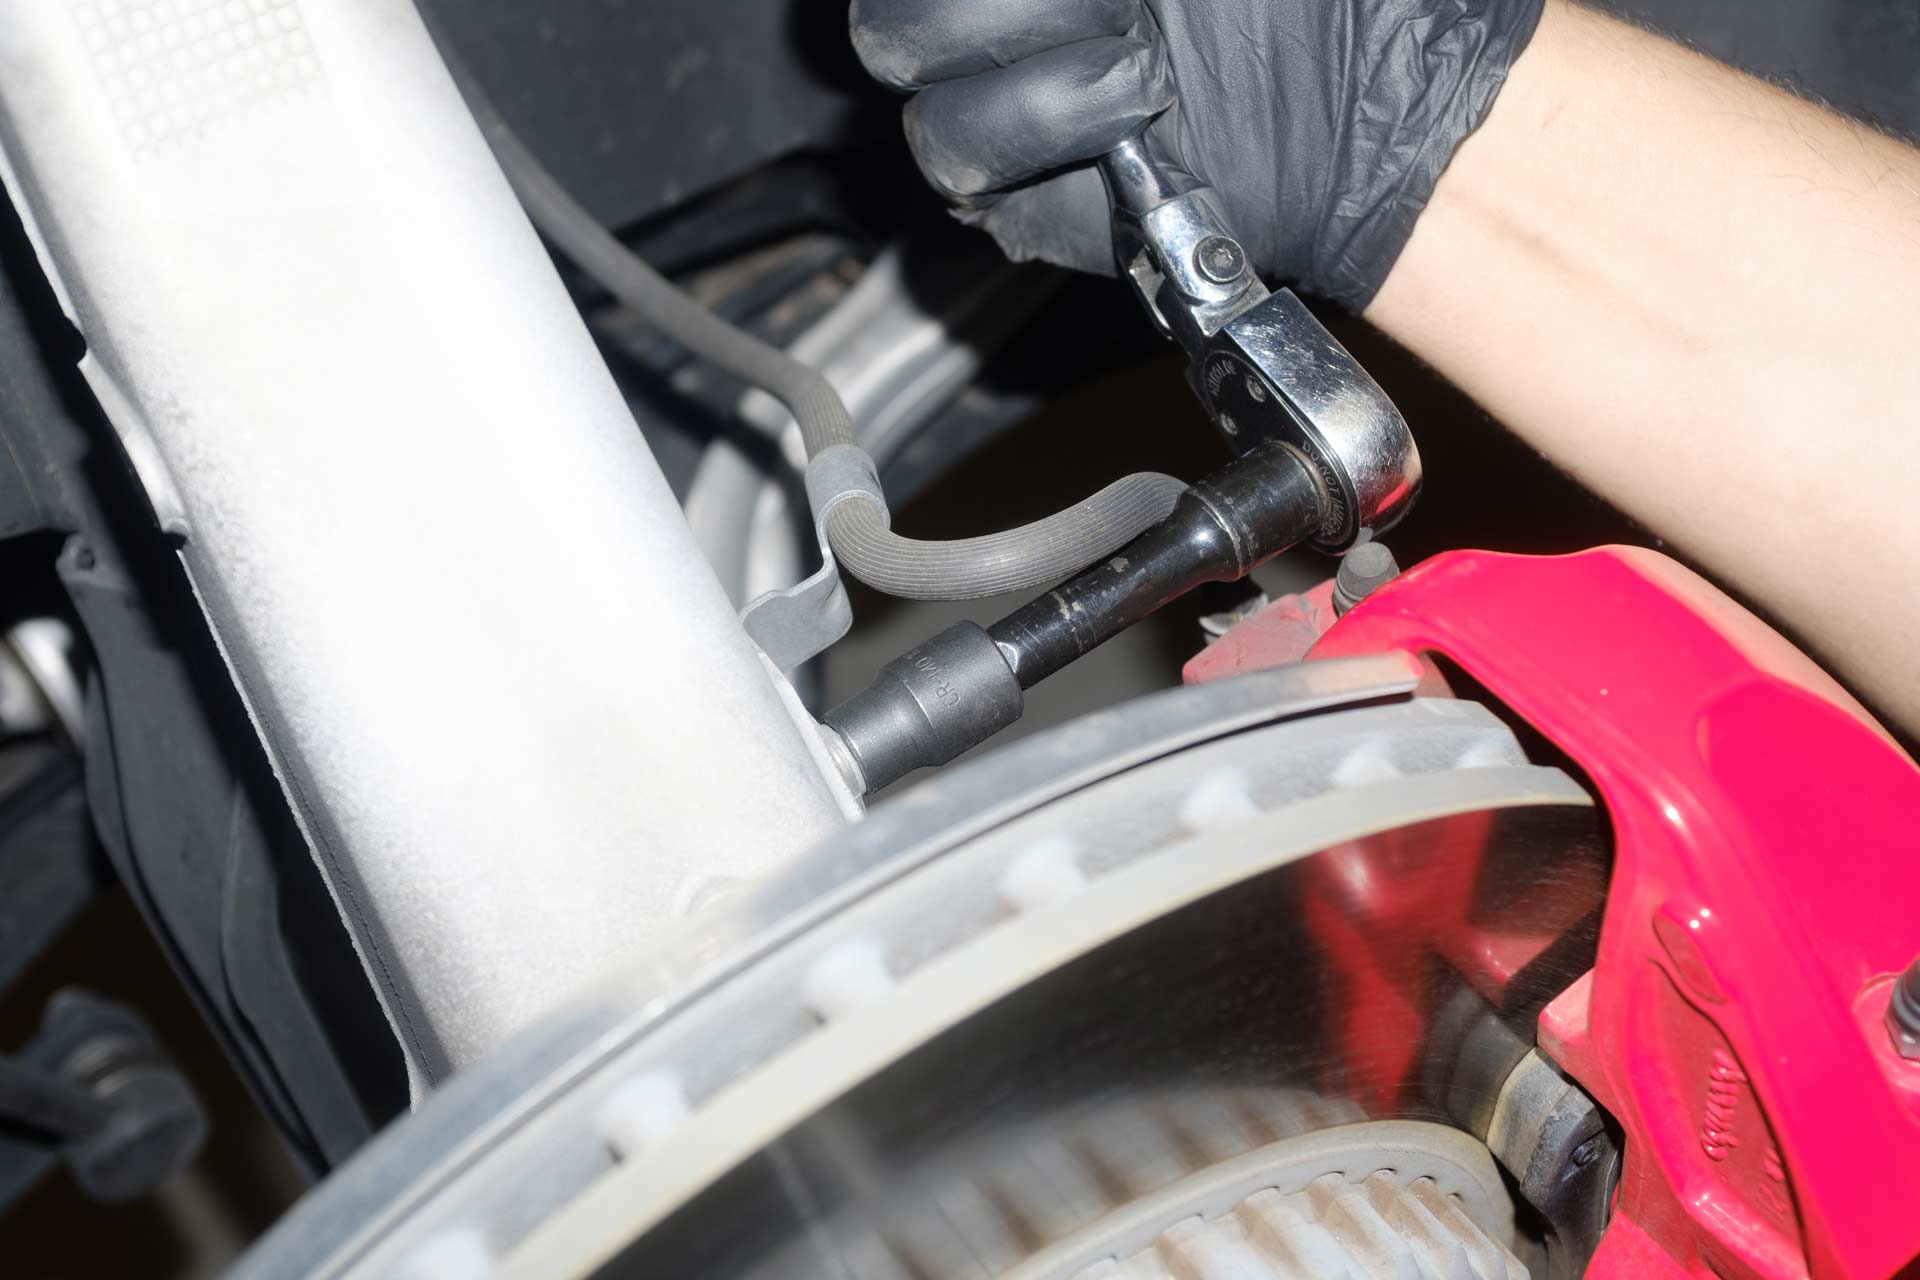
10. Using an 18mm socket, remove the factory lock nut securing the sway bar endlink to the front shock fork, and remove the endlink from the fork.
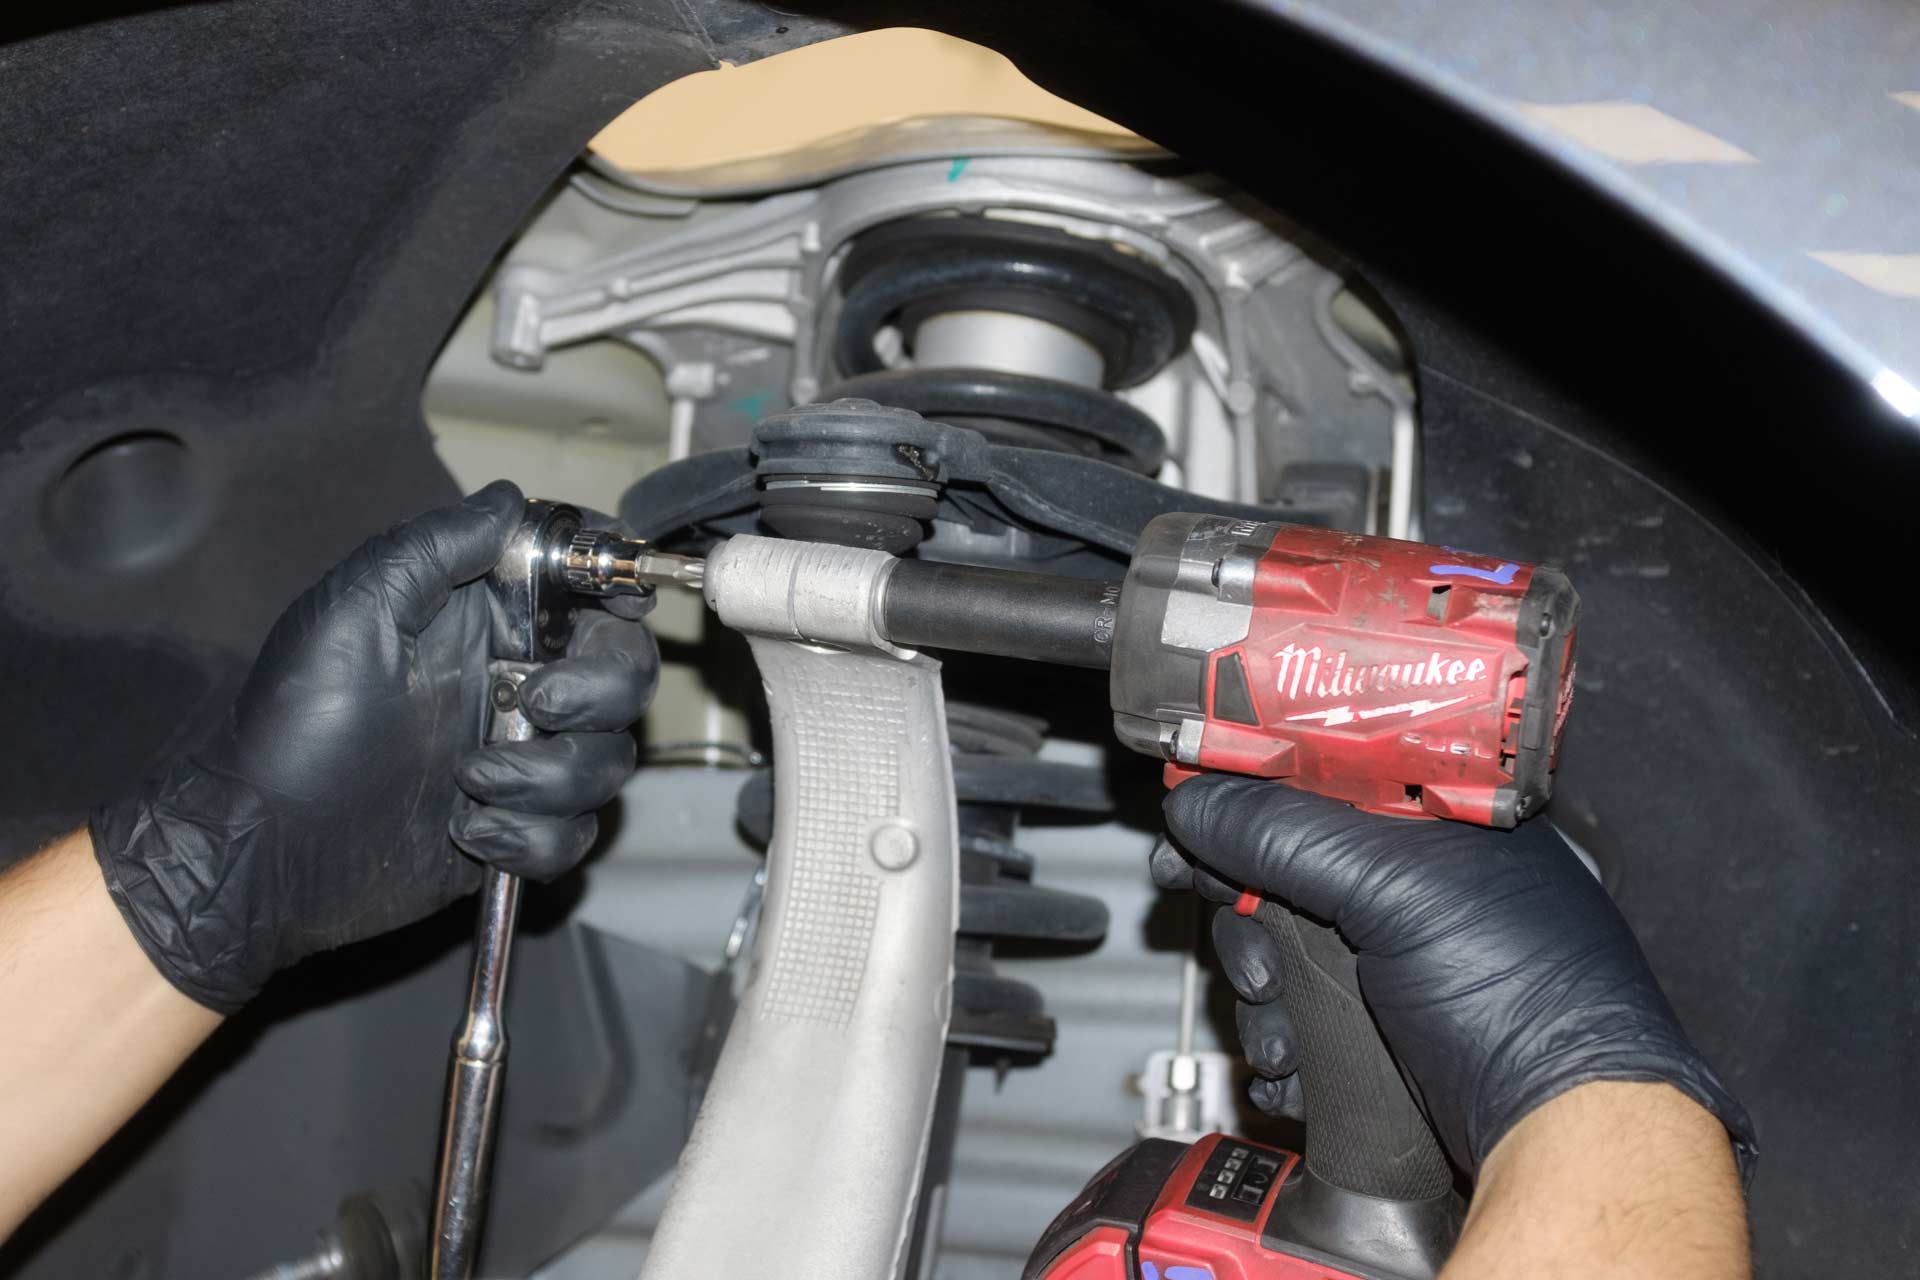
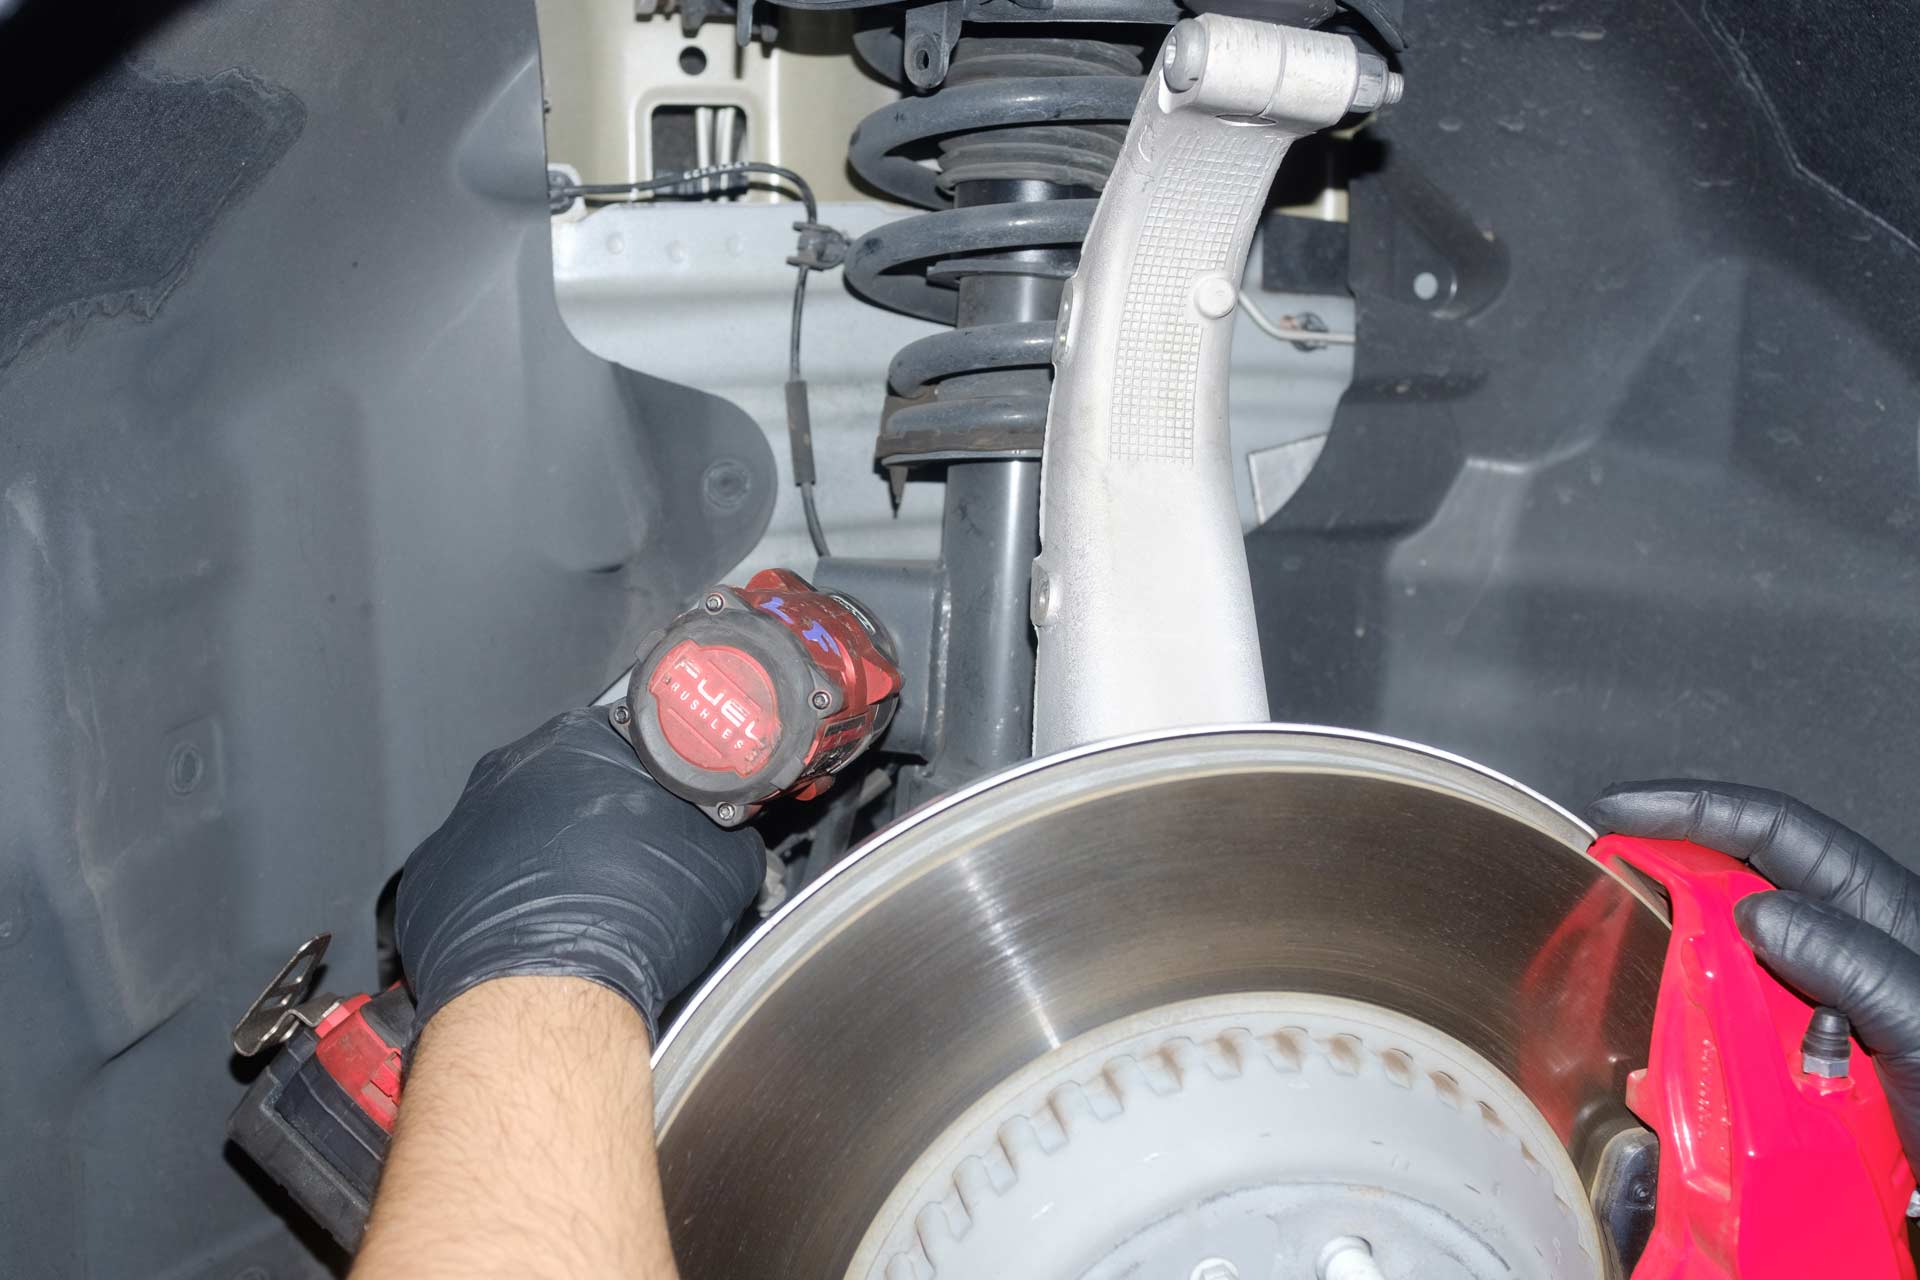
11. Using a T50 and a 15mm socket, remove the pinch bolt and nut securing the front upper control arm drop pin to the upright.
12. Using a 21mm socket, and a 21mm end wrench, remove the bolt and nut securing the lower shock fork to the front lower lateral control arm.
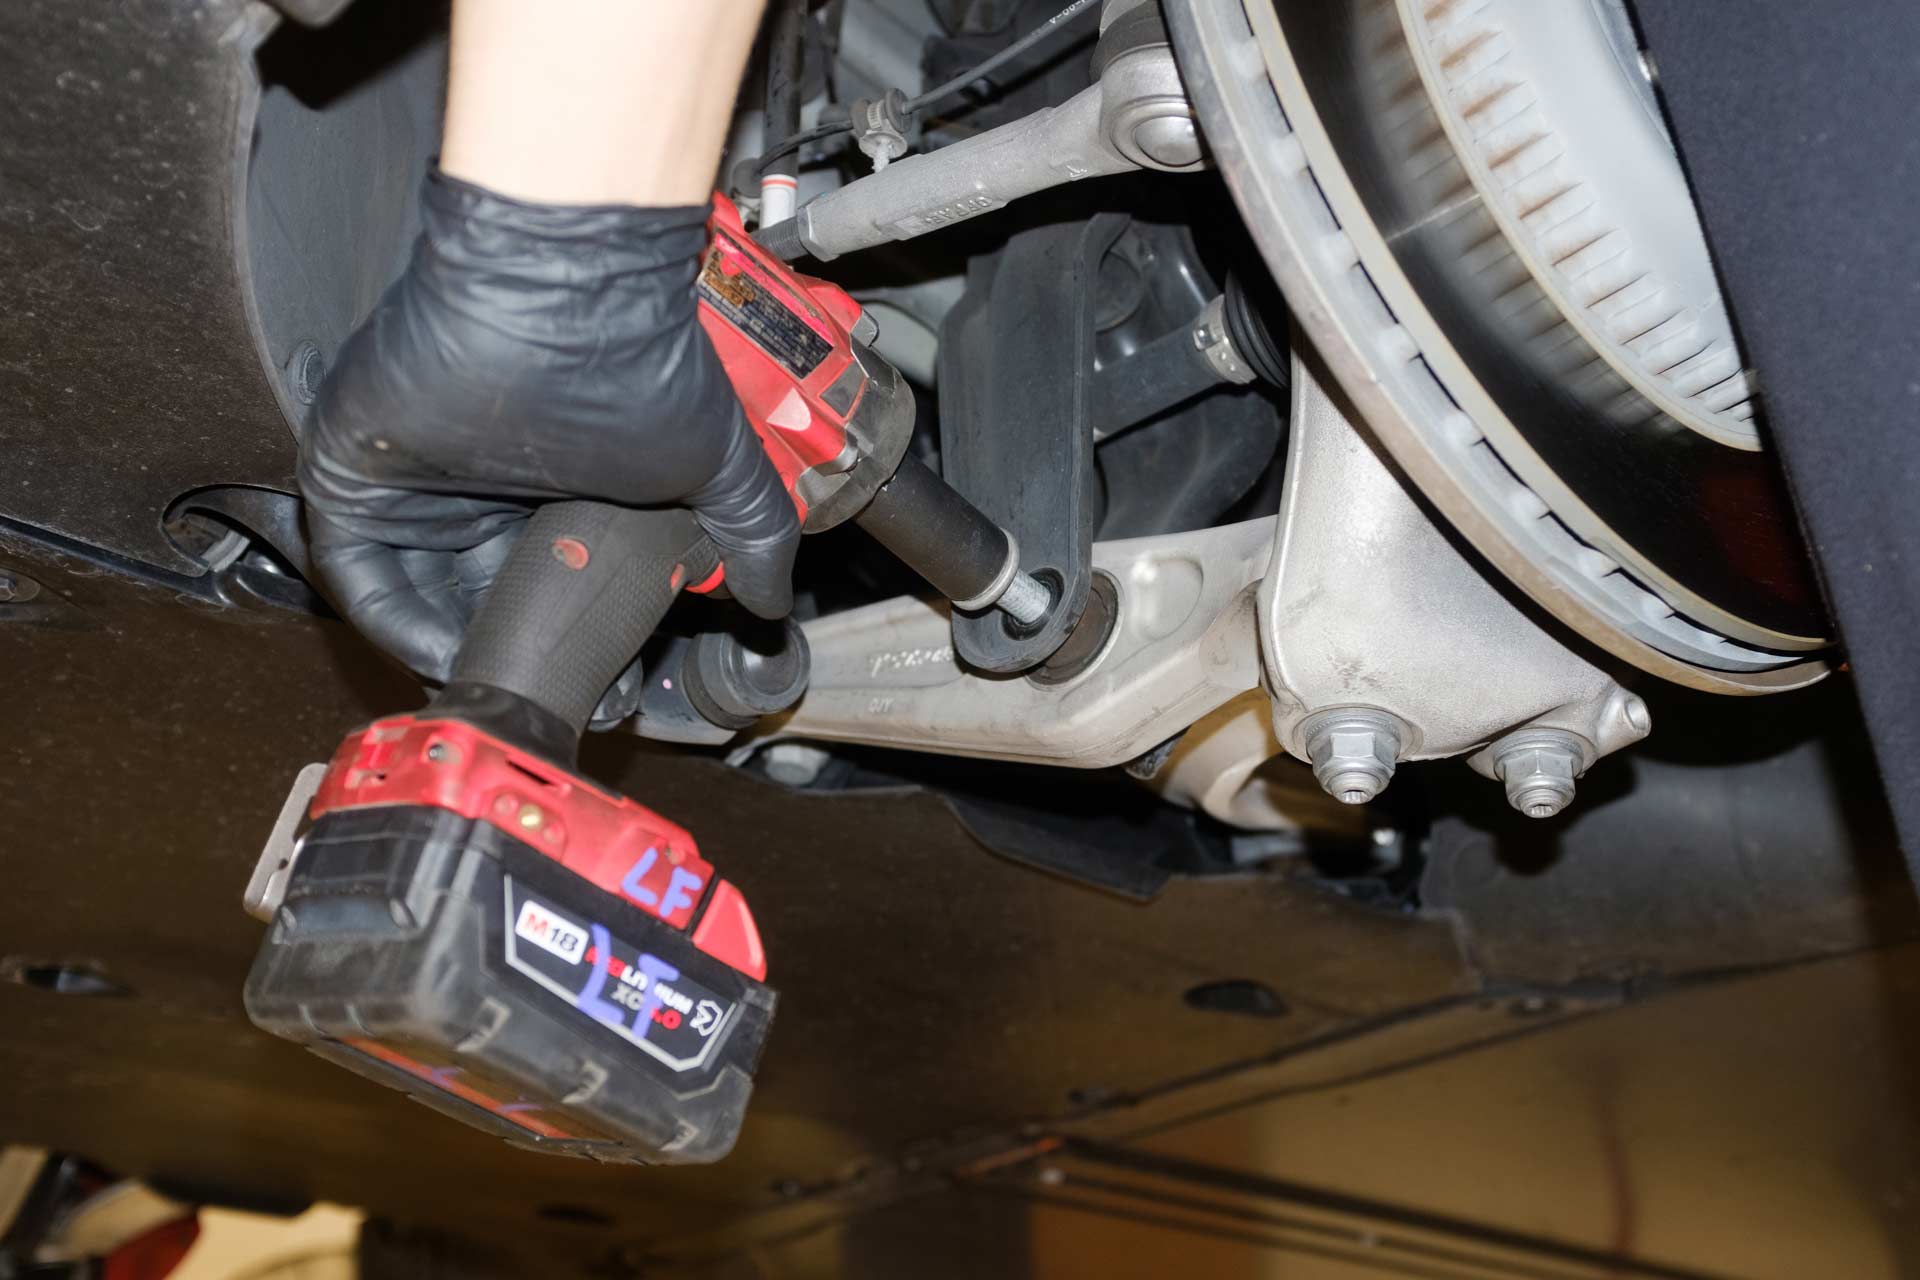
13. Using a 13mm socket, remove the following 2 bolts securing the front upper control arm cradle assembly to the vehicle. (Note that some Model Y vehicles may have different front subframe assembly that does not utilize a front upper control arm cradle. If this is the case, proceed to remove the same 13mm bolts accordingly.)
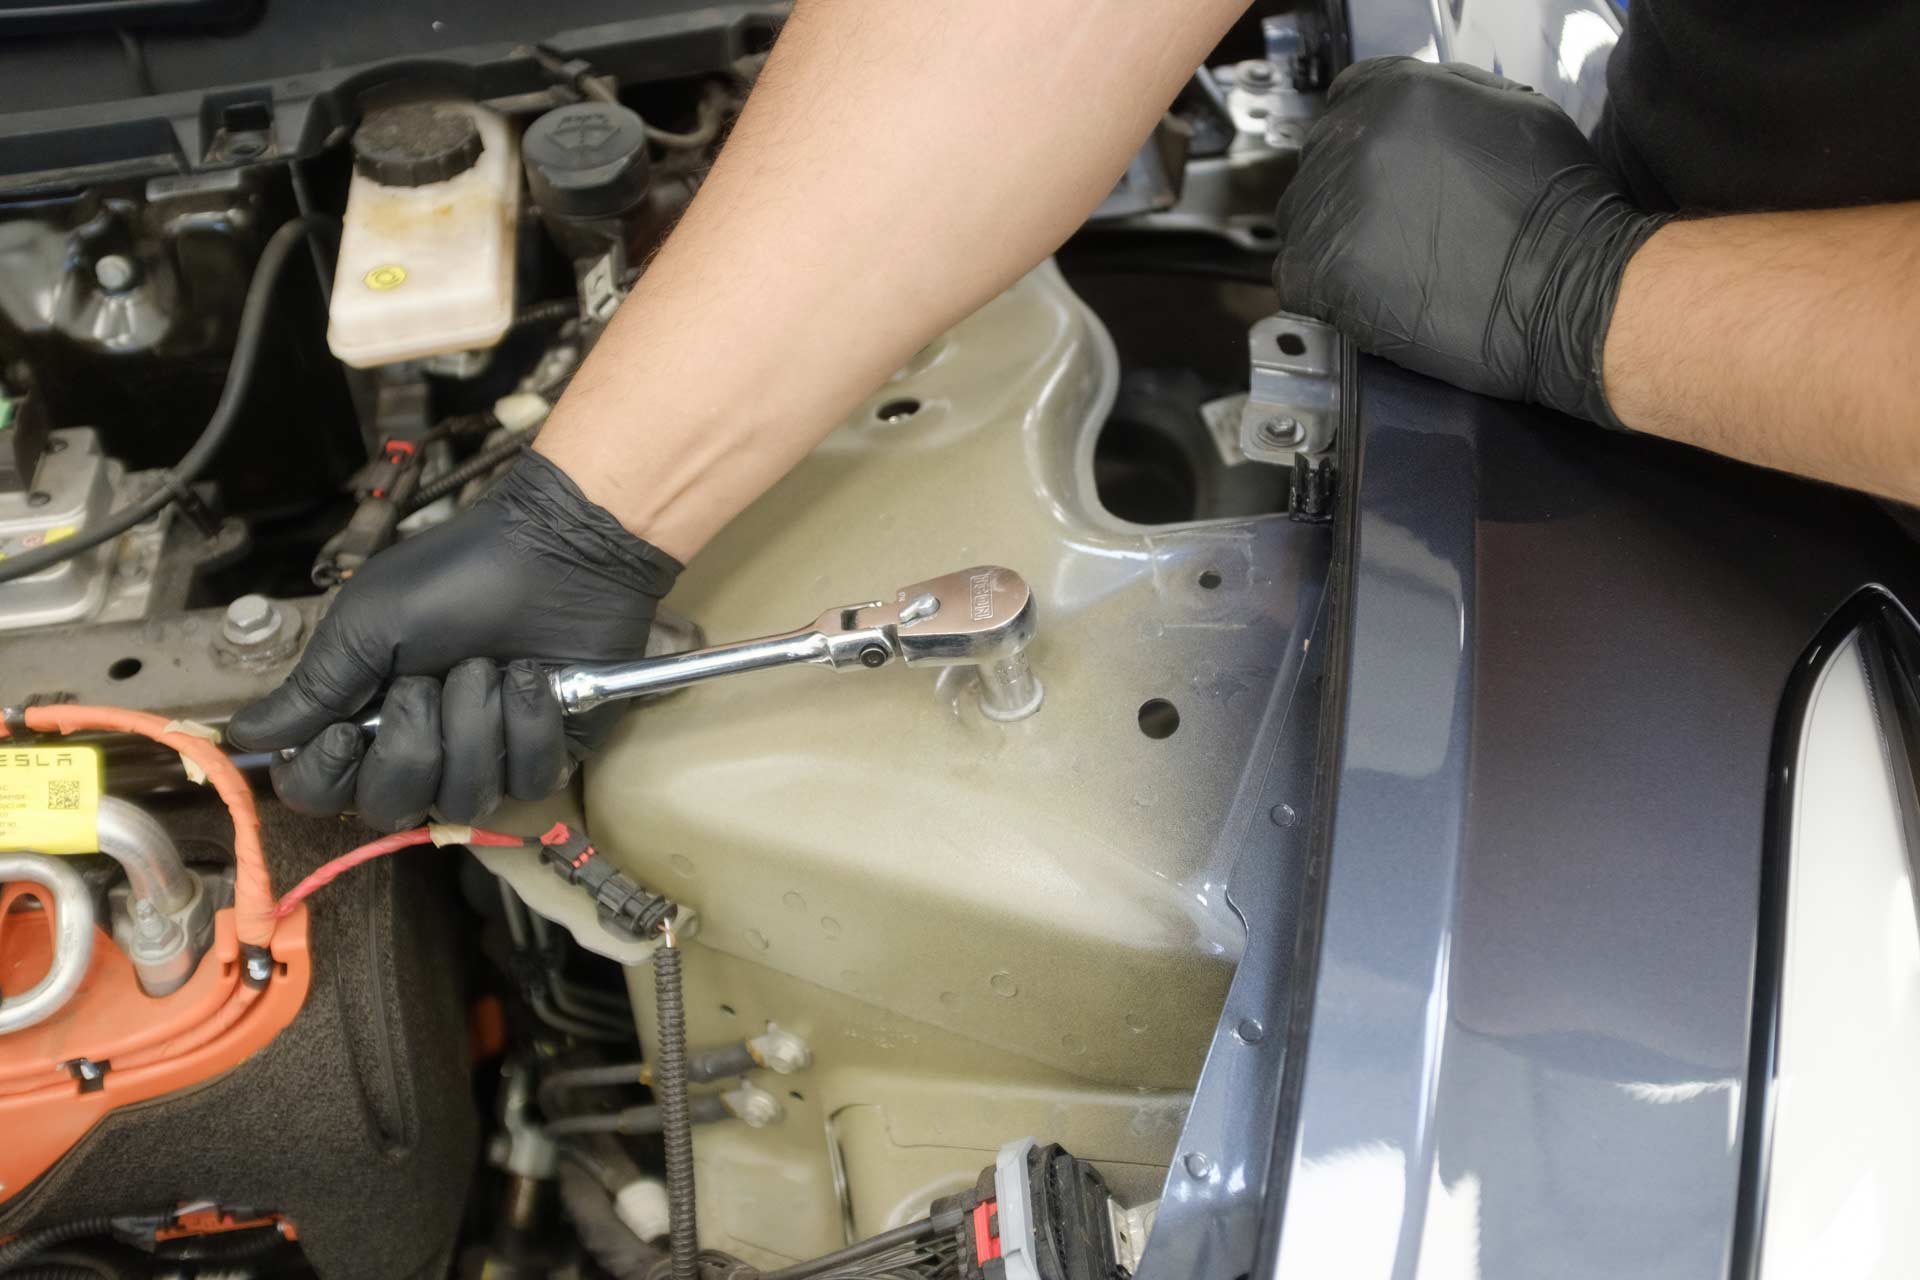
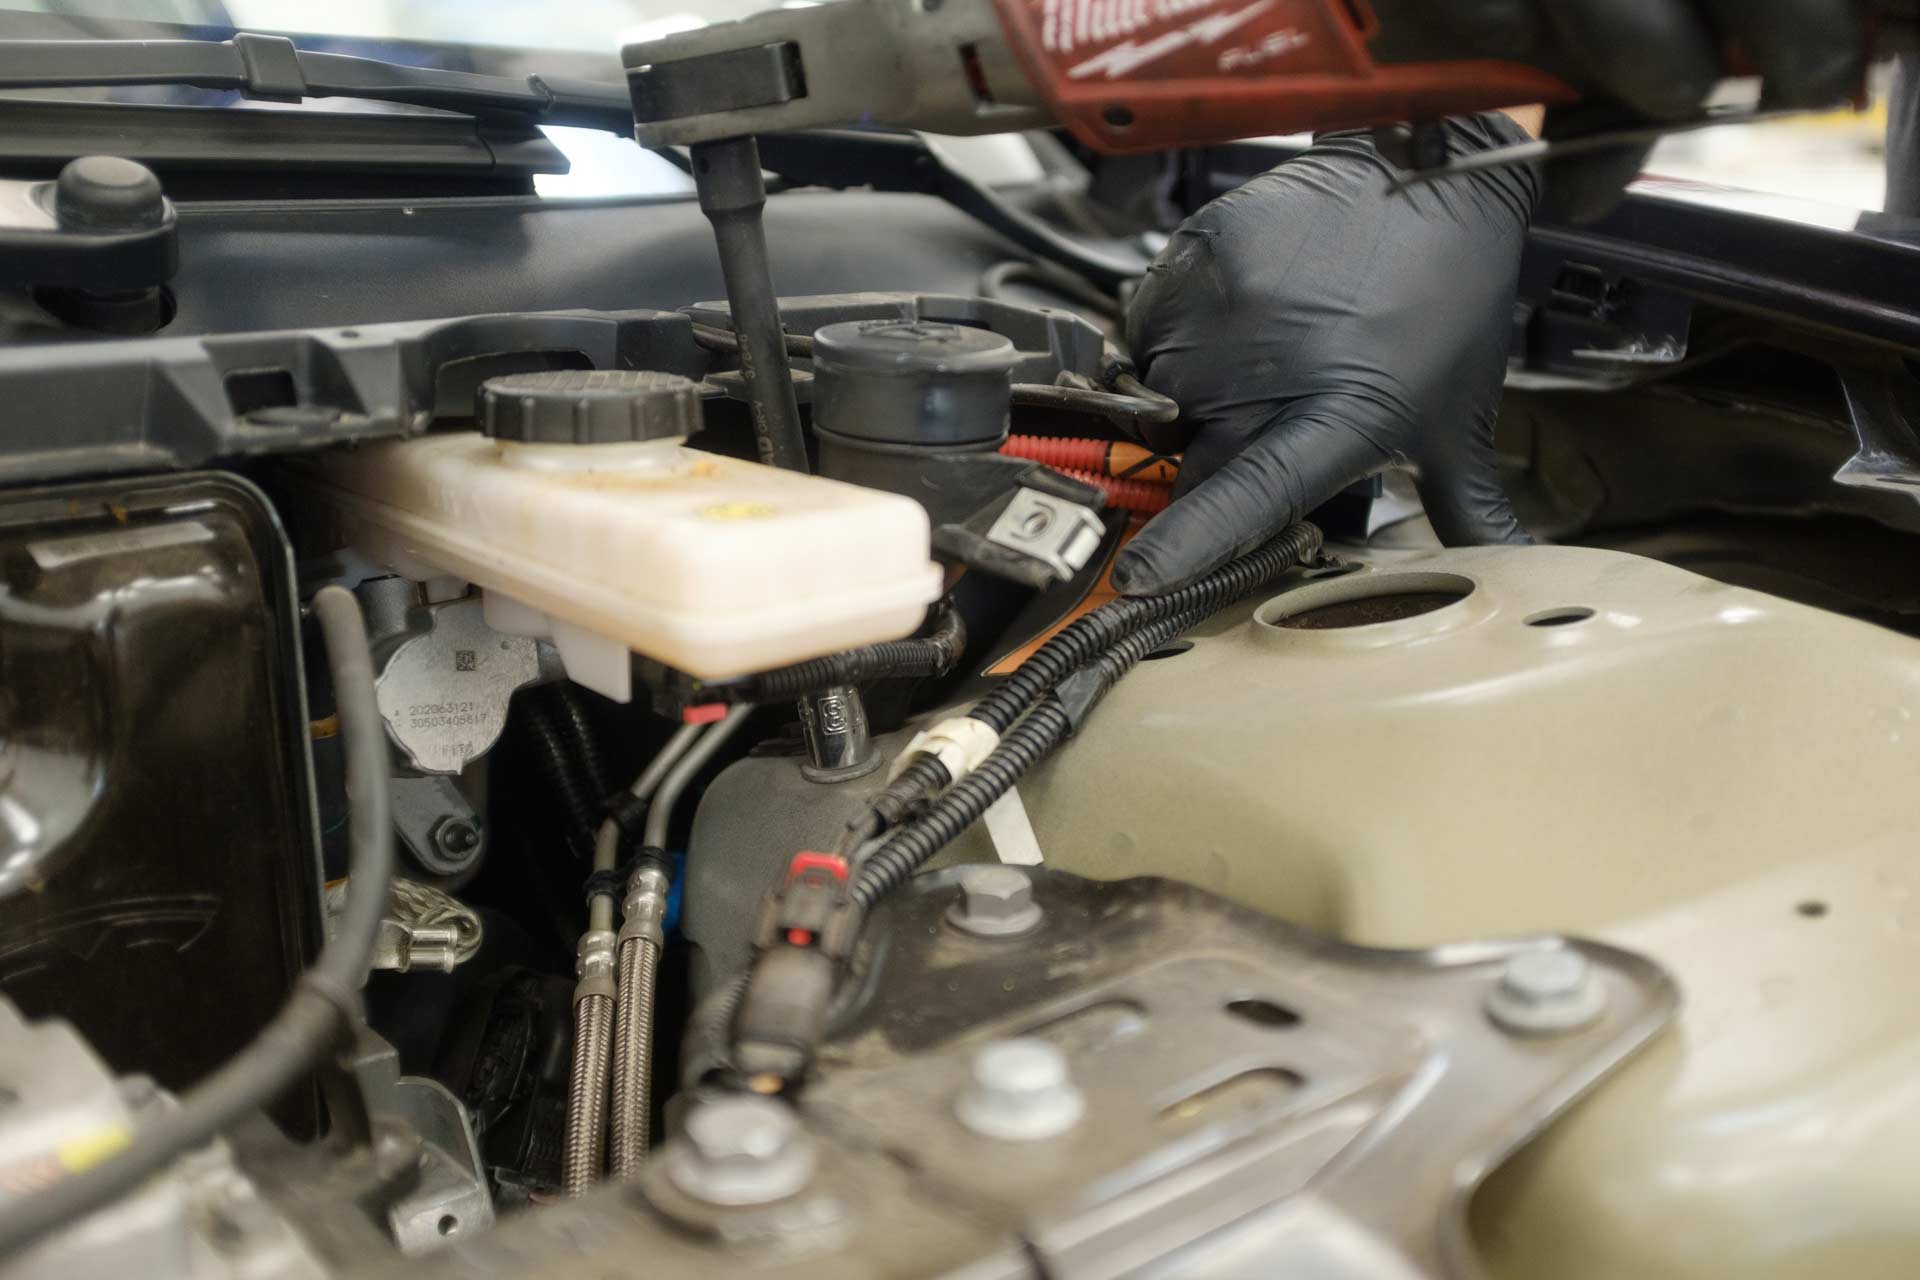
14. Using a 15mm socket, remove the following 2 bolts securing the front upper control arm cradle assembly to the vehicle. Be sure to hold the shock while removing the final bolt as it is no longer fastened to the vehicle, and will likely fall from the vehicle once the threads are no longer engaged. (Note that some Model Y vehicles may have different front subframe assembly that does not utilize a front upper control arm cradle. If this is the case, proceed to remove the same 13mm bolts accordingly.)
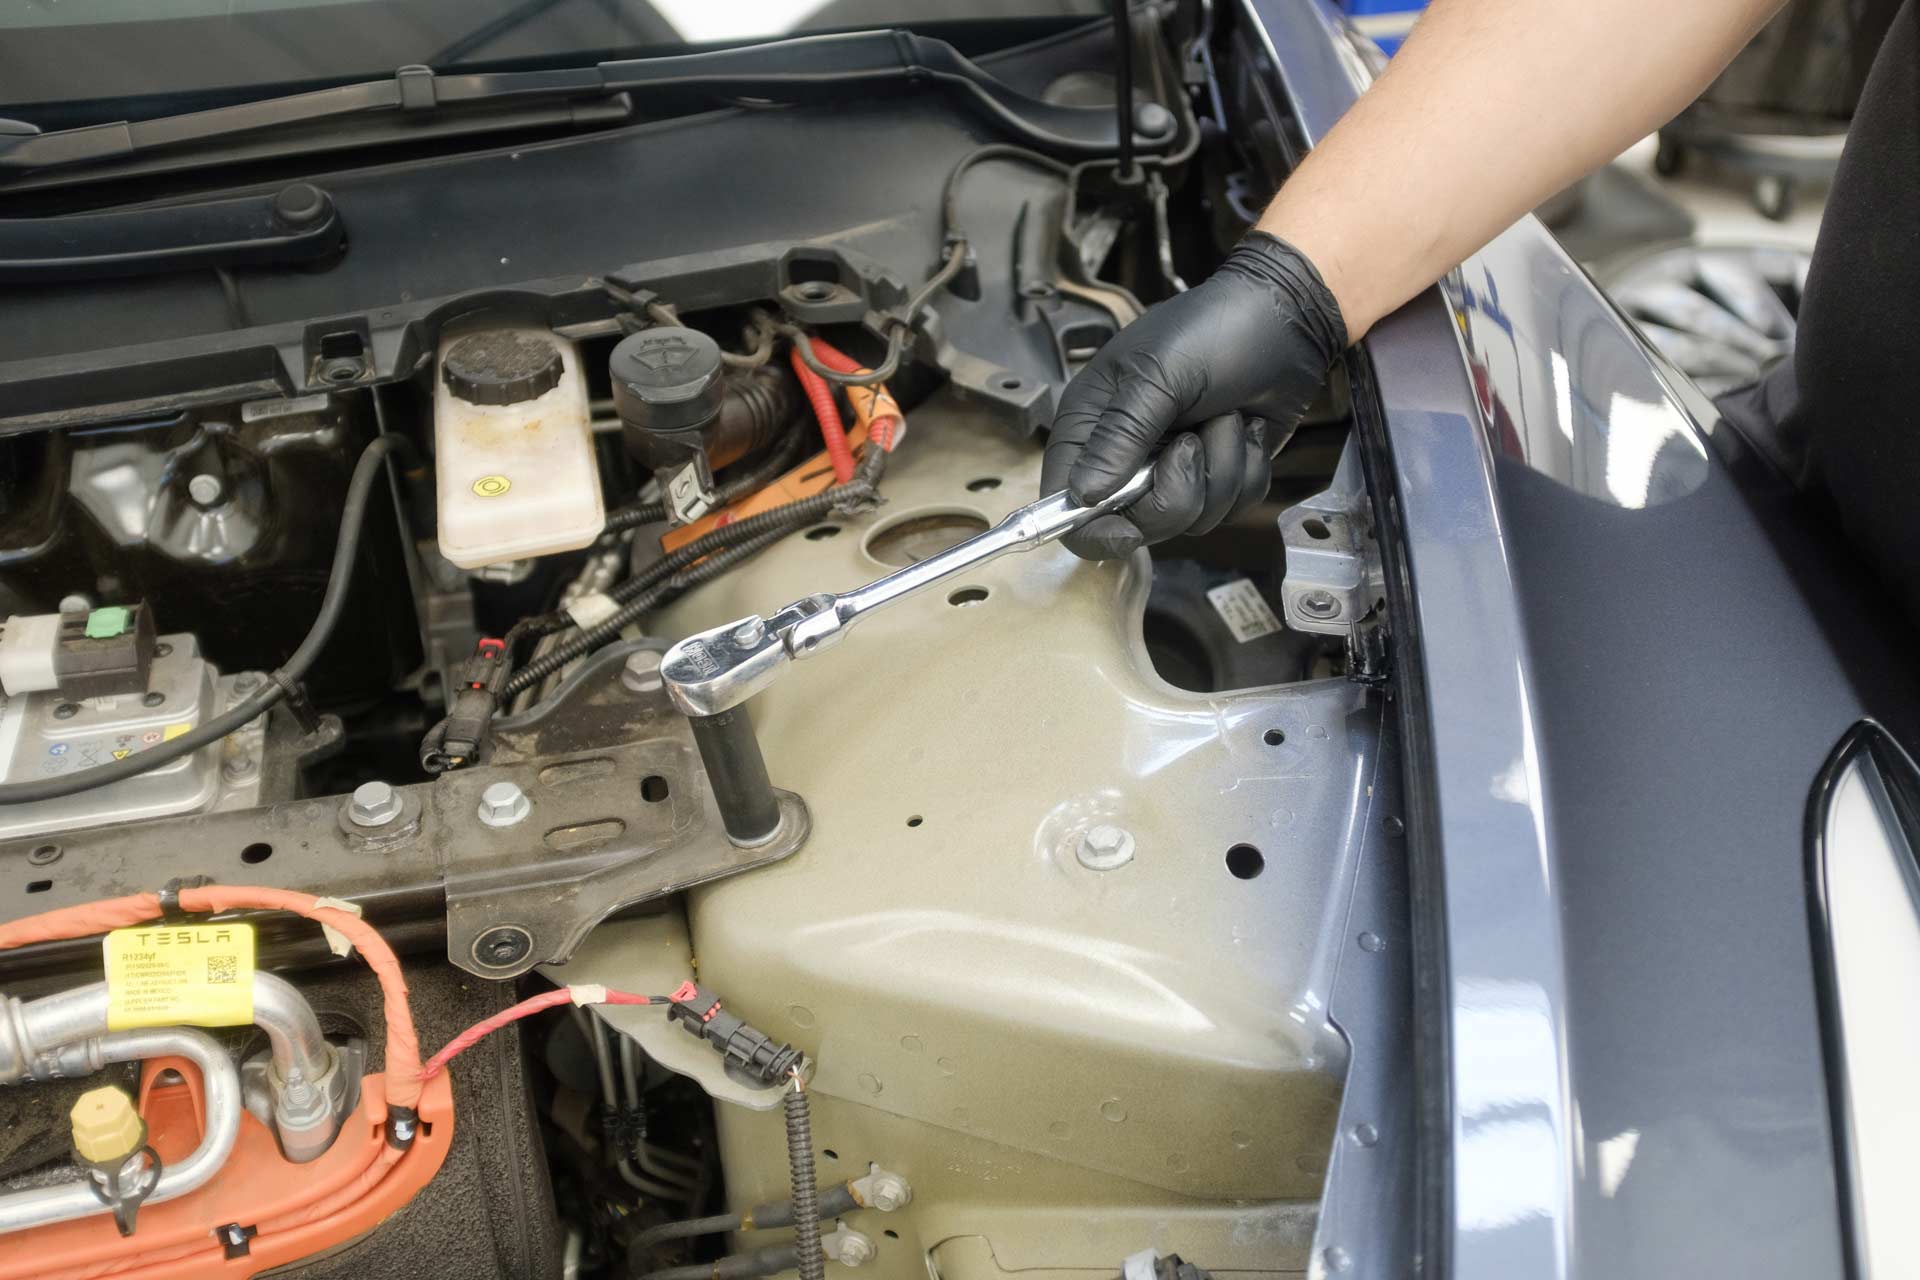
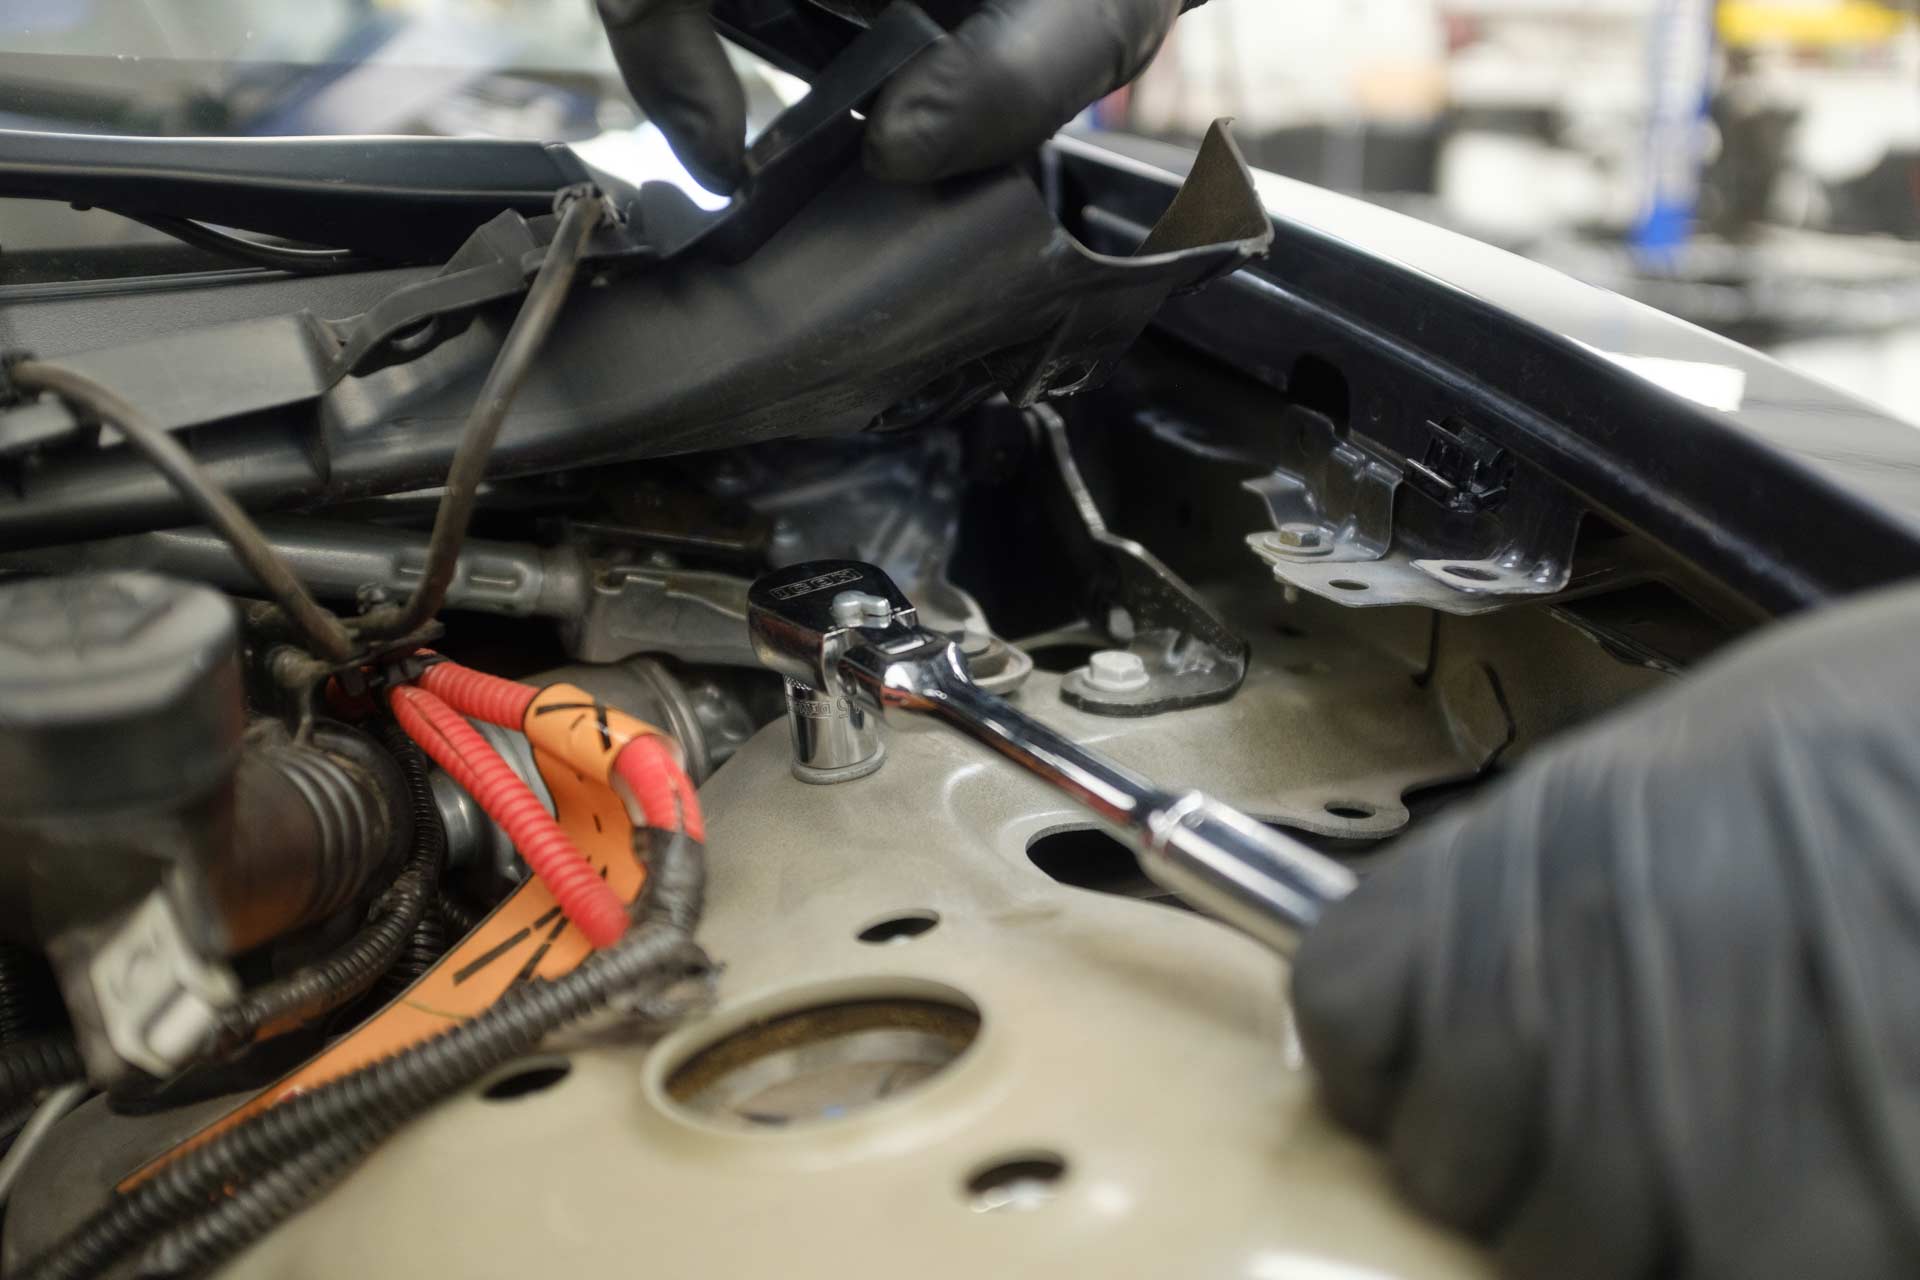
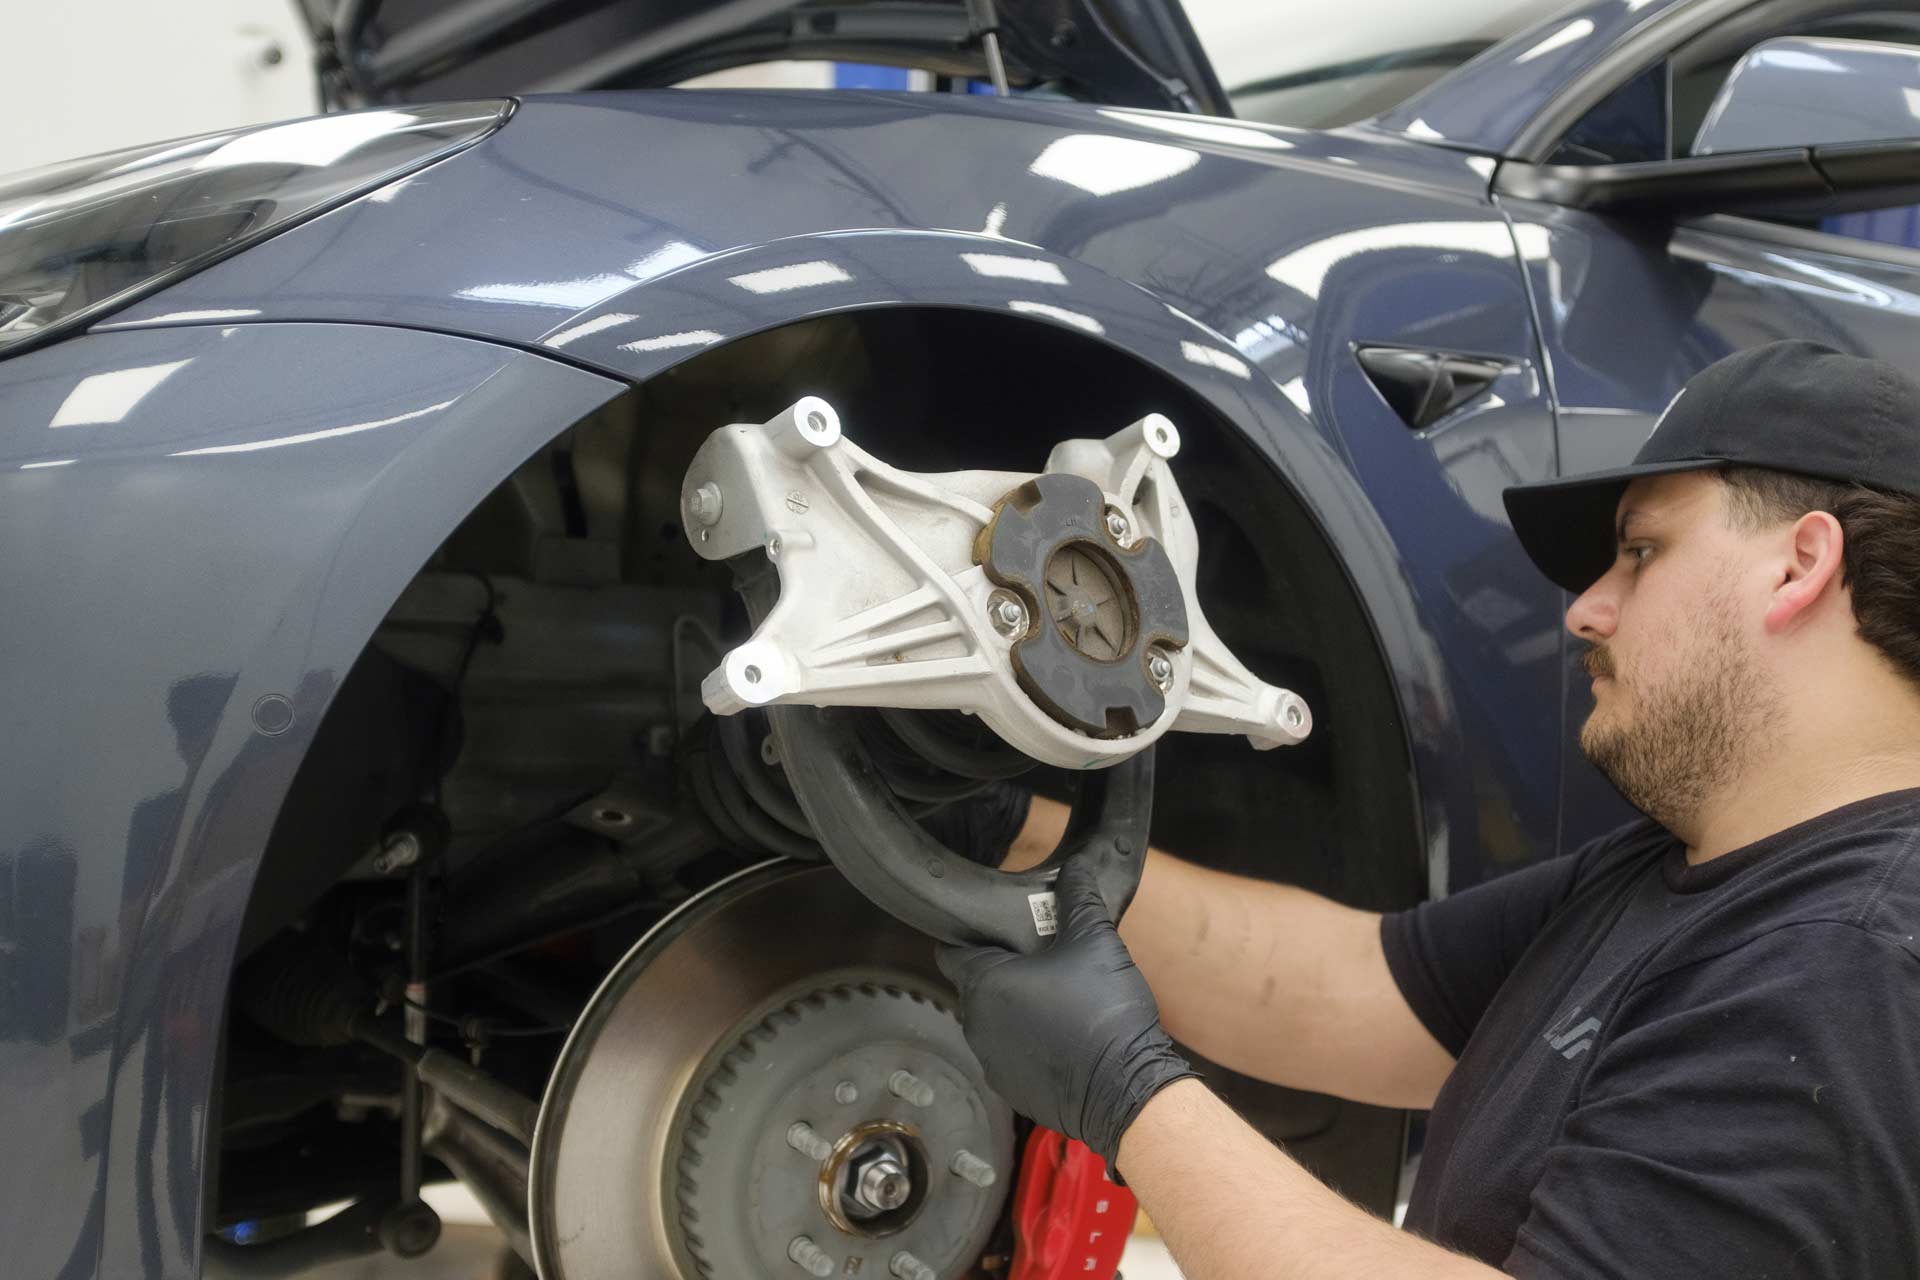
15. Once the front shock and front upper control arm cradle assembly has been removed from the vehicle, using a 13mm socket, remove the 3 nuts securing the front upper control arm cradle assembly to the front top hat assembly.
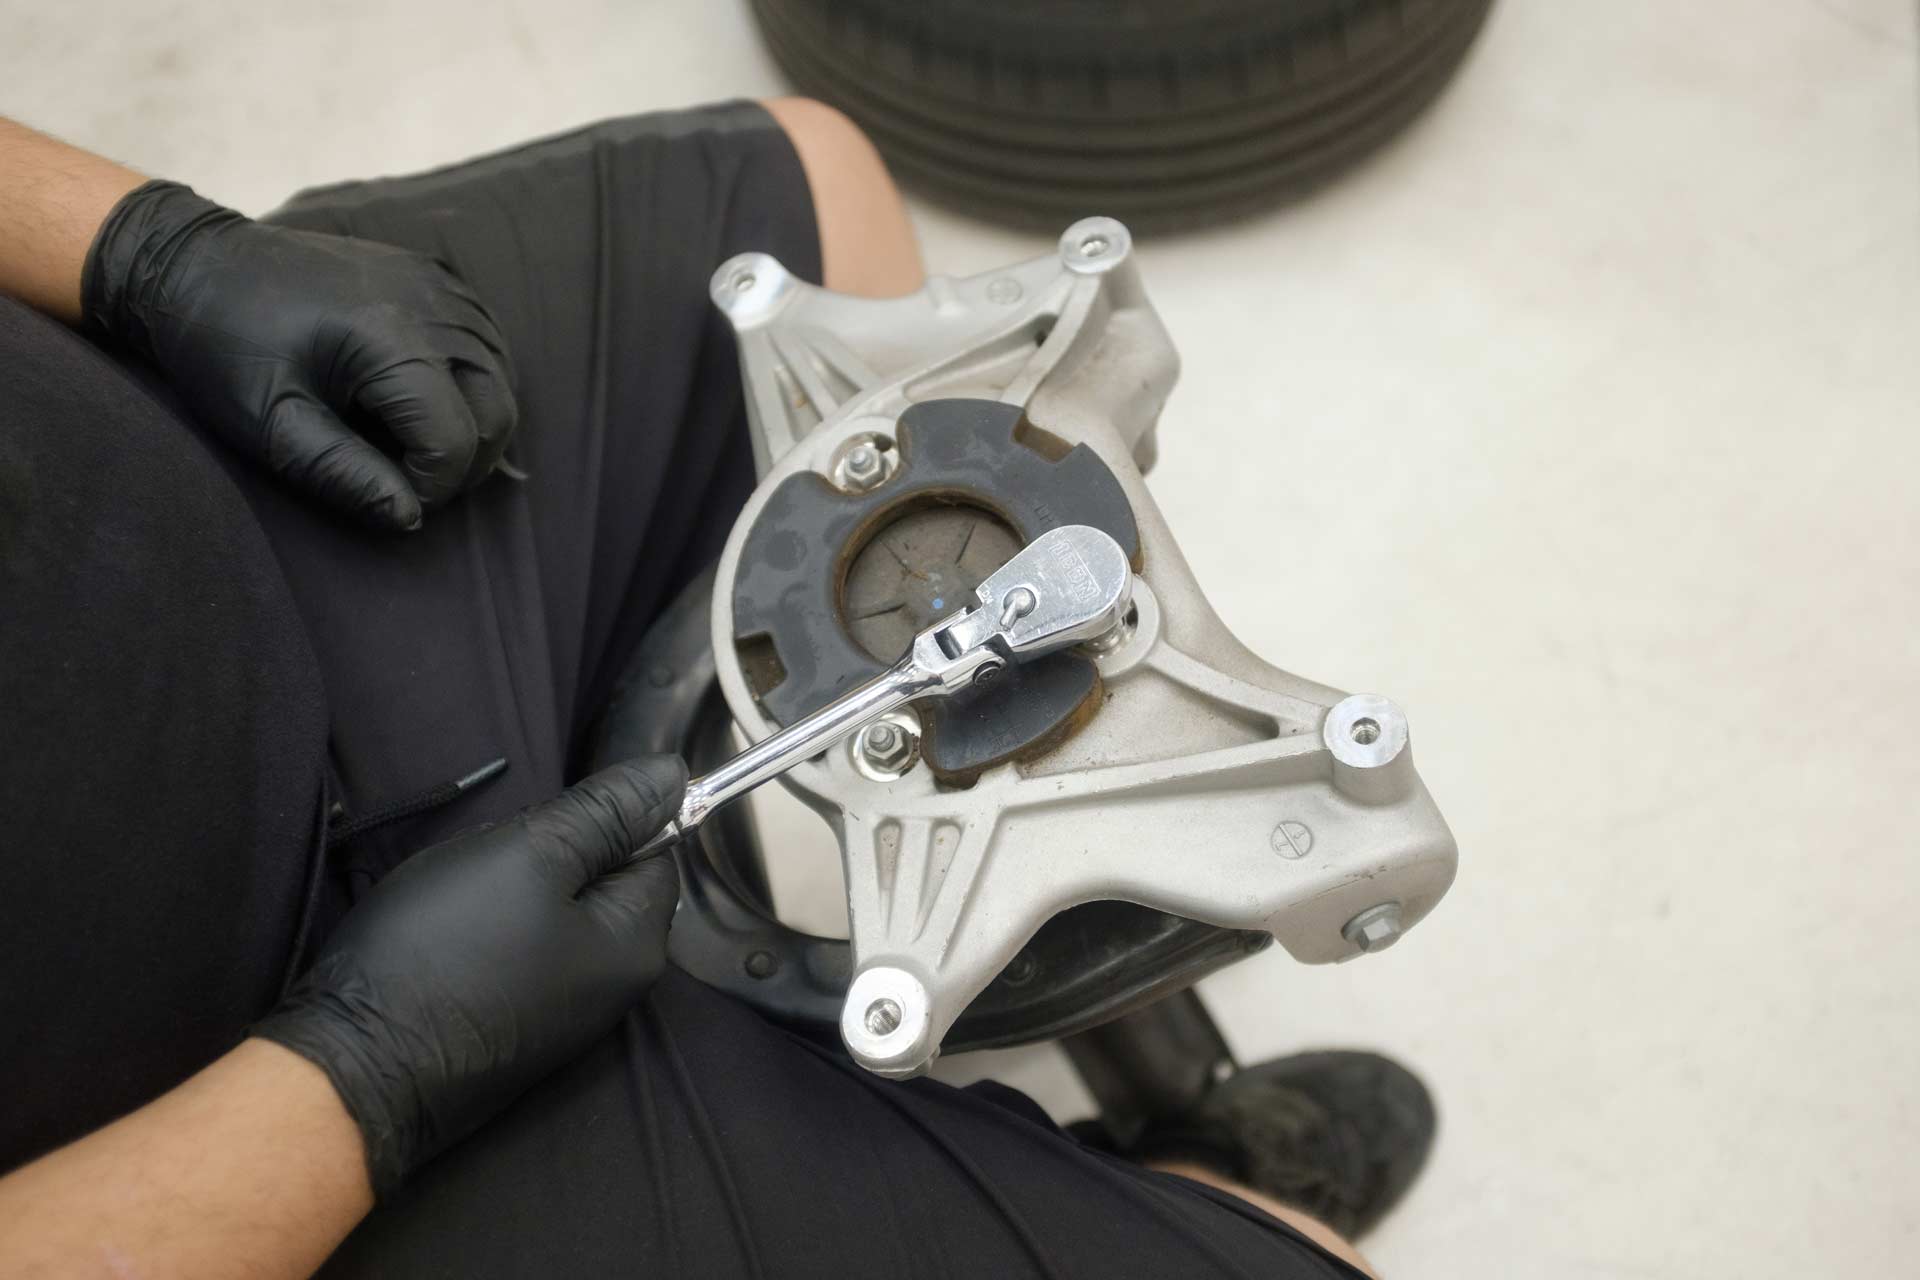
16. Repeat Step 2 for the other side of the vehicle.
17. Once the front shock assembly has been removed from the vehicle and disconnected from the cradle assembly, you can proceed to disassemble the front shock assembly. Place the front shock onto a spring compressor, and safely apply pressure to the spring to remove load from the factory tophat.
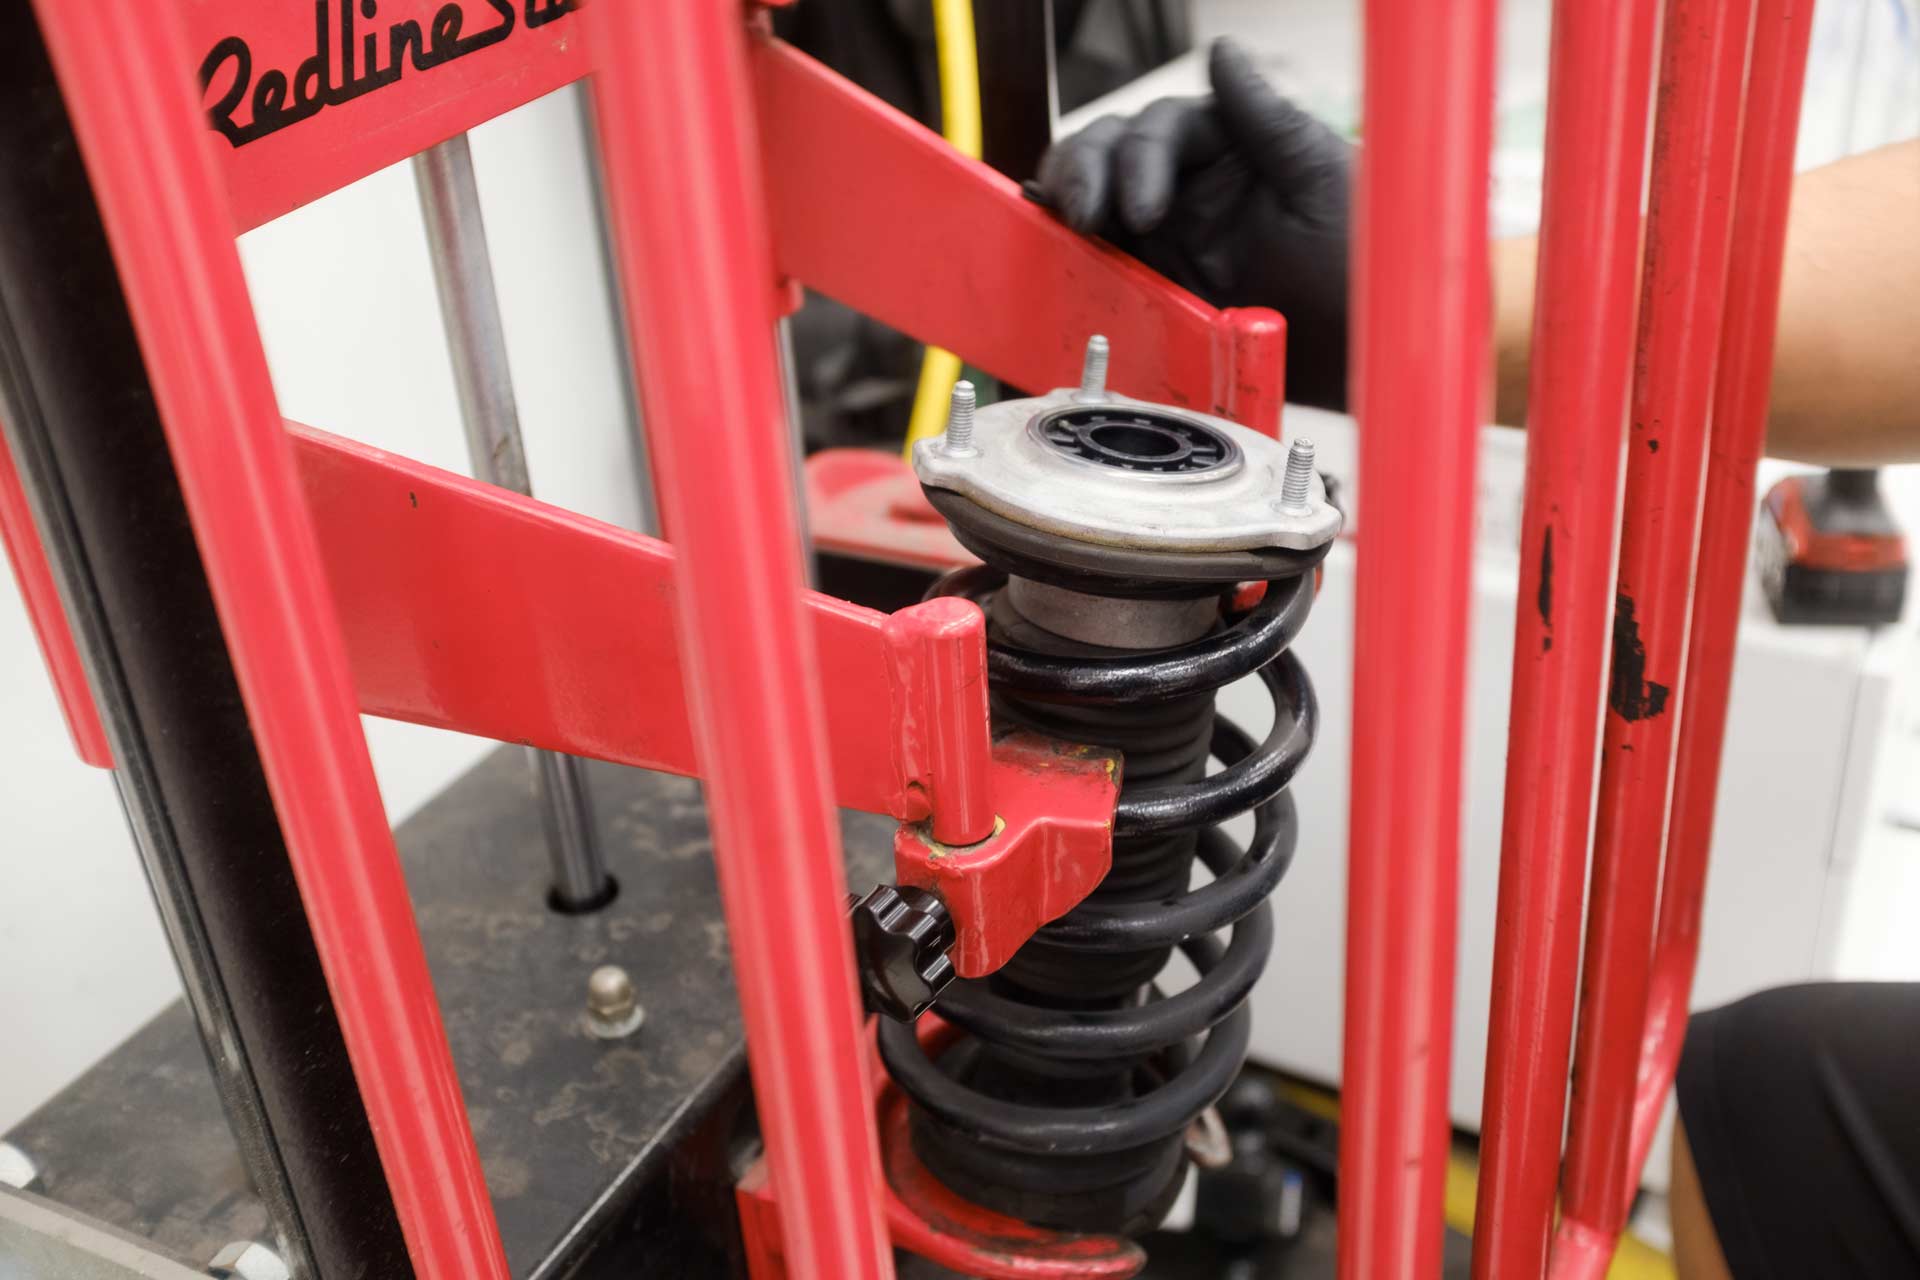
18. Using a 17mm socket, remove the factory locknut.
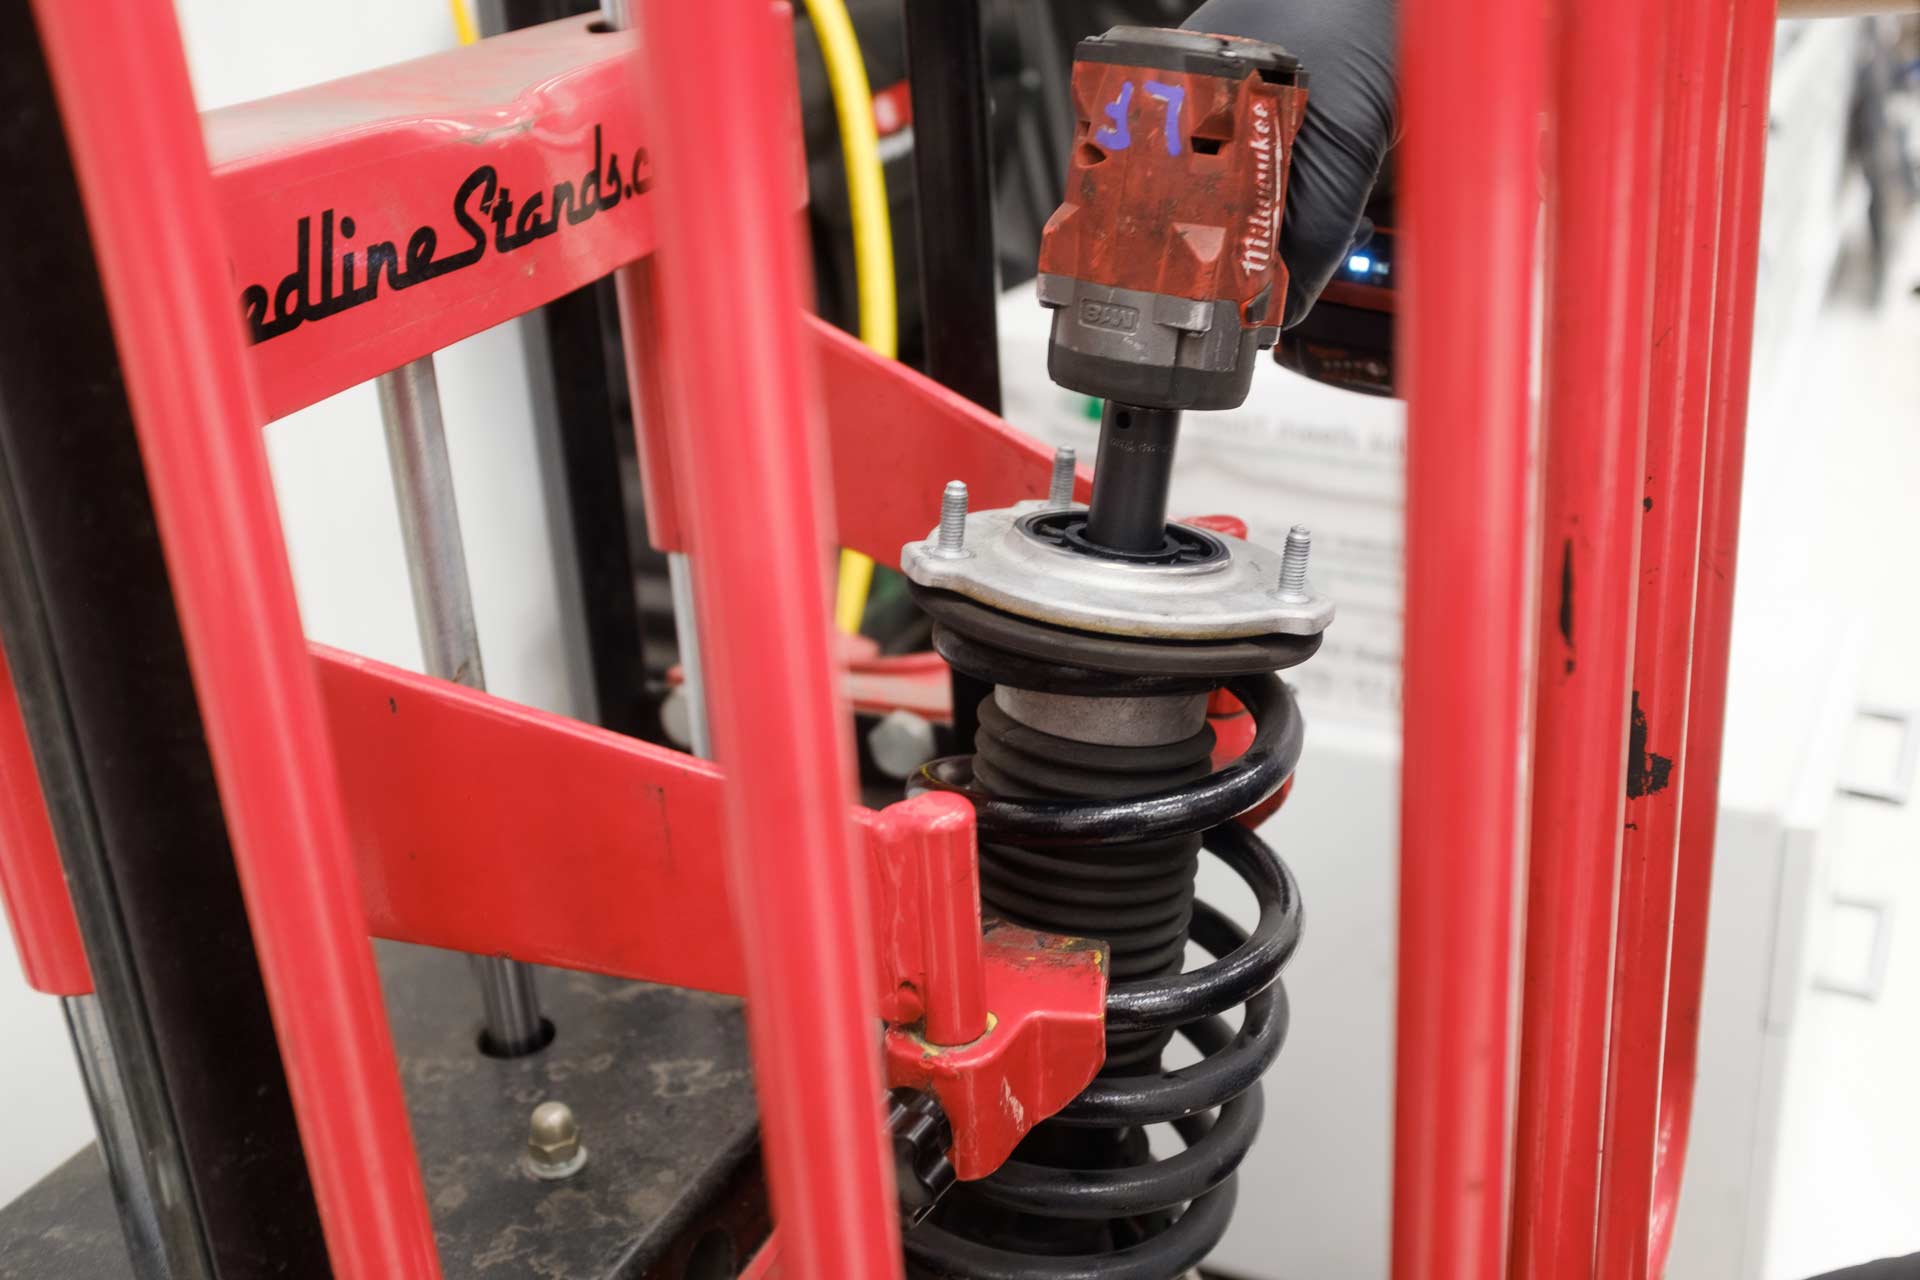
19. Using an 8mm end wrench, remove the front damper adjuster from the UP adjustable shock as shown below. Note: This is a preventative measure to ensure that the adjuster is not damaged when the front UP adjustable shock is being assembled.
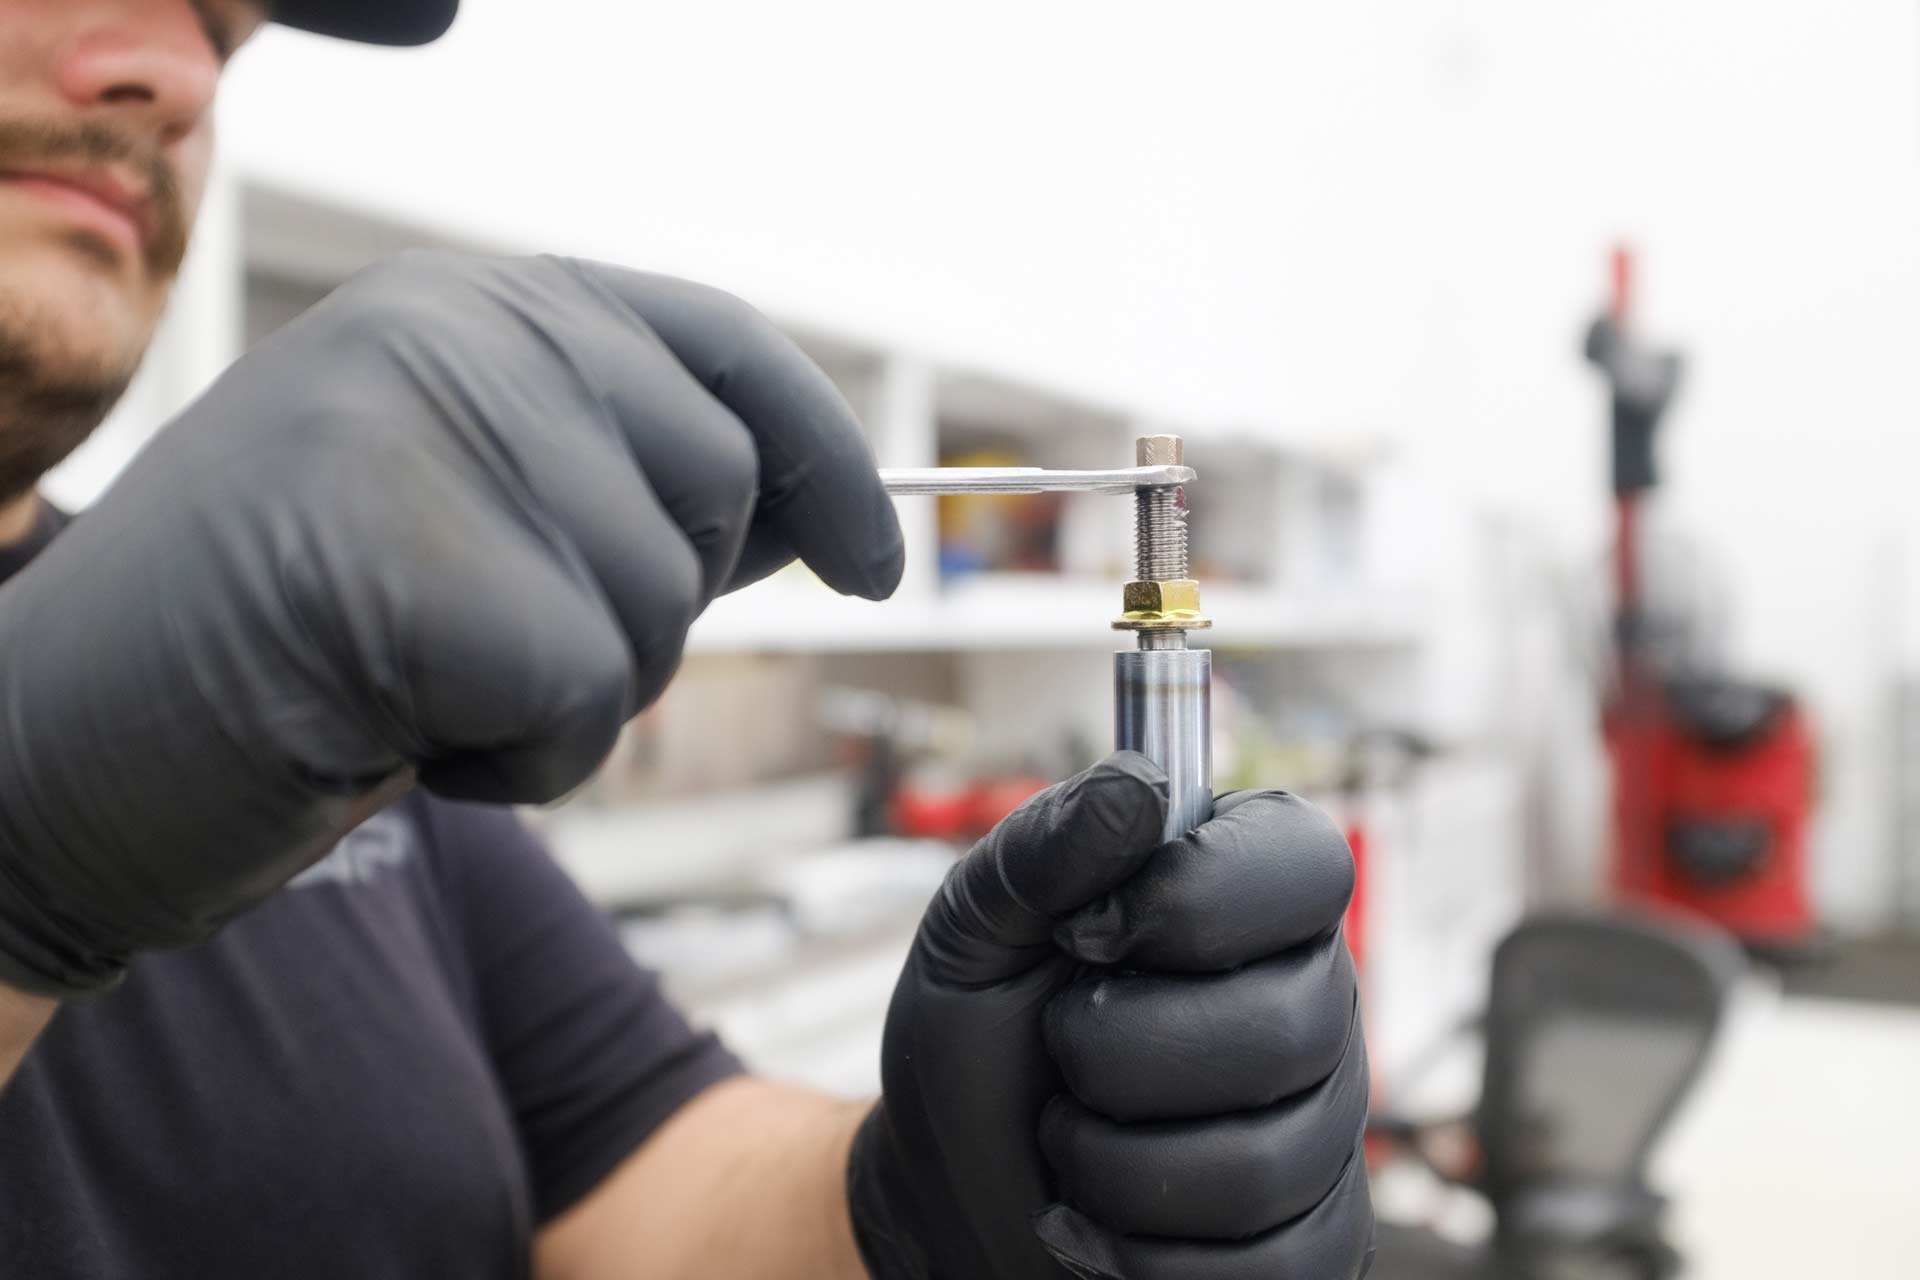
20. Repeat Step 3 for the other side of the vehicle.
21. Remove the factory lower spring isolator from the factory shock, and transfer it onto the UP adjustable shock.
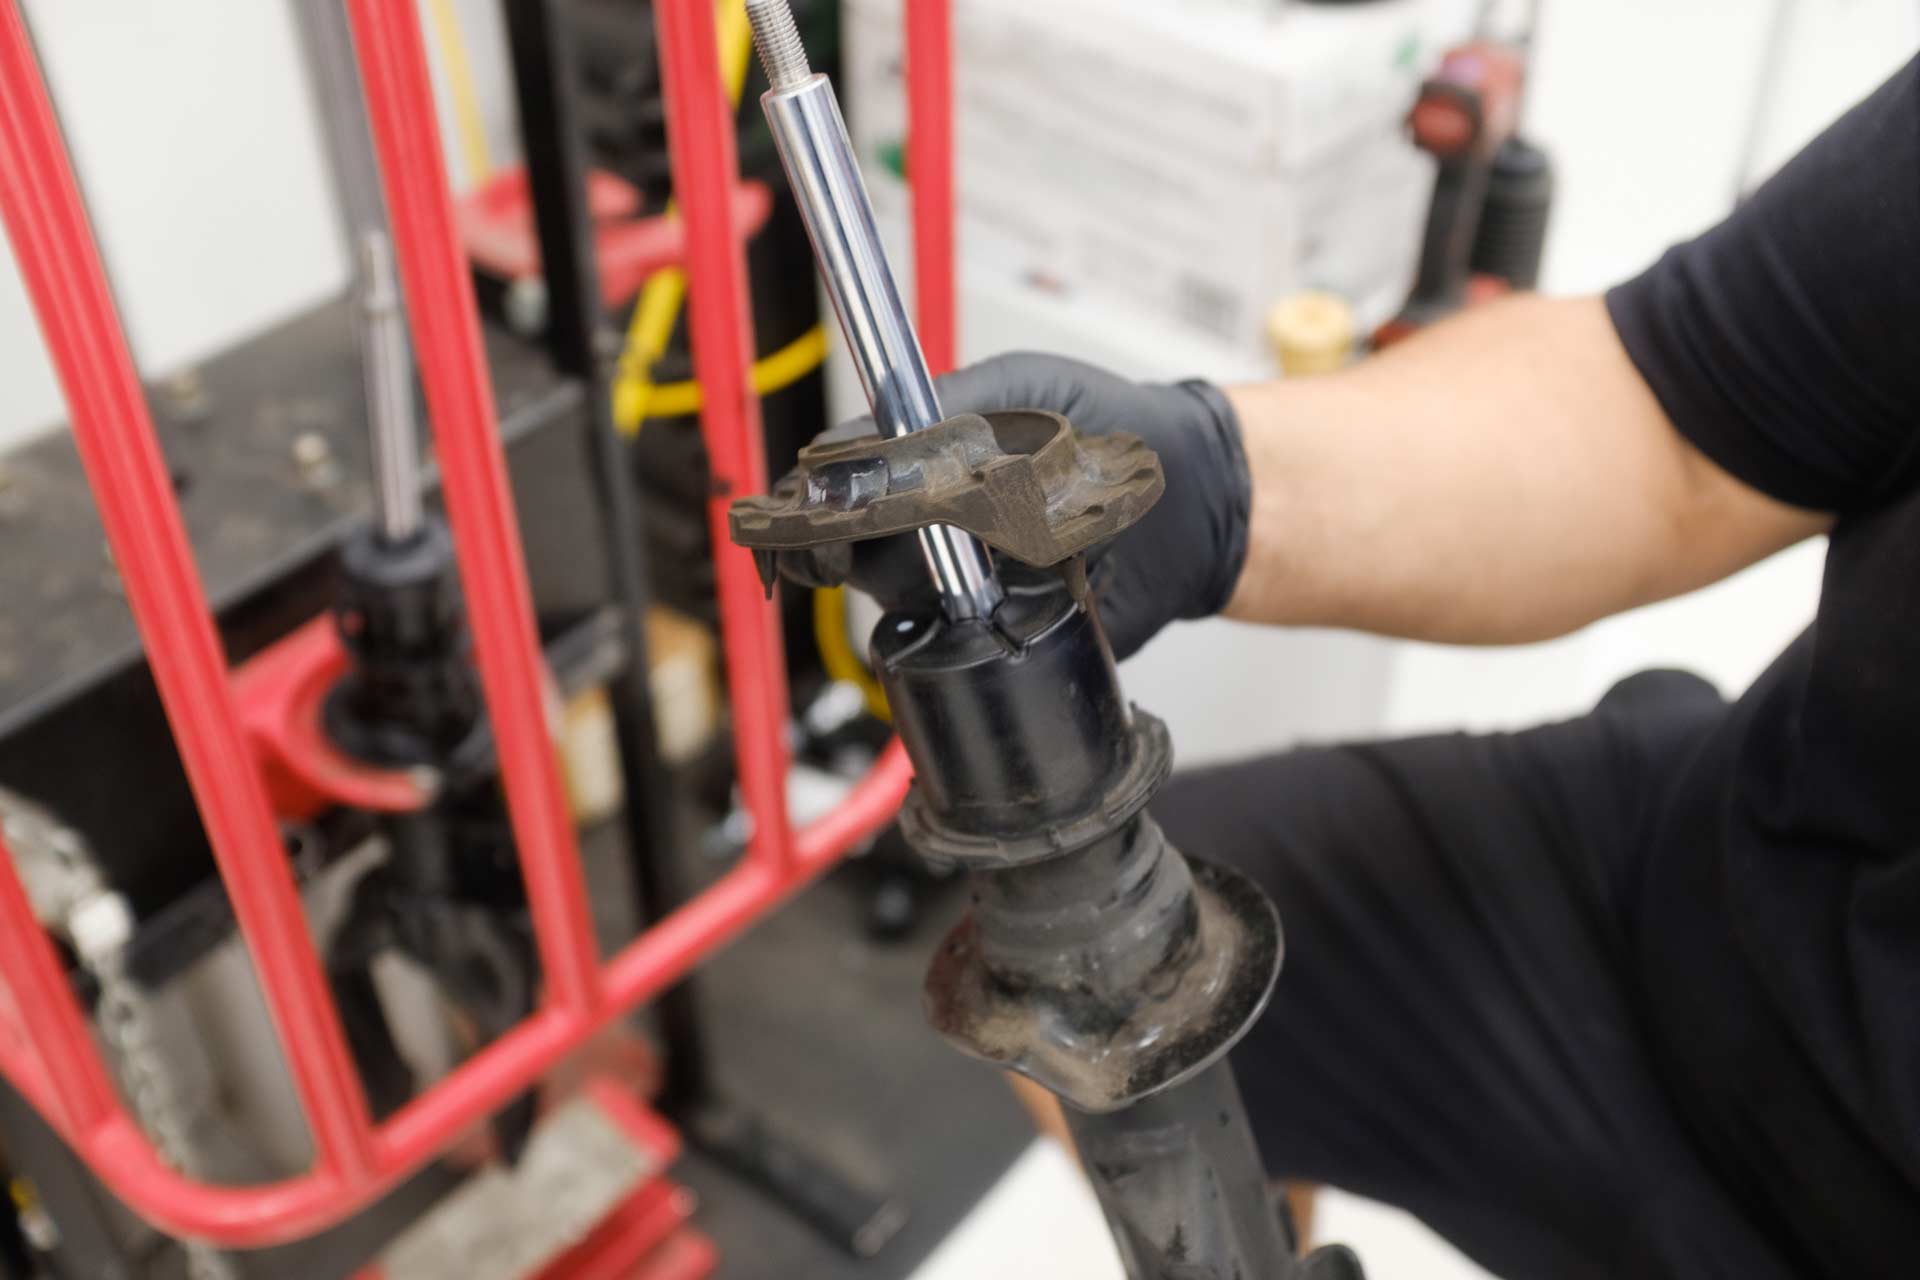
22. Place the UP adjustable shock into the spring compressor as shown below.
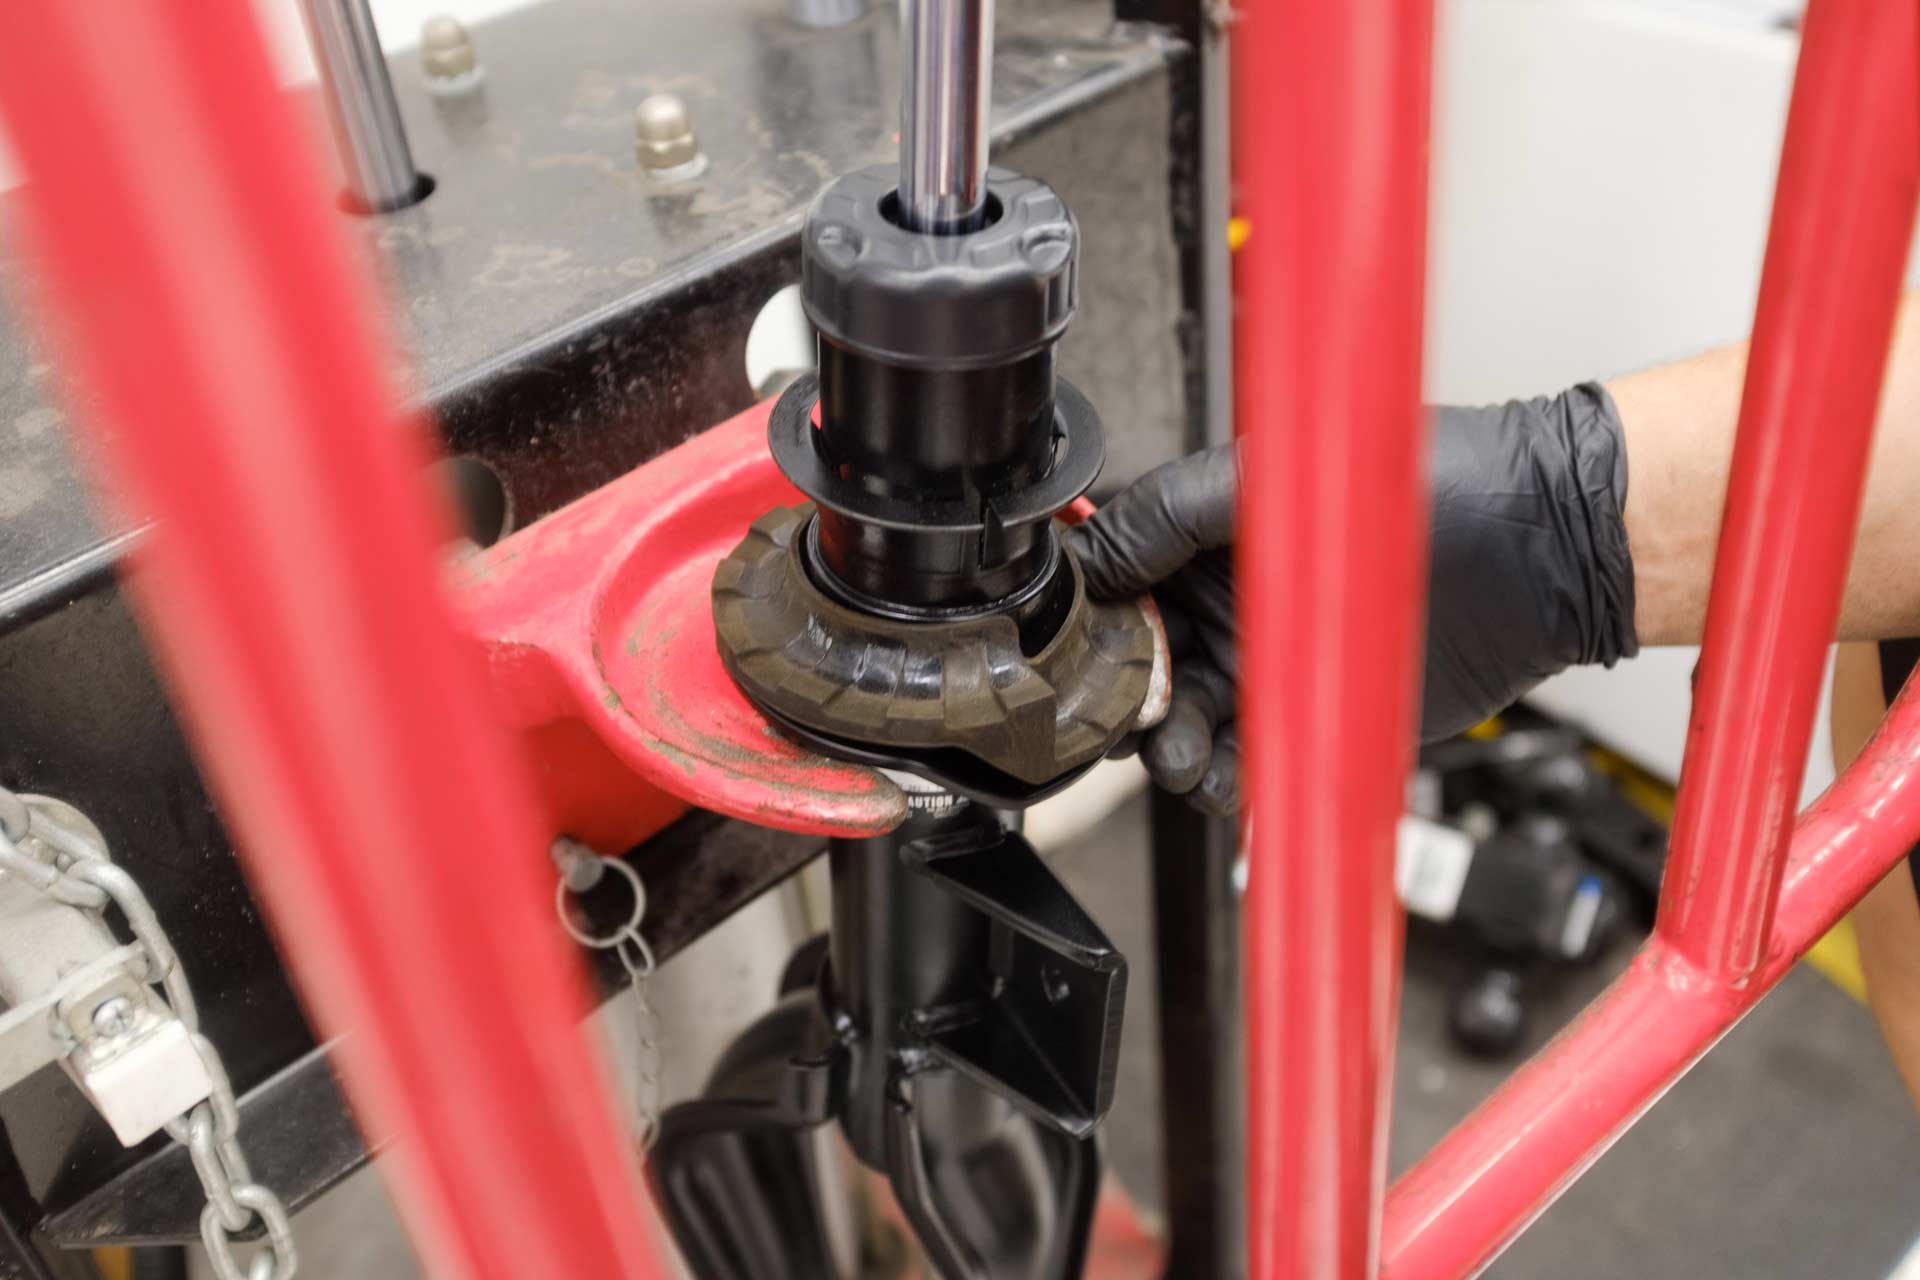
23. Place the UP dual rate linear lowering spring onto the UP adjustable front shock. Be sure that the tighter coils are facing downward.
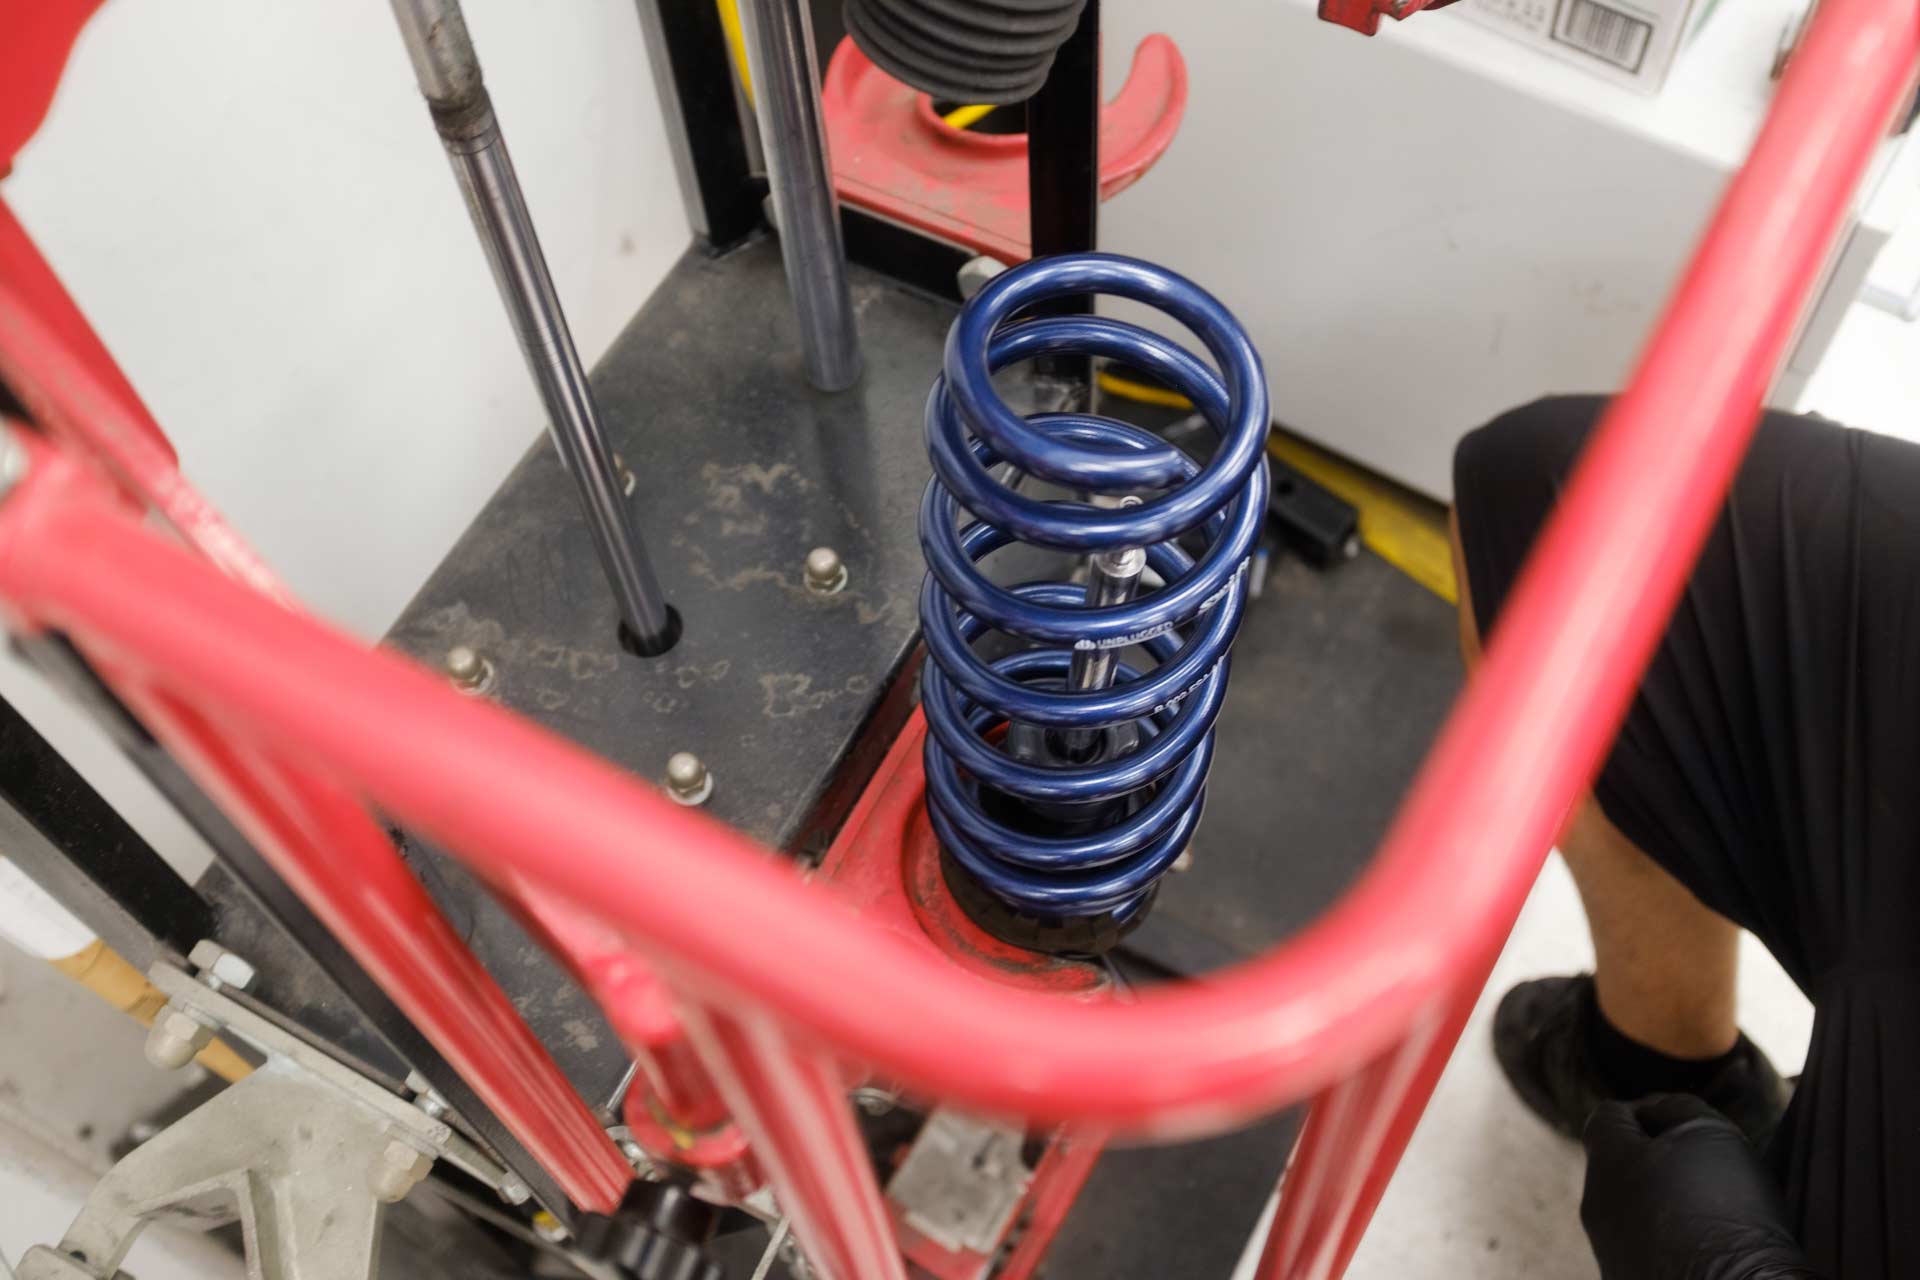
24. Remove the factory bump stop and dust boot from the factory shock, and transfer it onto the UP adjustable shock as shown below.
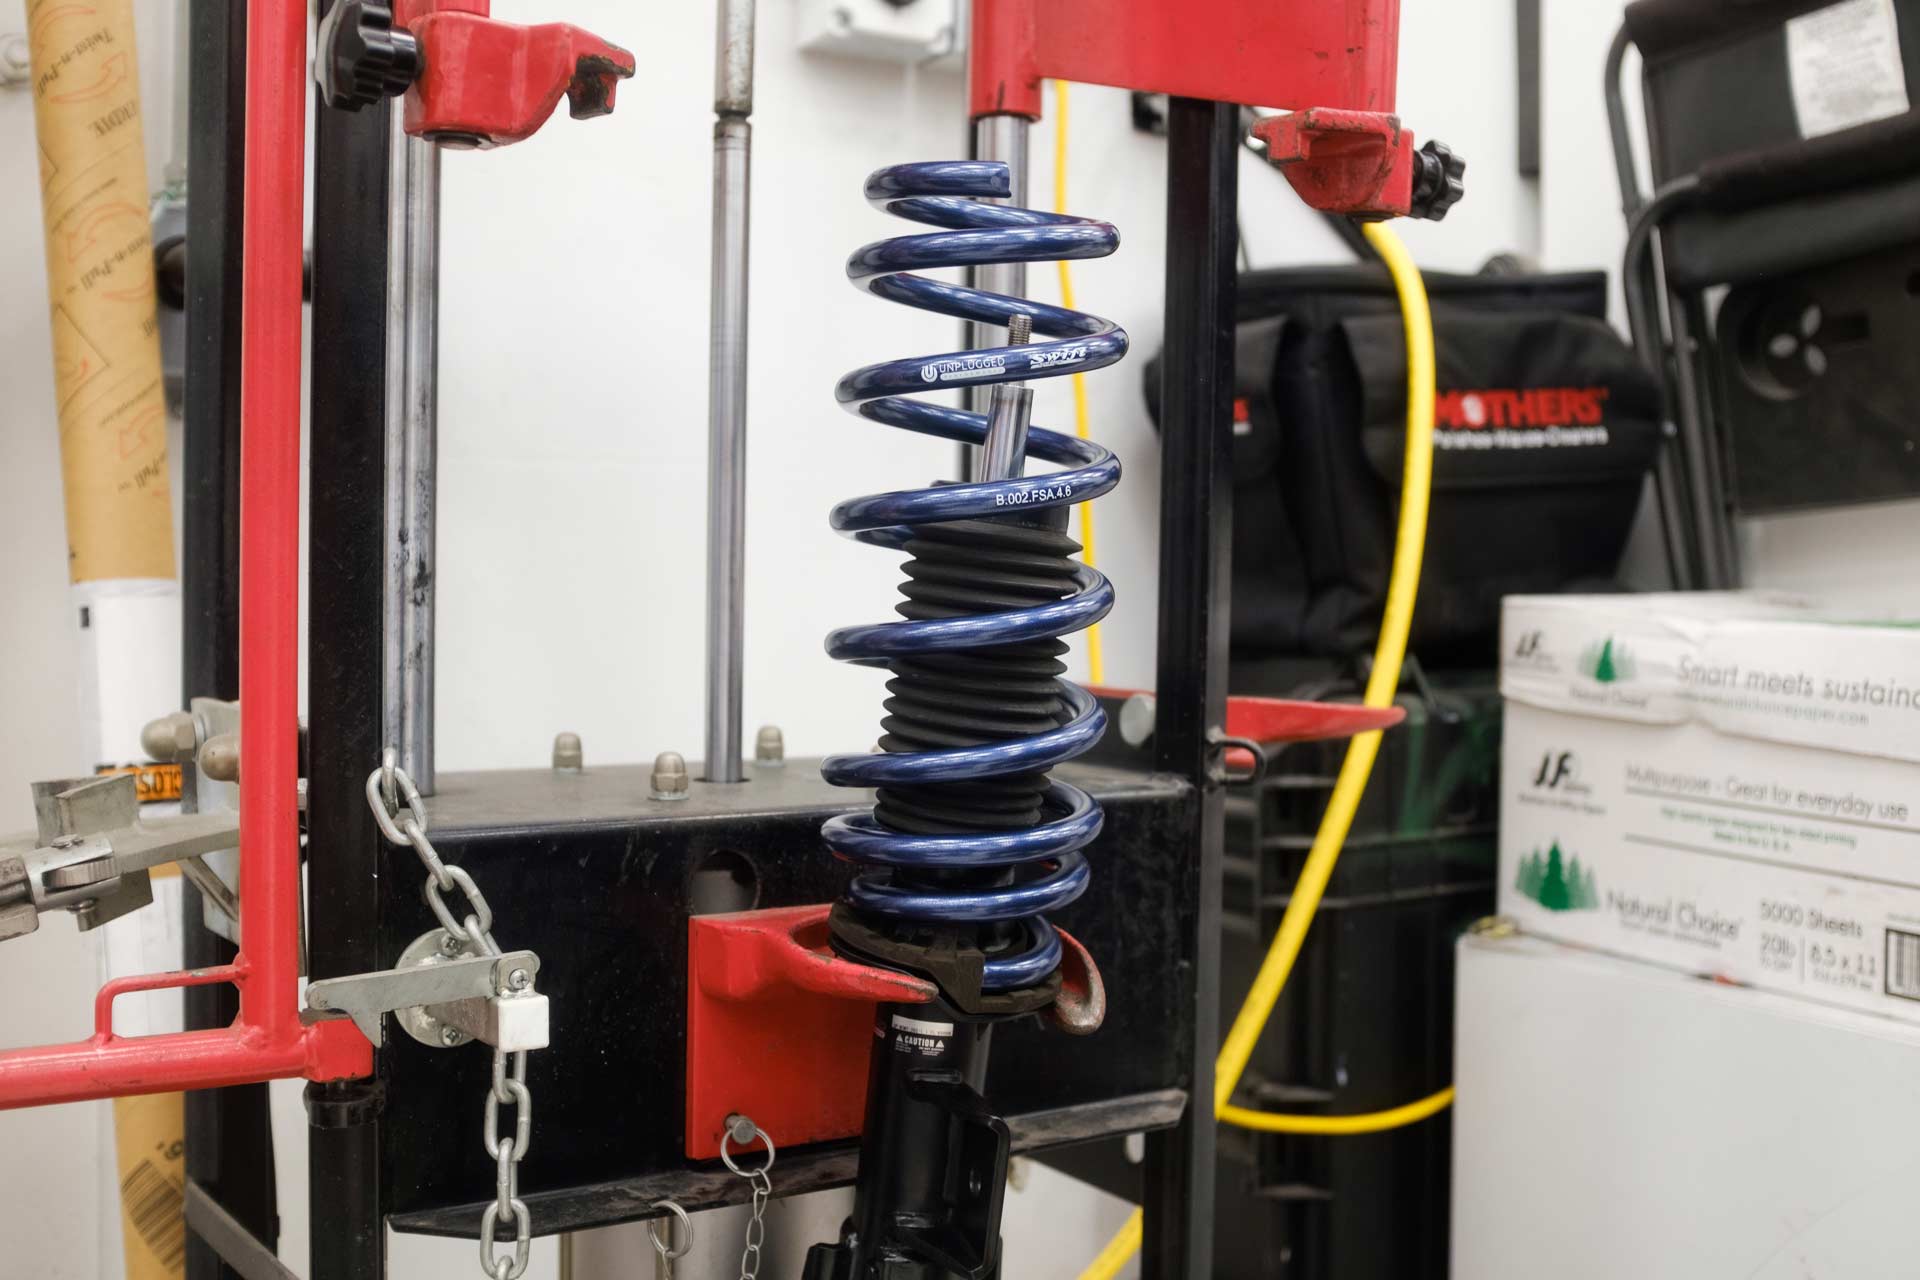
25. Using a spring compressor, compress the front UP dual rate lowering spring to allow the factory tophat and upper spring isolator to sit on the UP adjustable shock piston seat.
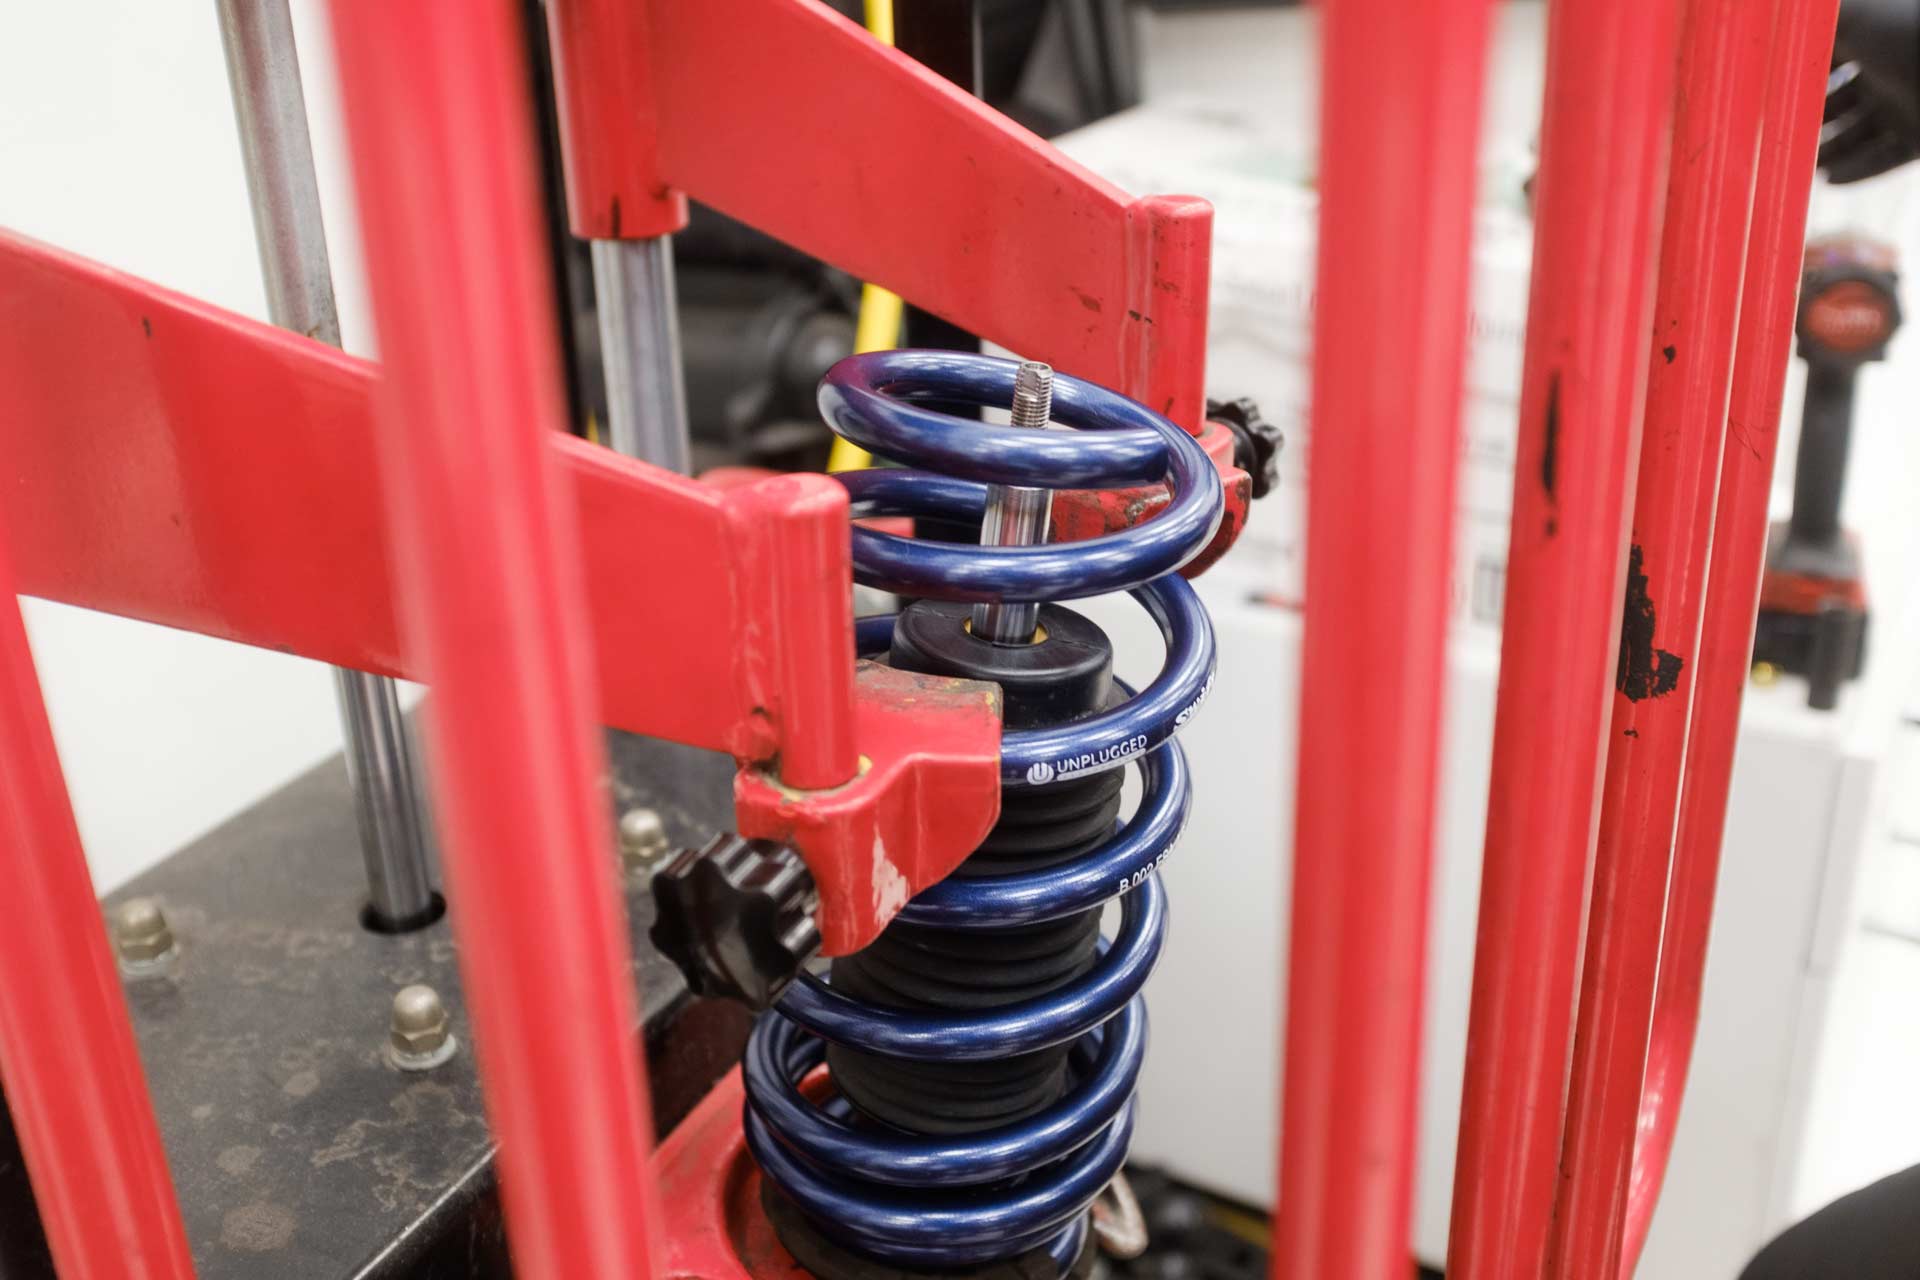
26. Install the factory upper spring isolator and tophat onto the front UP dual rate linear lowering spring and front UP adjustable shock as shown below.
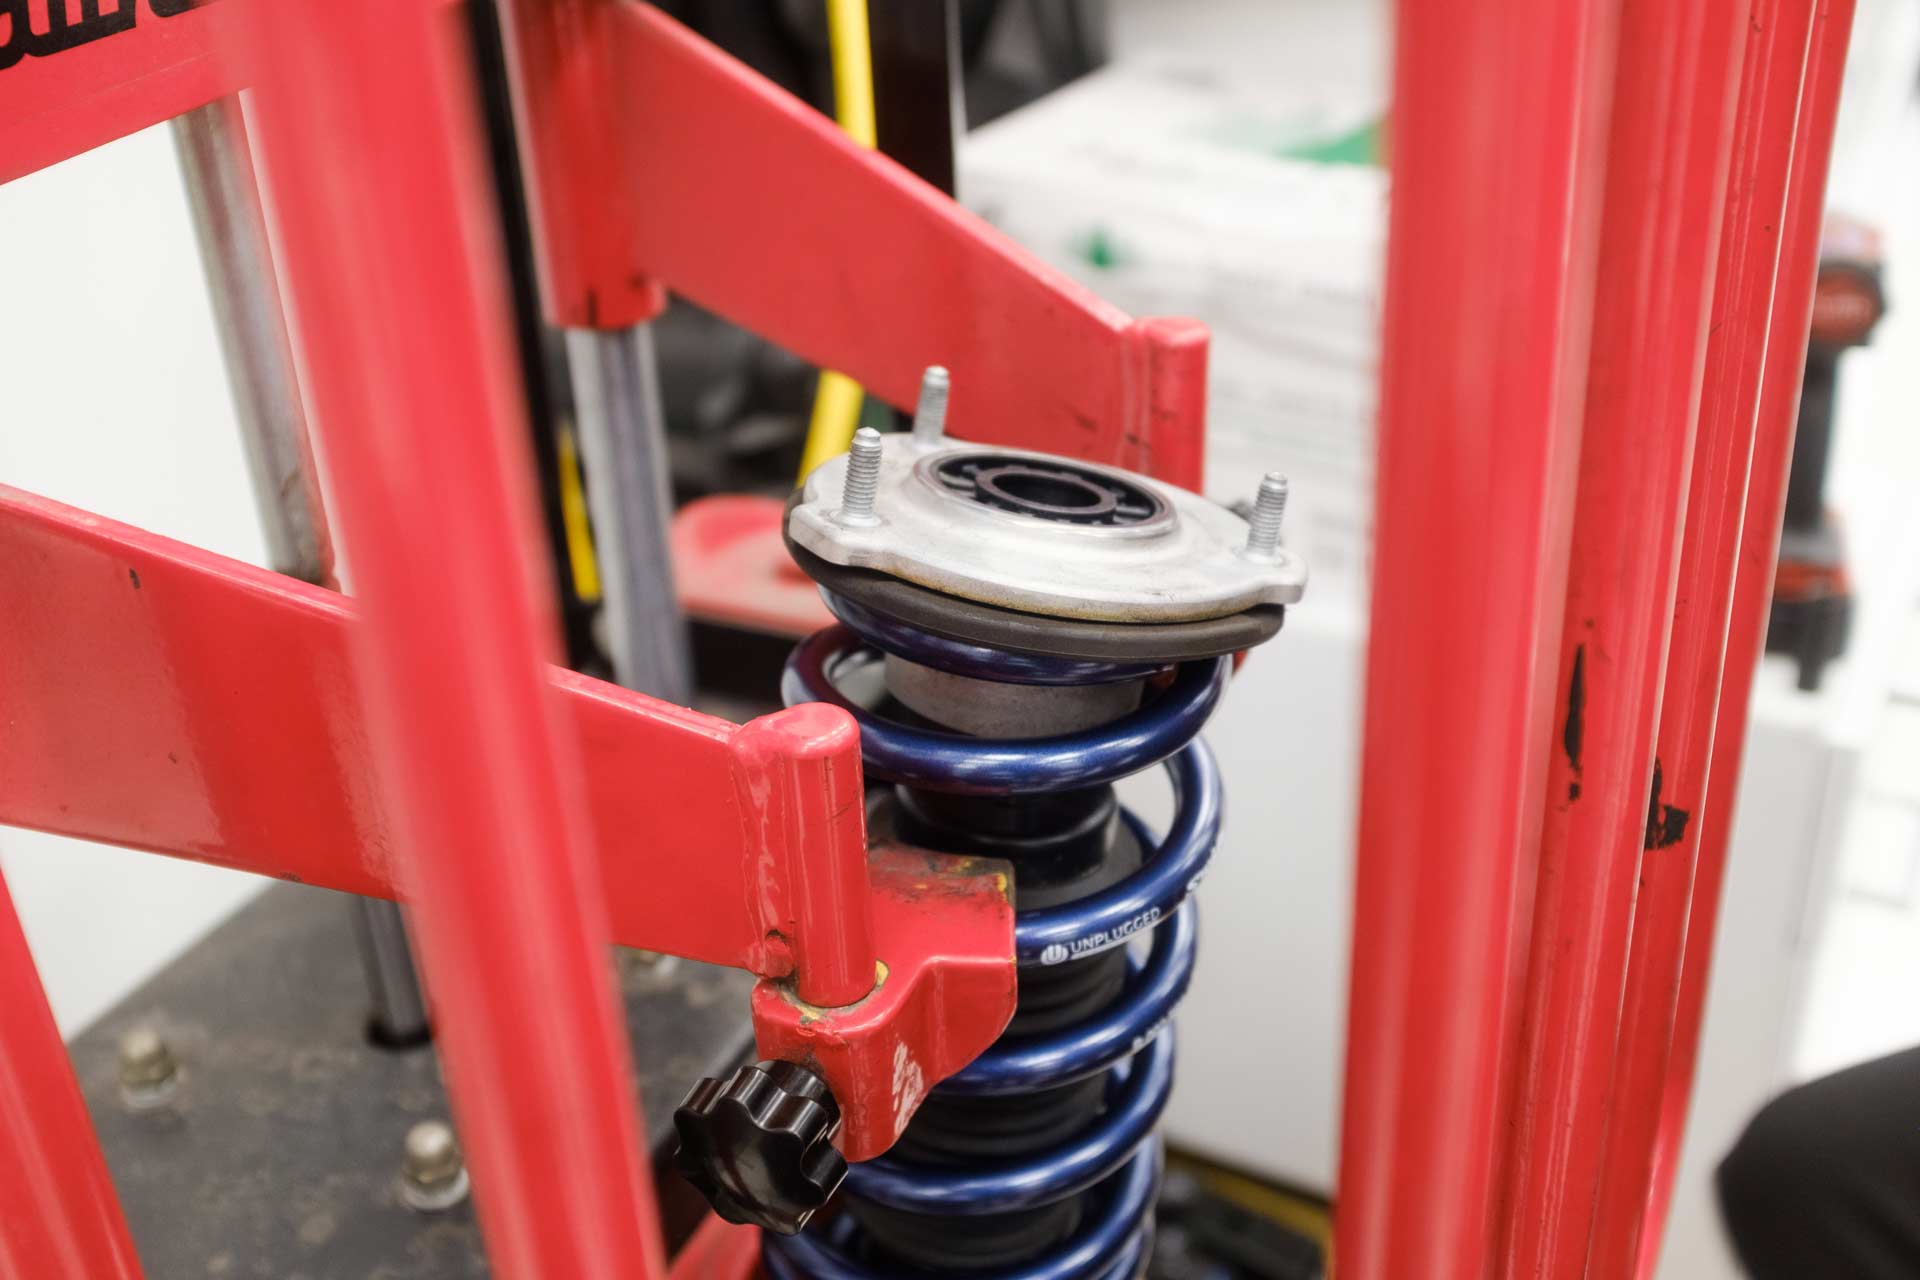
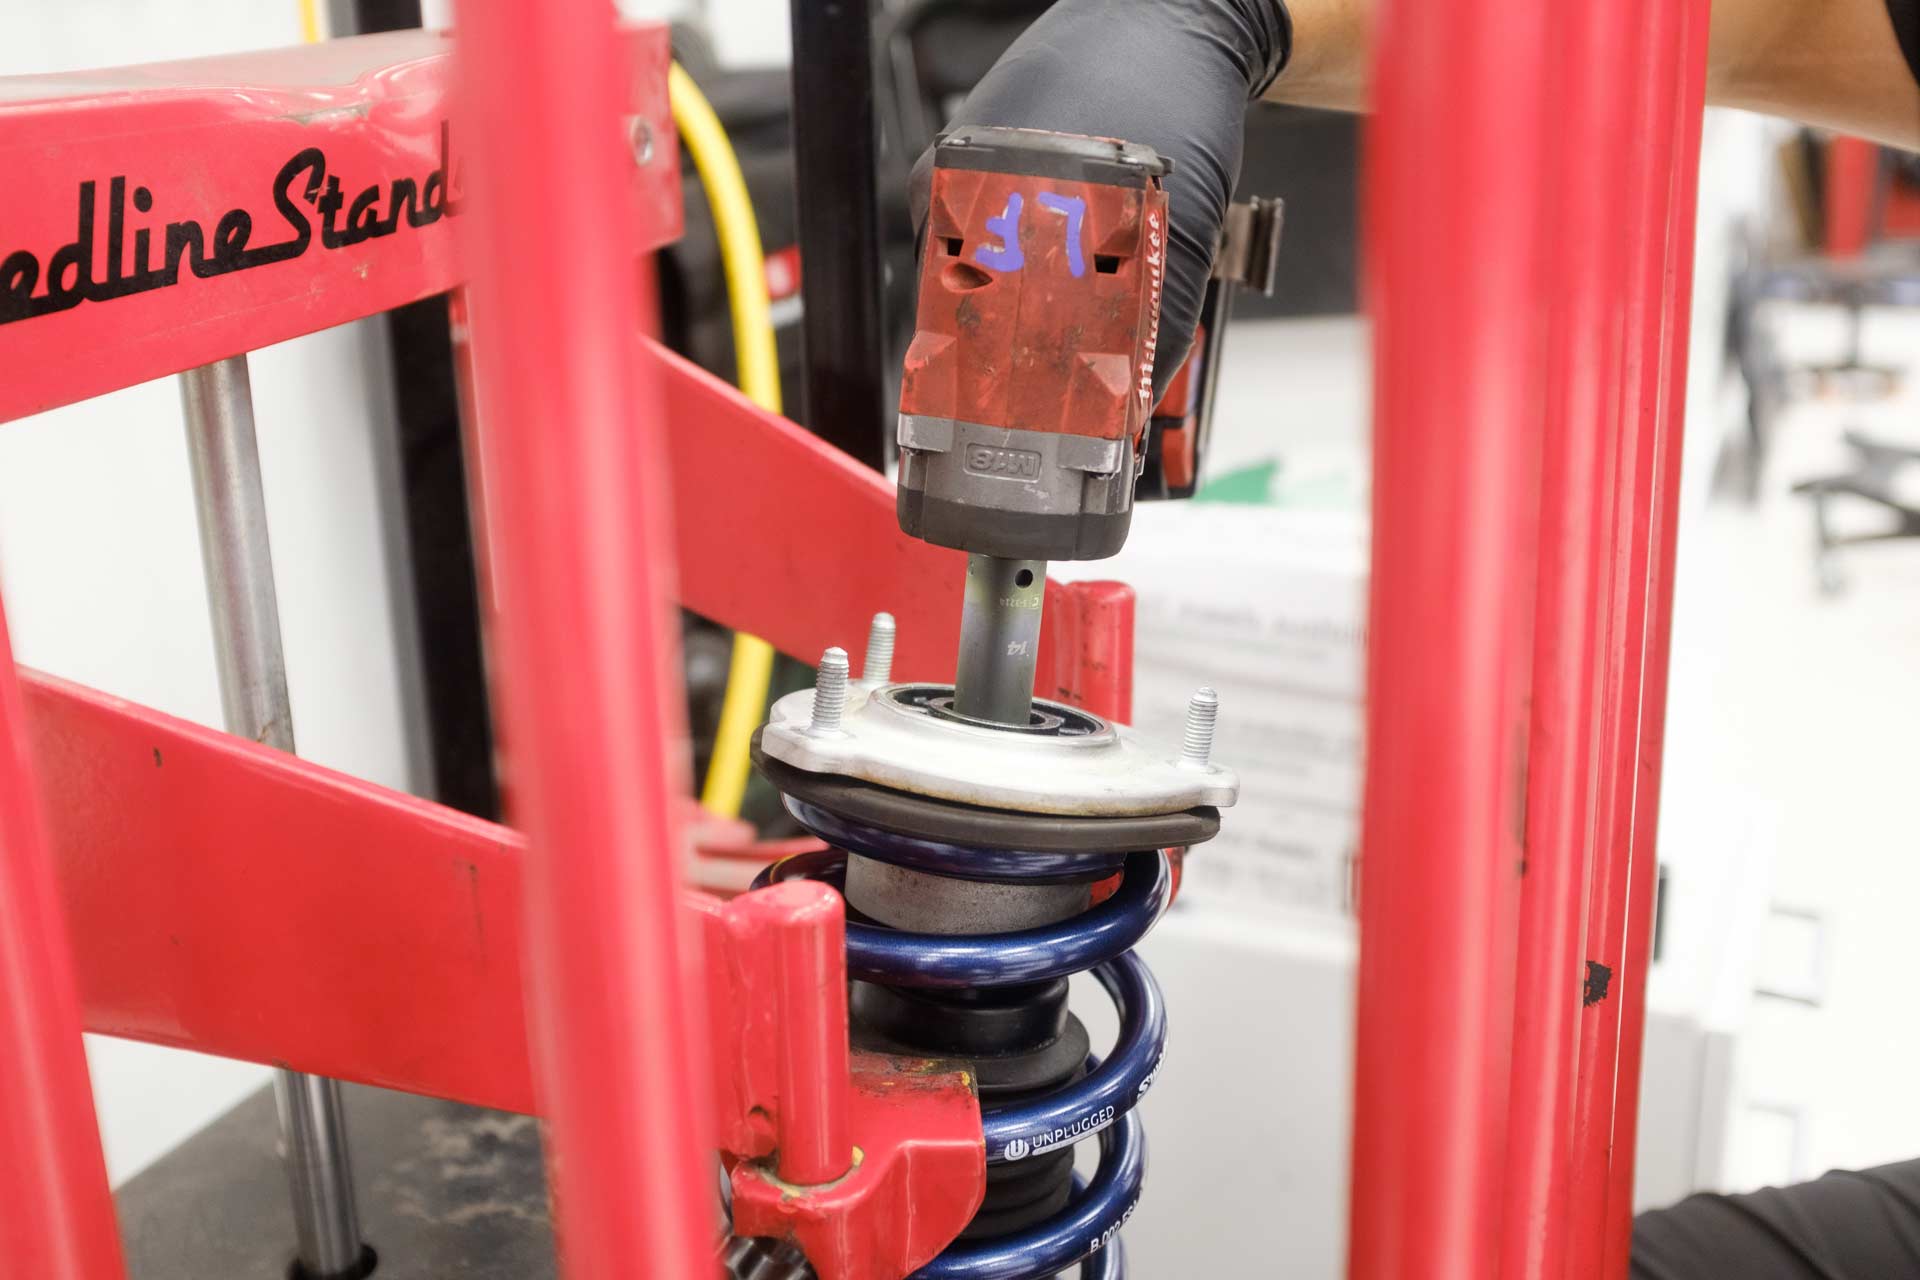
27. Using a 14mm socket, fasten the provided locknut to secure the tophat to the front UP adjustable shock. Note: Be sure that the top hat is seated on the piston seat prior to fastening the locknut. Preferably use hand tools to torque the upper shock mount nut to 25ft/lbs. If using an impact or power rachet, please be sure they are calibrated to tighten no more than 25 lbs/ft. Damage to shock piston threads as a result of overtorquing the top nut are not covered by our limited parts warranty.
28. Remove the front UP adjustable shock assembly from the spring compressor.
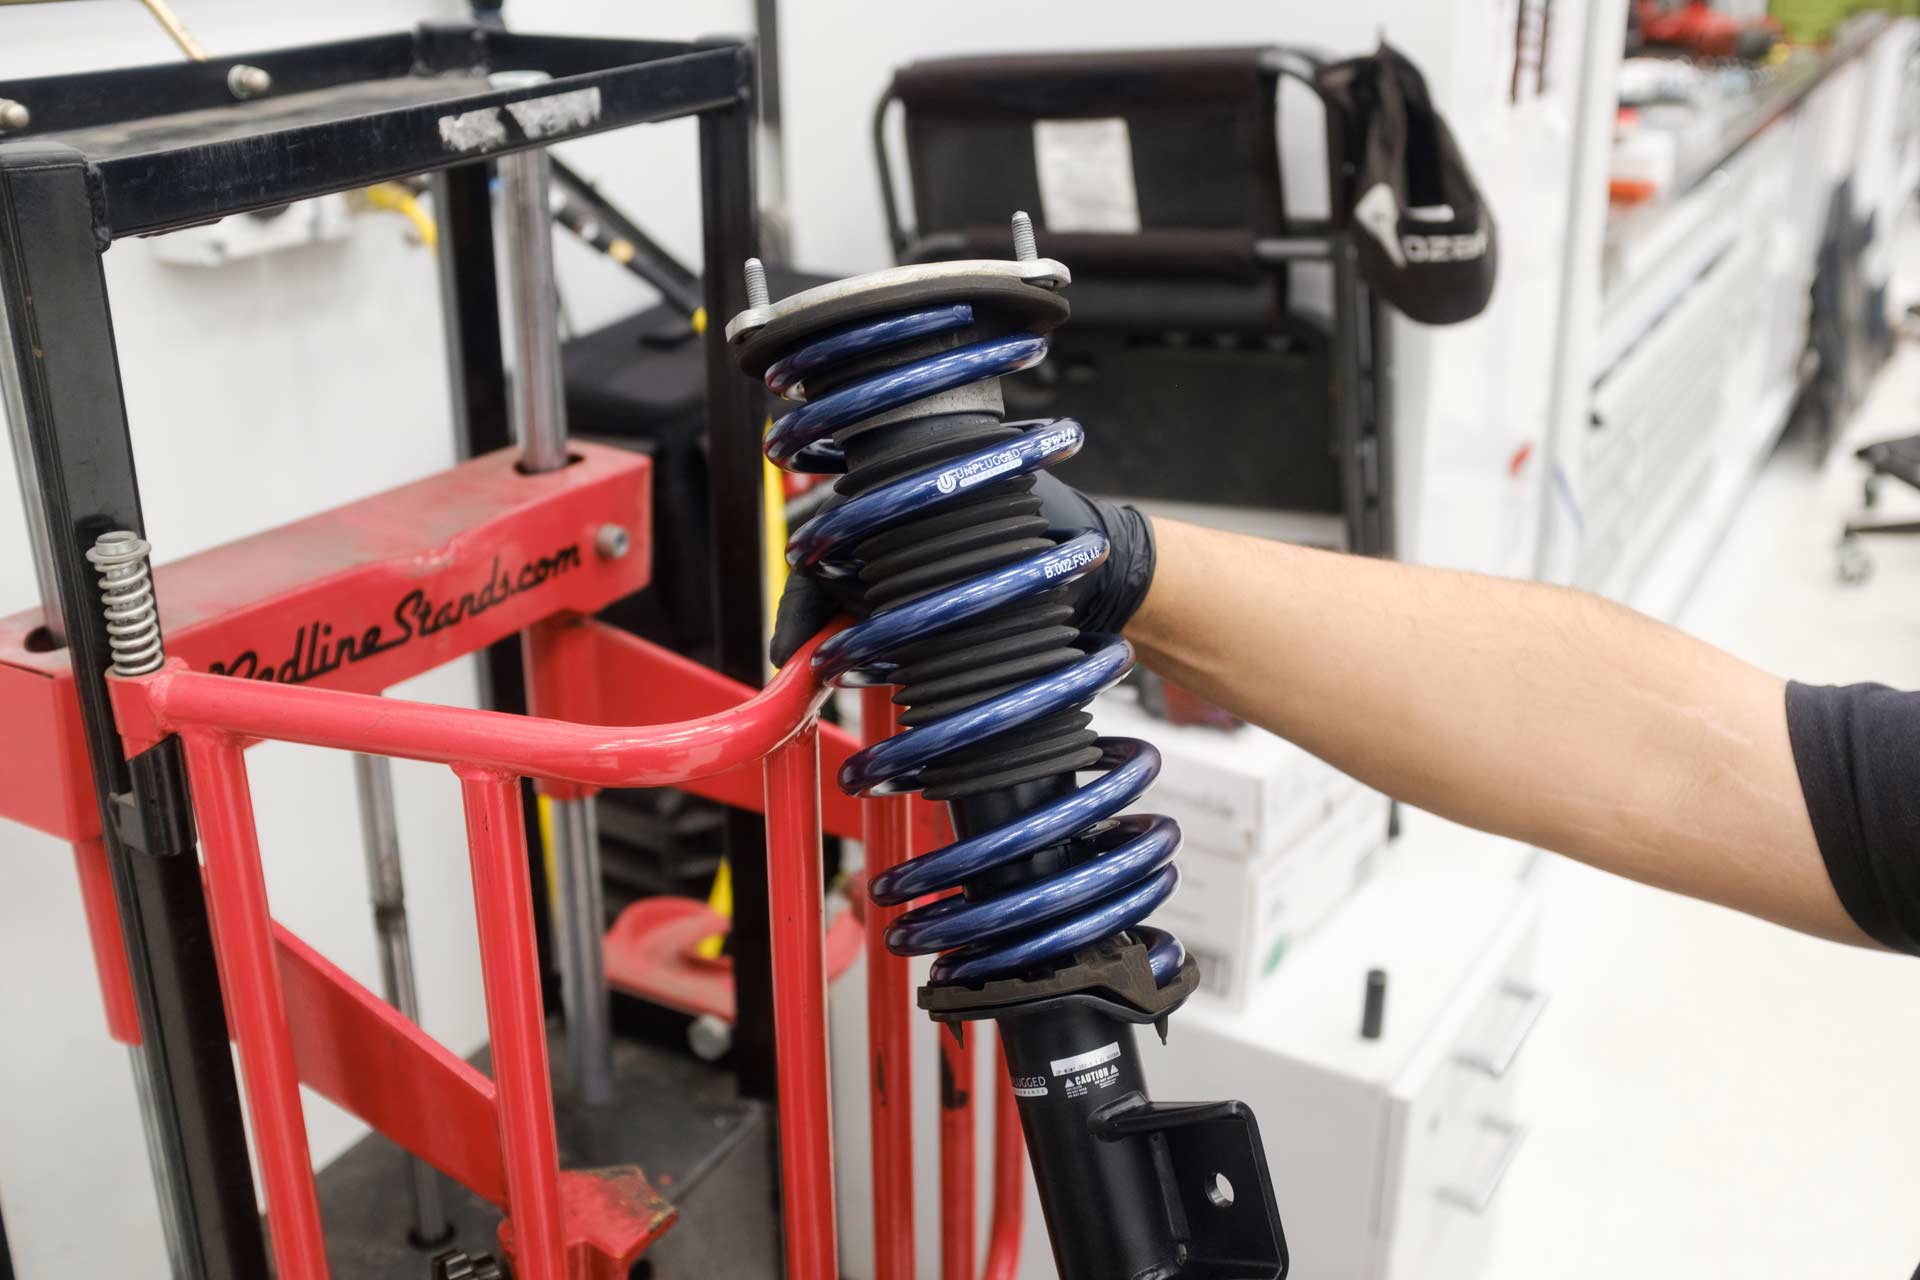
29. Using an 8mm end wrench, reinstall the adjuster on to the front UP adjustable shock piston. Note: it is common to make unintentional adjustments to the shock setting when removing the adjuster. Consider resetting the damper setting after torque has been applied. Torque to 10 ft/lbs.
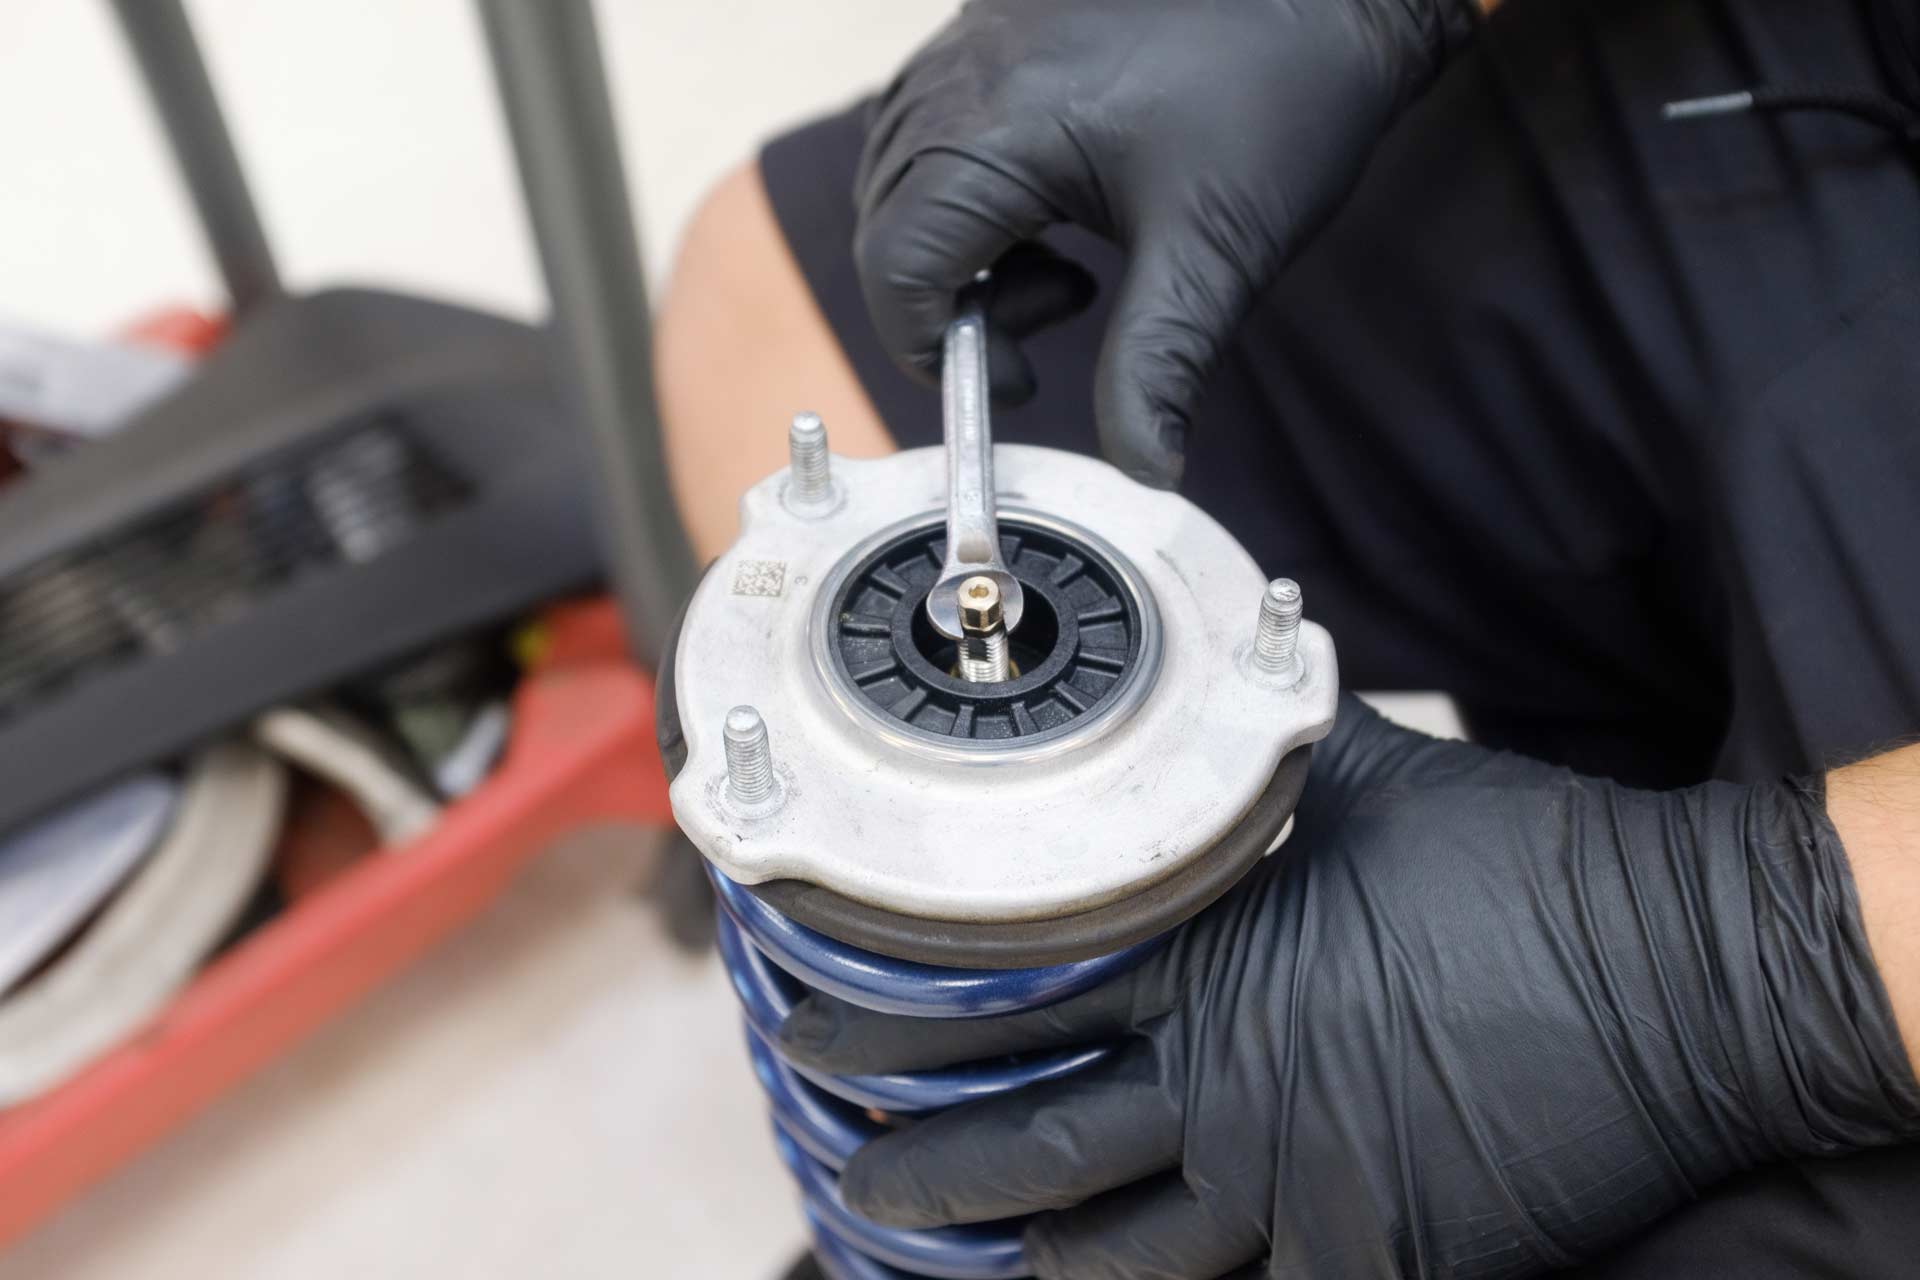
30. Using a 13mm socket, fasten 3 factory nuts to secure the front UP adjustable shock assembly to the factory front upper control arm cradle. Torque to 17ft/lbs.
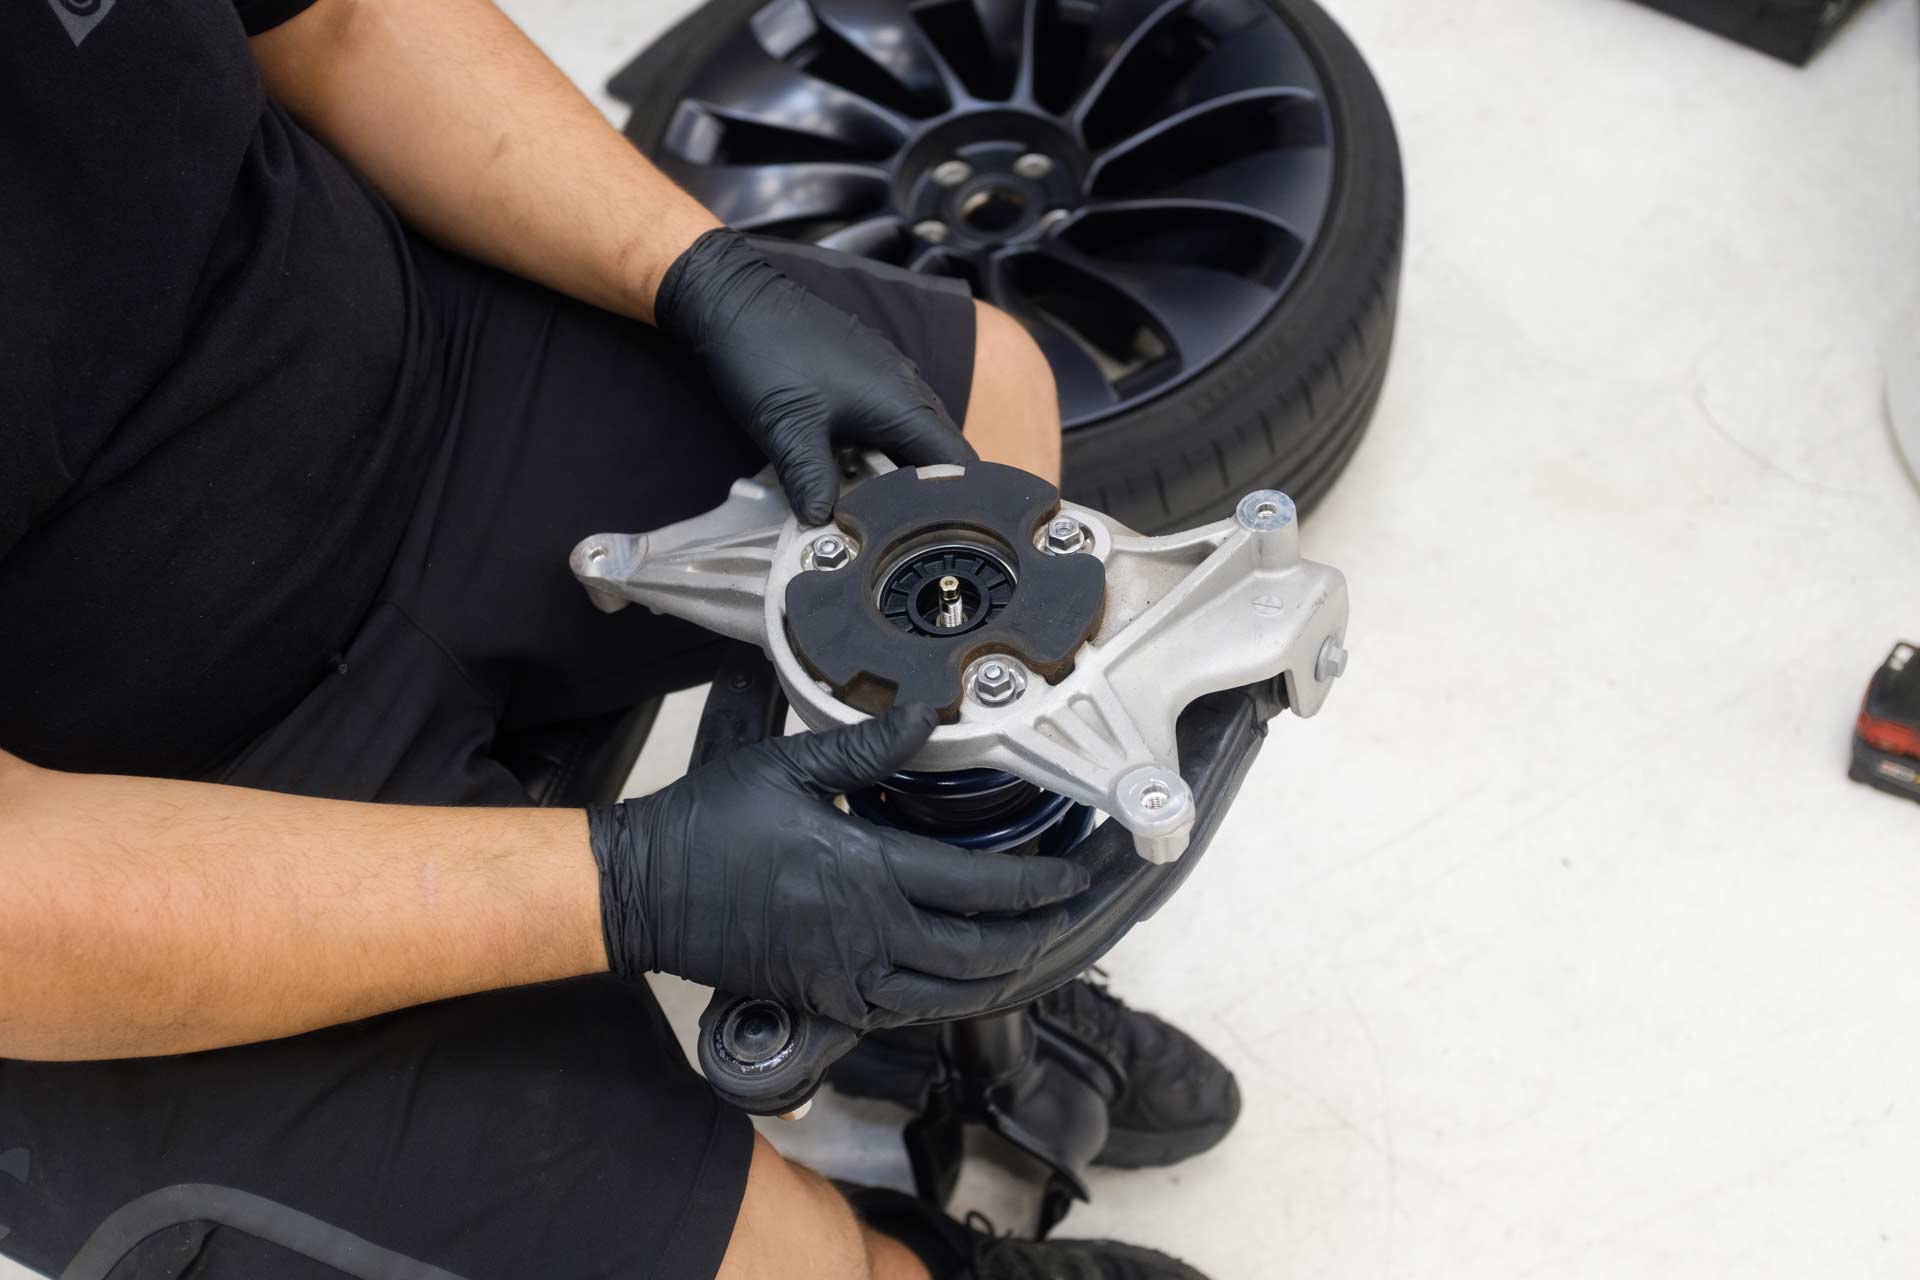
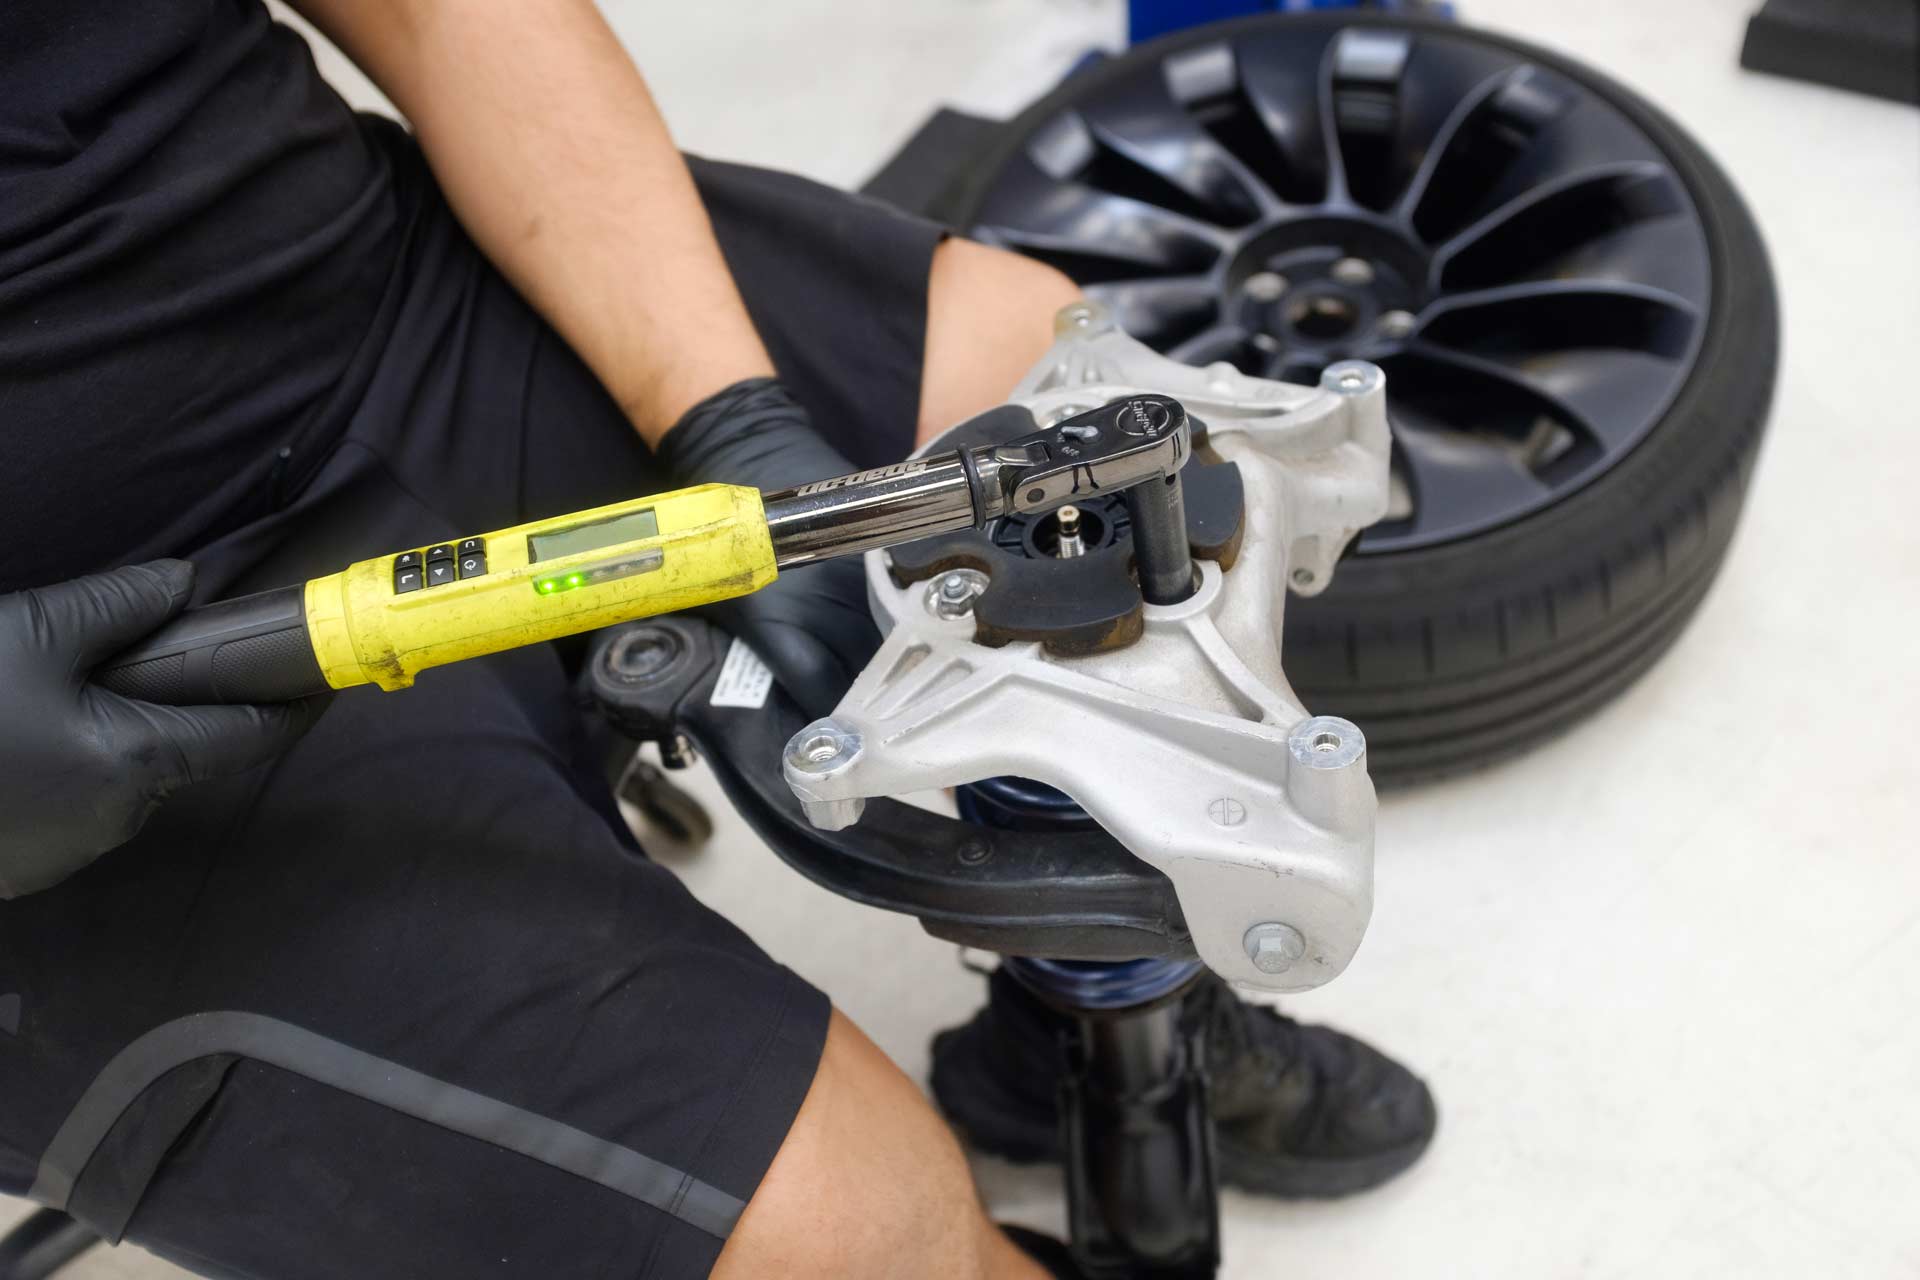
31. Repeat Step 4 for the other side of the vehicle.
32. Place the front UP adjustable shock fork over the front axle and lower lateral control arm.
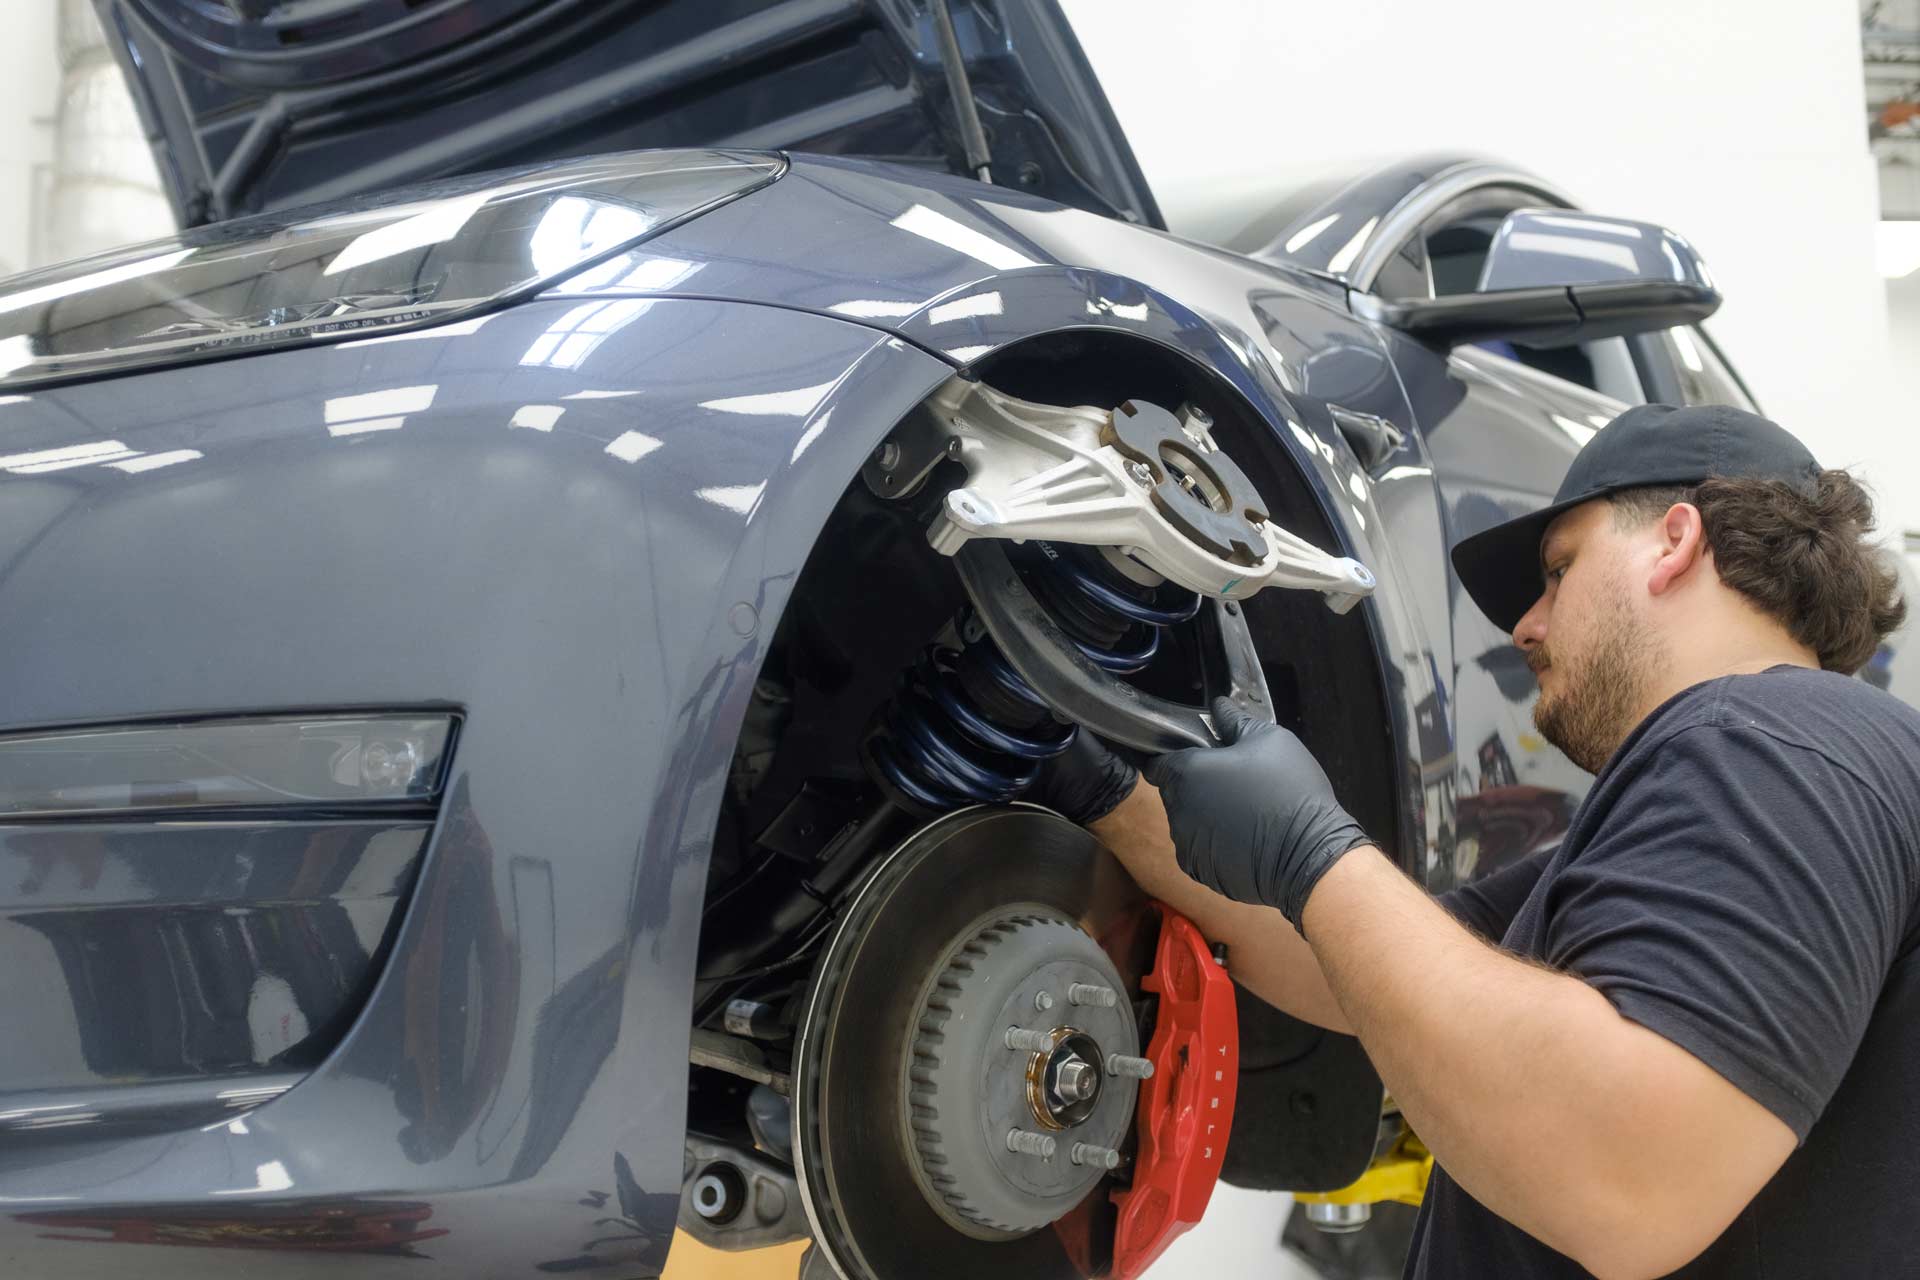
33. Using both factory 13mm bolts, lift the front UP adjustable shock assembly and secure it to the vehicle.
34. Using a 13mm socket and torque wrench, torque both bolts to 25ft/lbs.
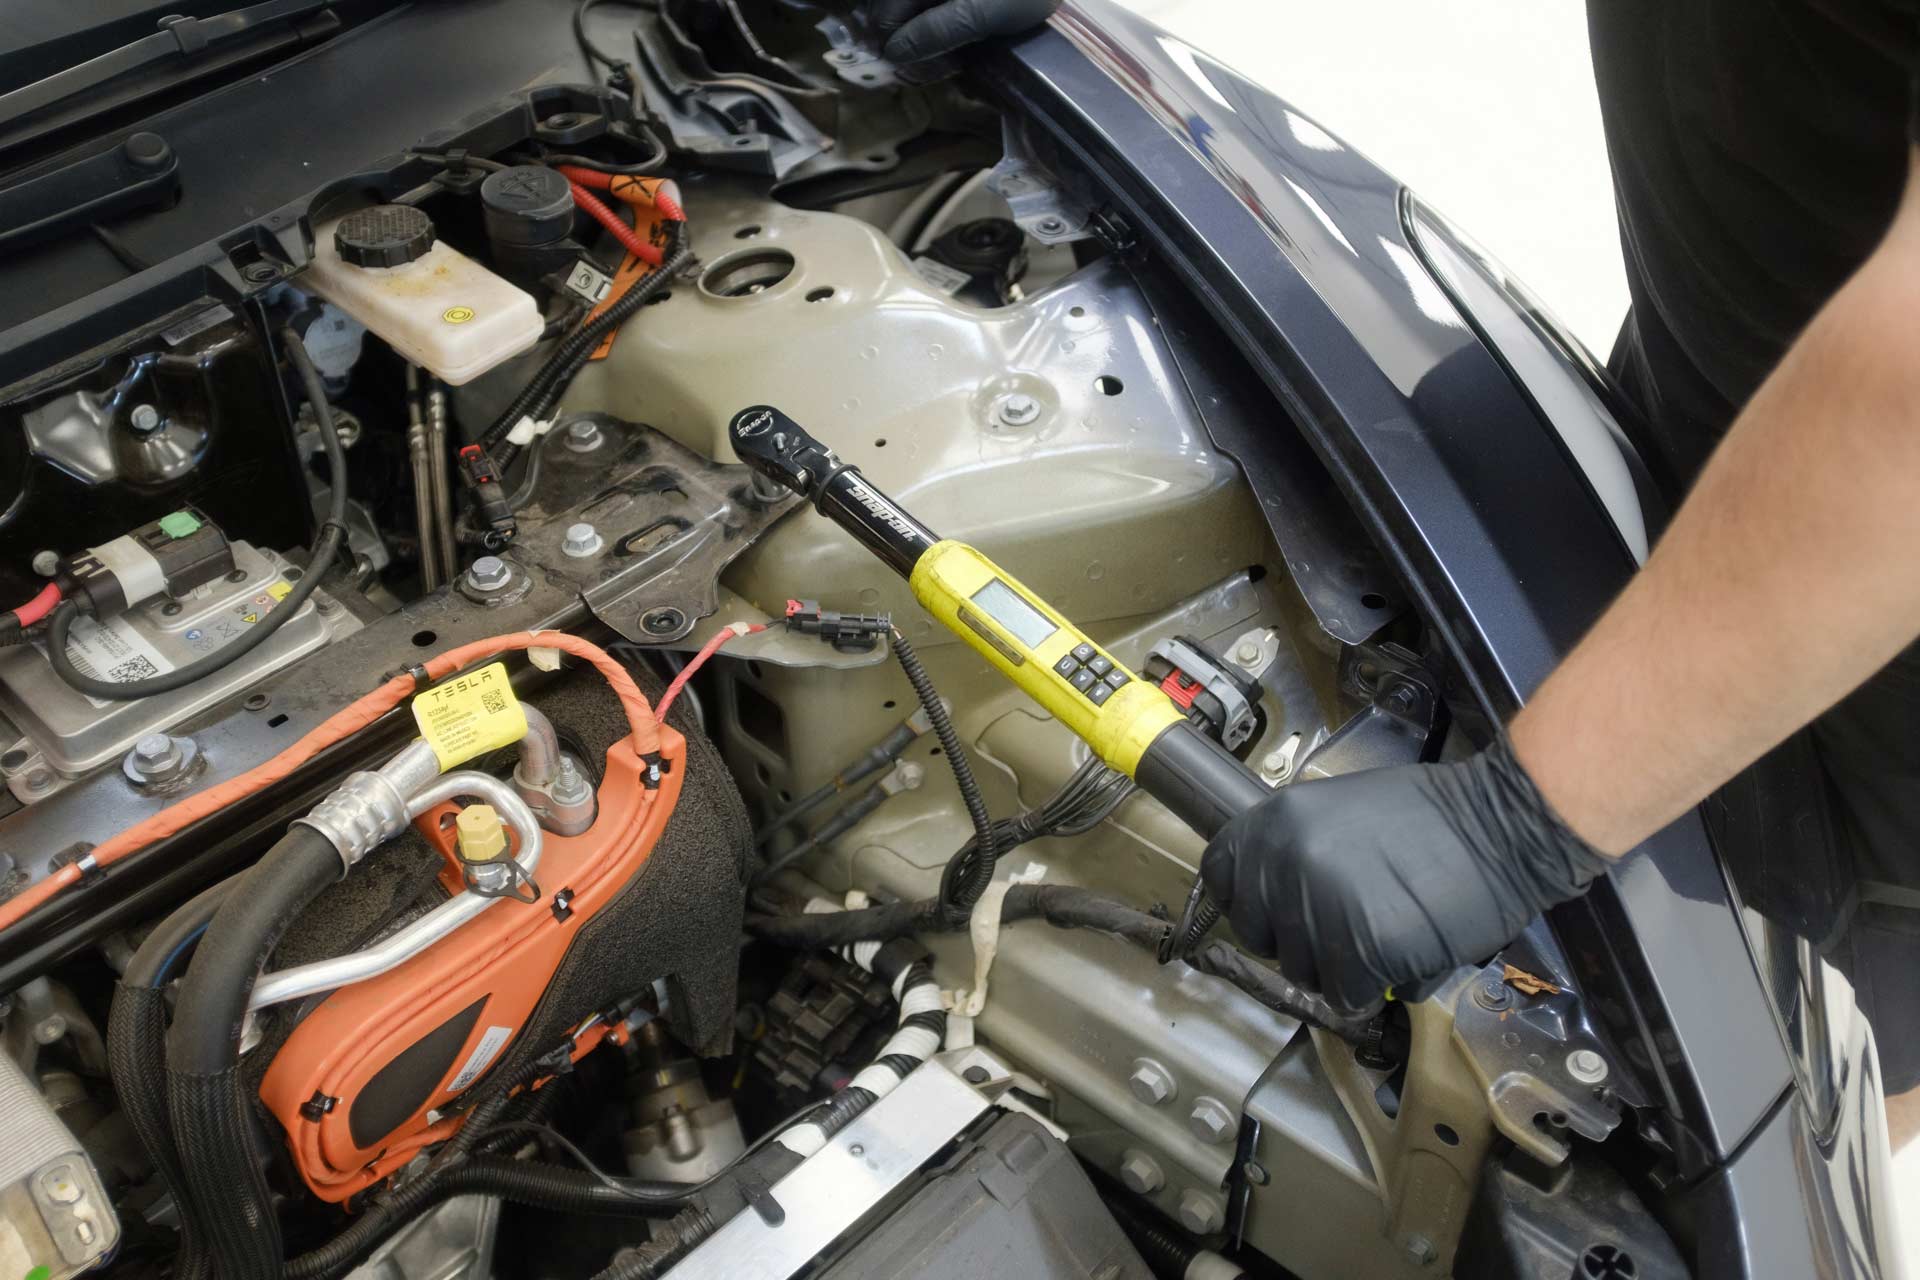
35. Using both factory 15mm bolts, fasten the front strut assembly to the vehicle.
36. Using a 15mm socket and torque wrench, torque both bolts to 45ft/lbs.
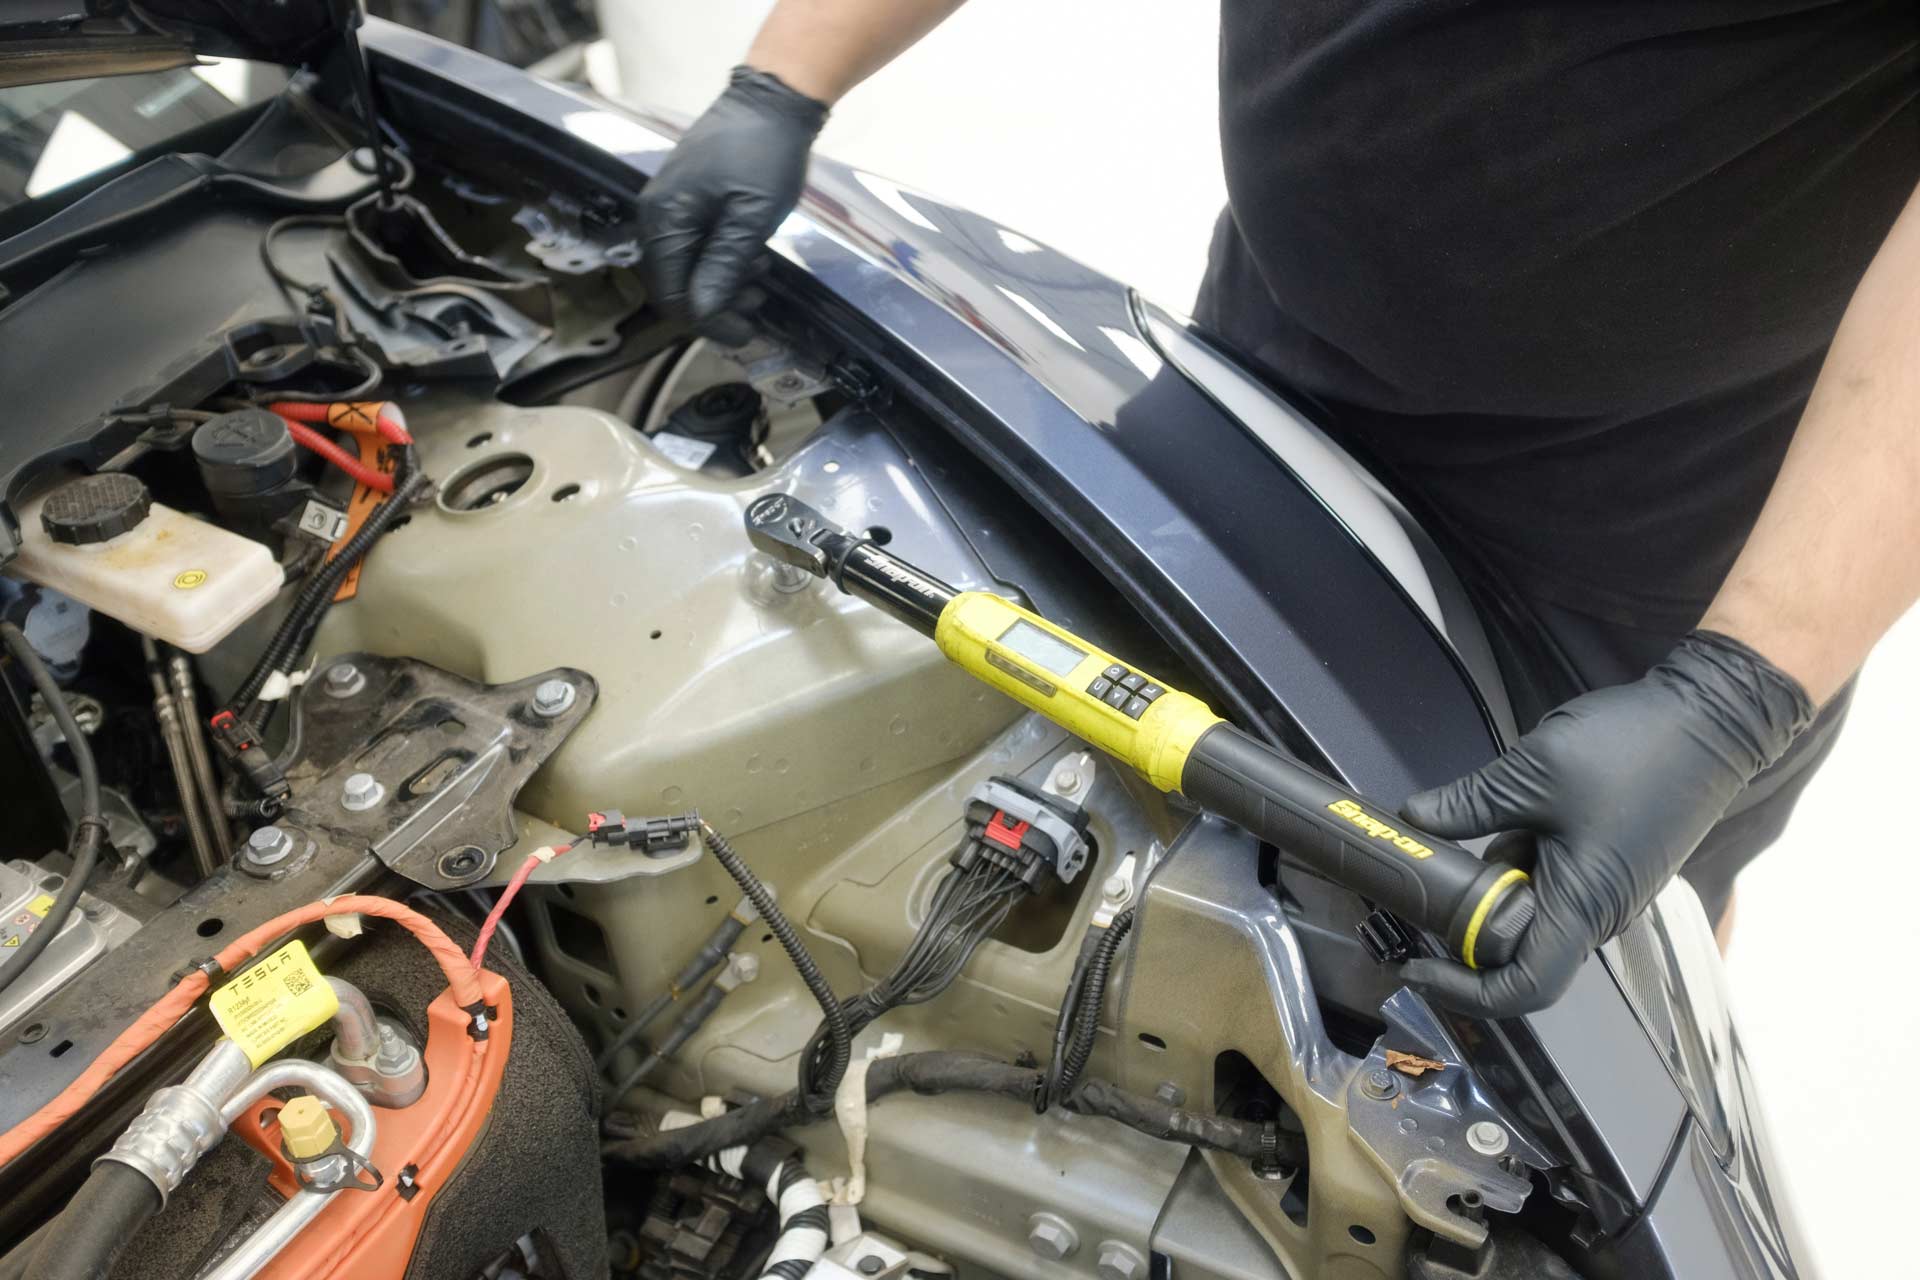
37. Using a T50 Torx socket, and a 15mm socket, fasten the factory pinch bolt and nut to secure the front upper control arm drop pin to the factory upright.
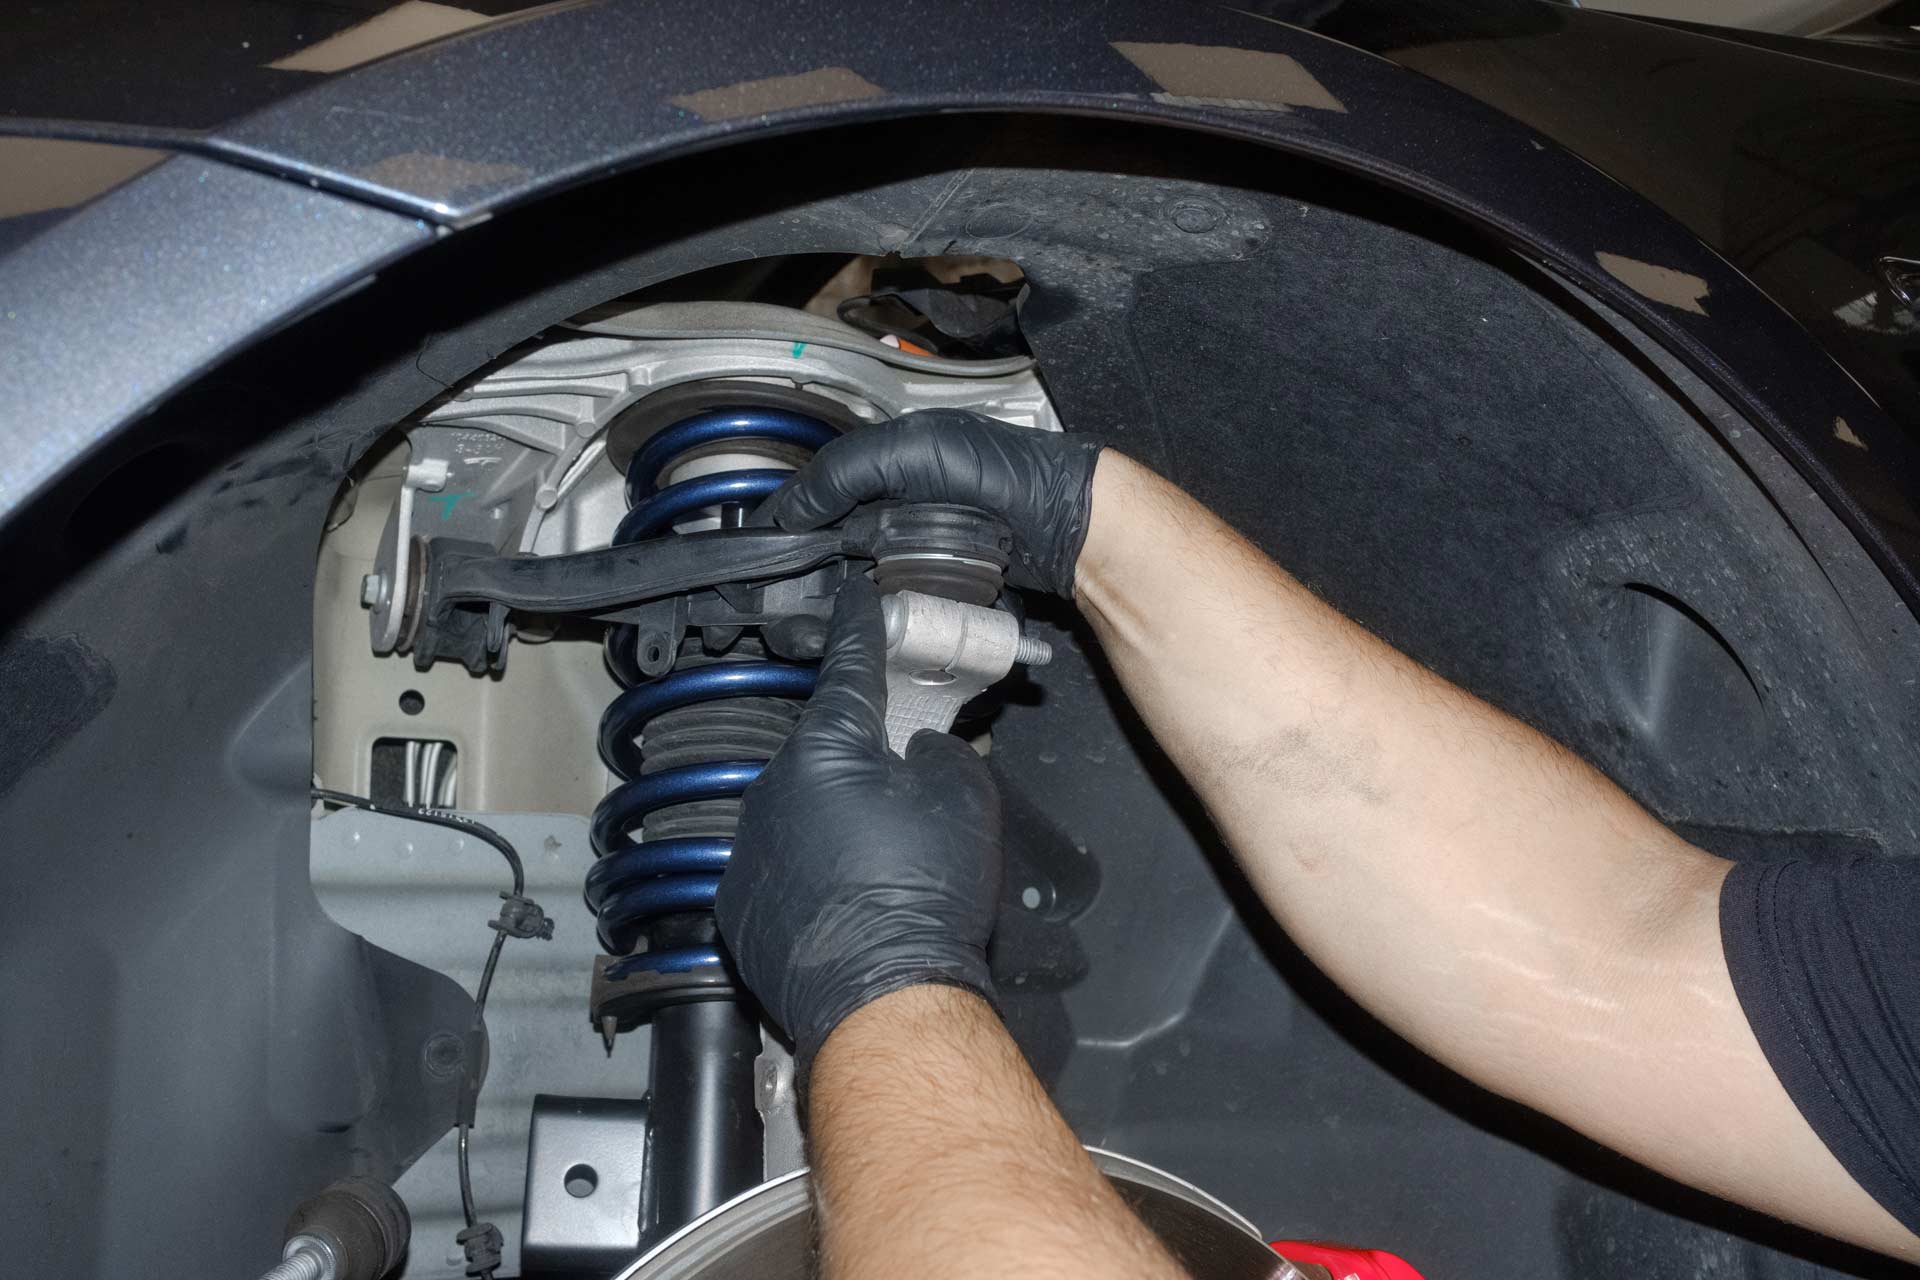
38. Using a T50 Torx socket, a torque wrench, and a 15mm socket, torque the factory pinch bolt and nut to 41ft/lbs.
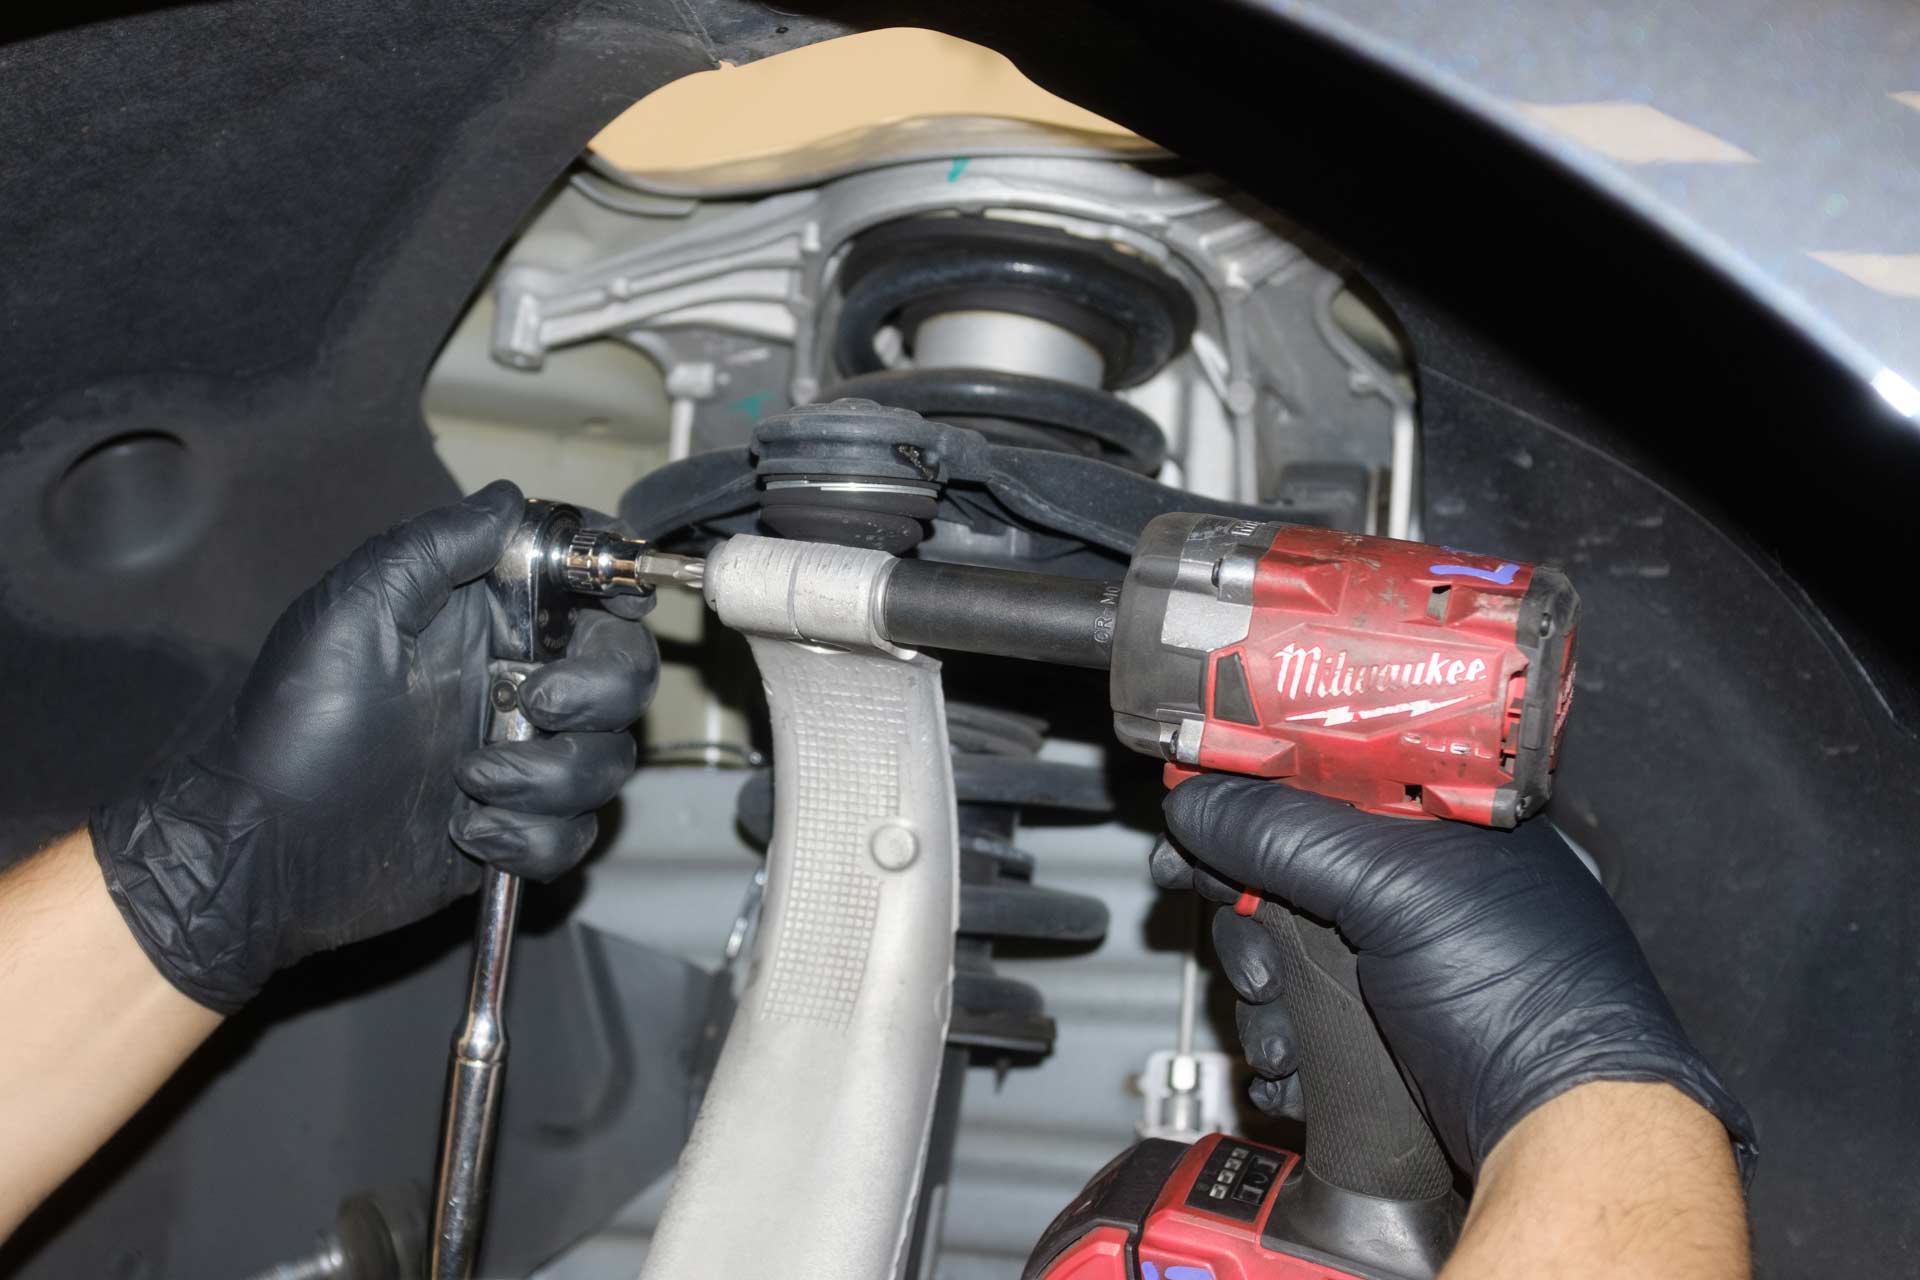
39. Using a 21mm socket and end wrench, fasten the factory bolt and nut to secure the shock fork to the front lower control arm. Consider using a jack to lift the knuckle in order to align the fork mount with the control arm.
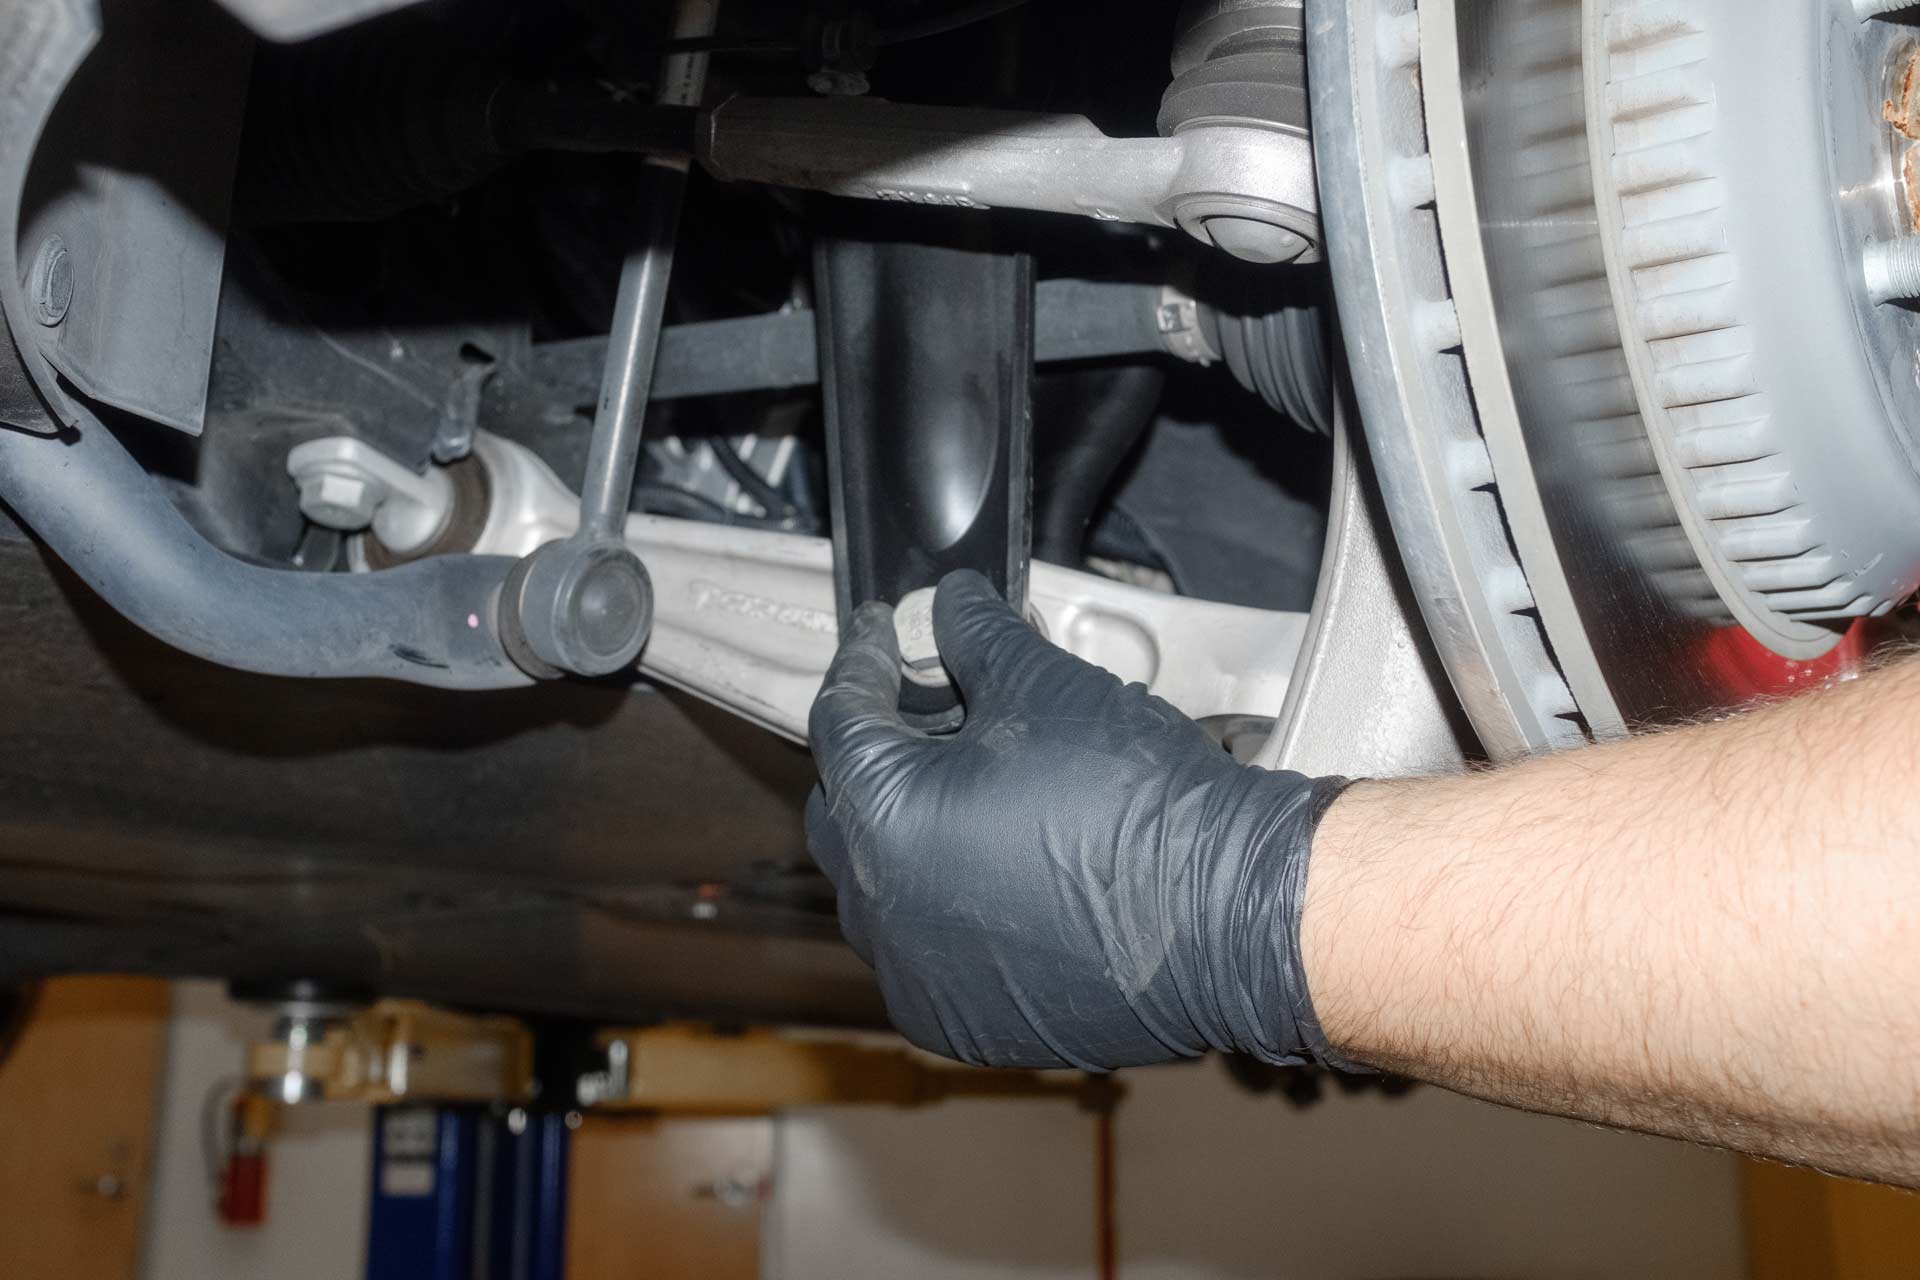
40. Using a 21mm socket, a torque wrench, and a 21mm end wrench, torque the 21mm nut and bolt to 78ft/lbs.41. Using an 18mm socket, fasten the factory nut to secure the shock to the endlink.
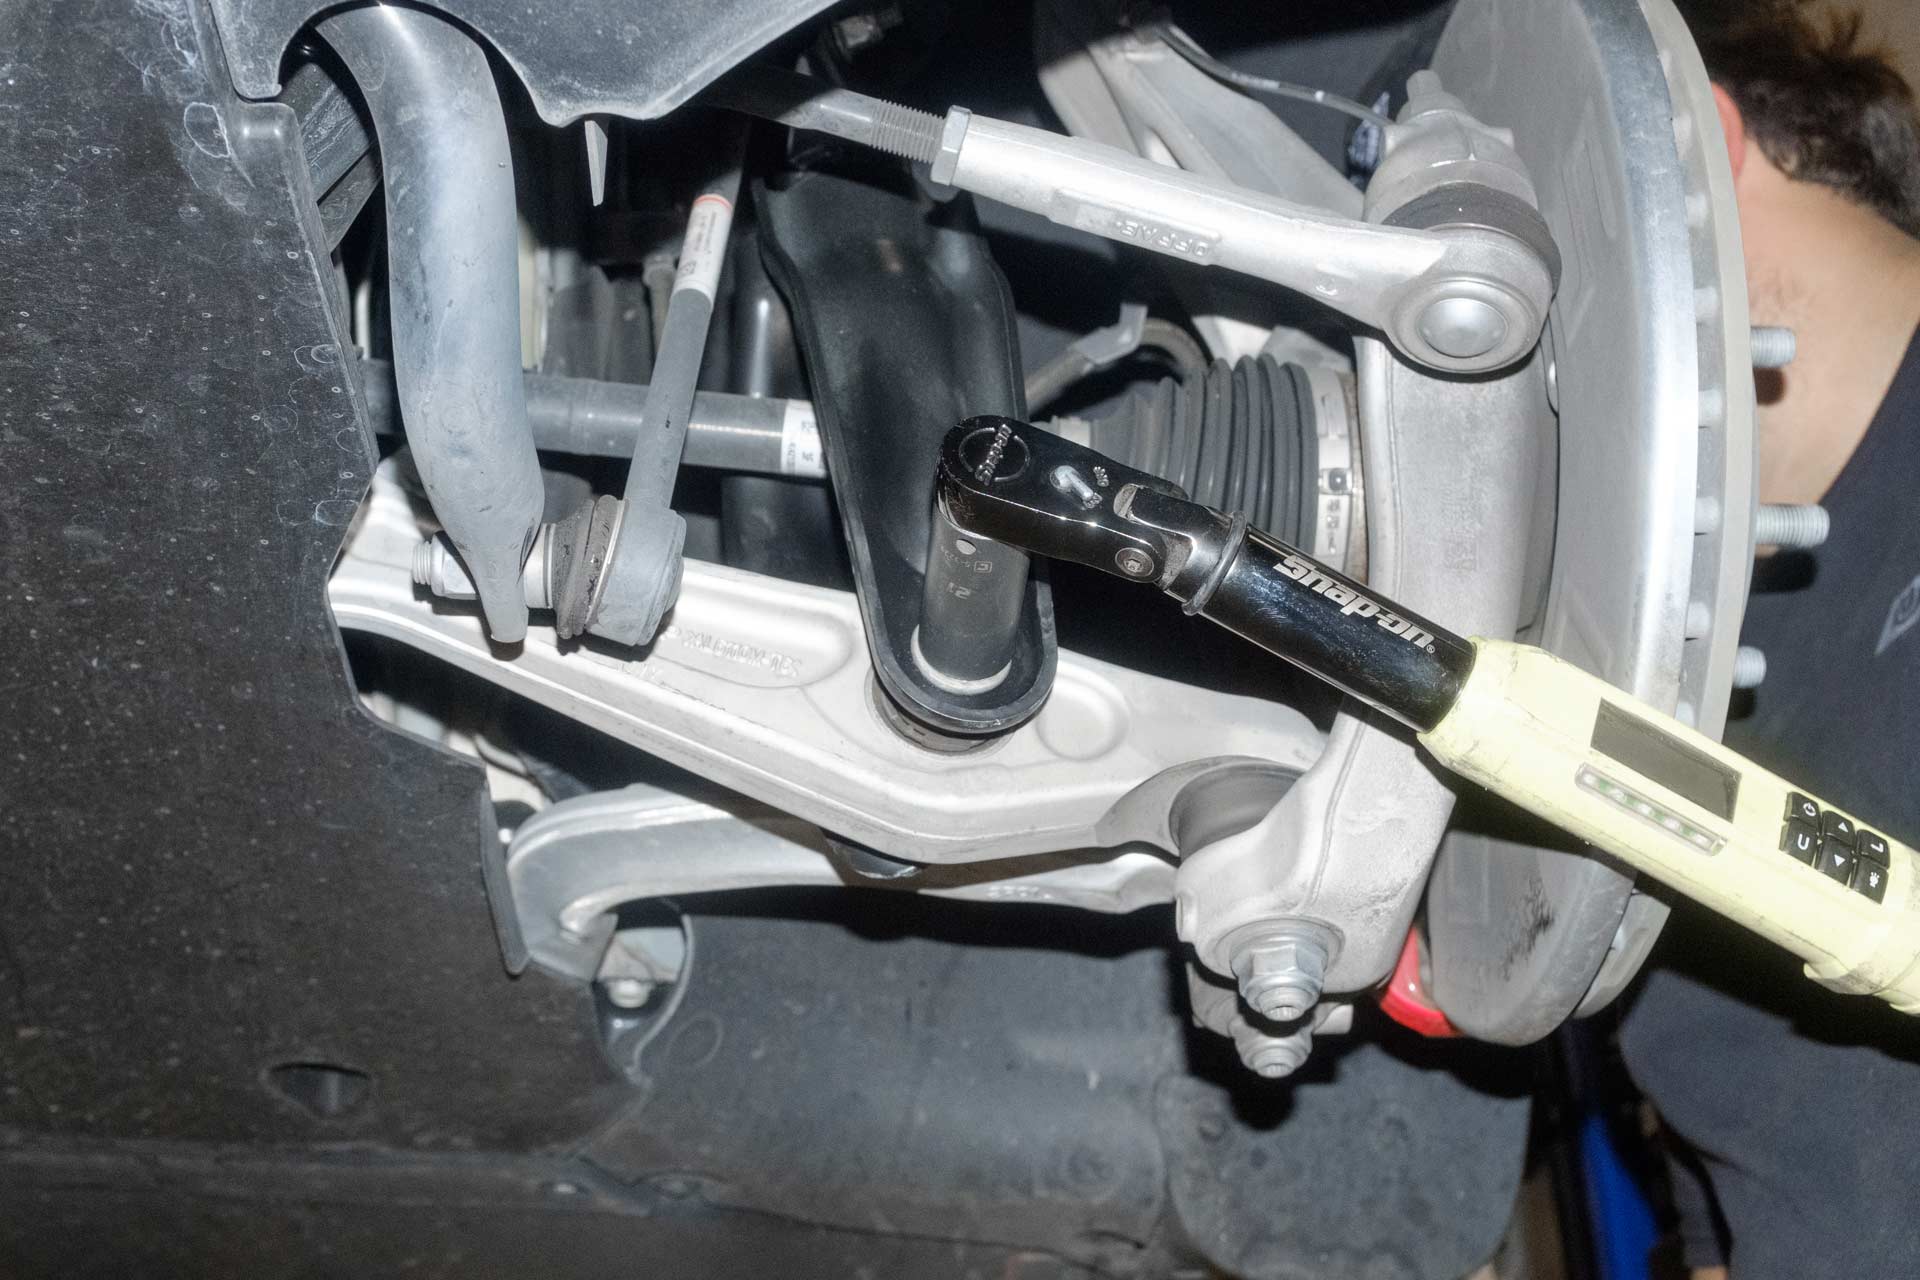
41. Using an 18mm socket, fasten the factory nut to secure the shock to the endlink.
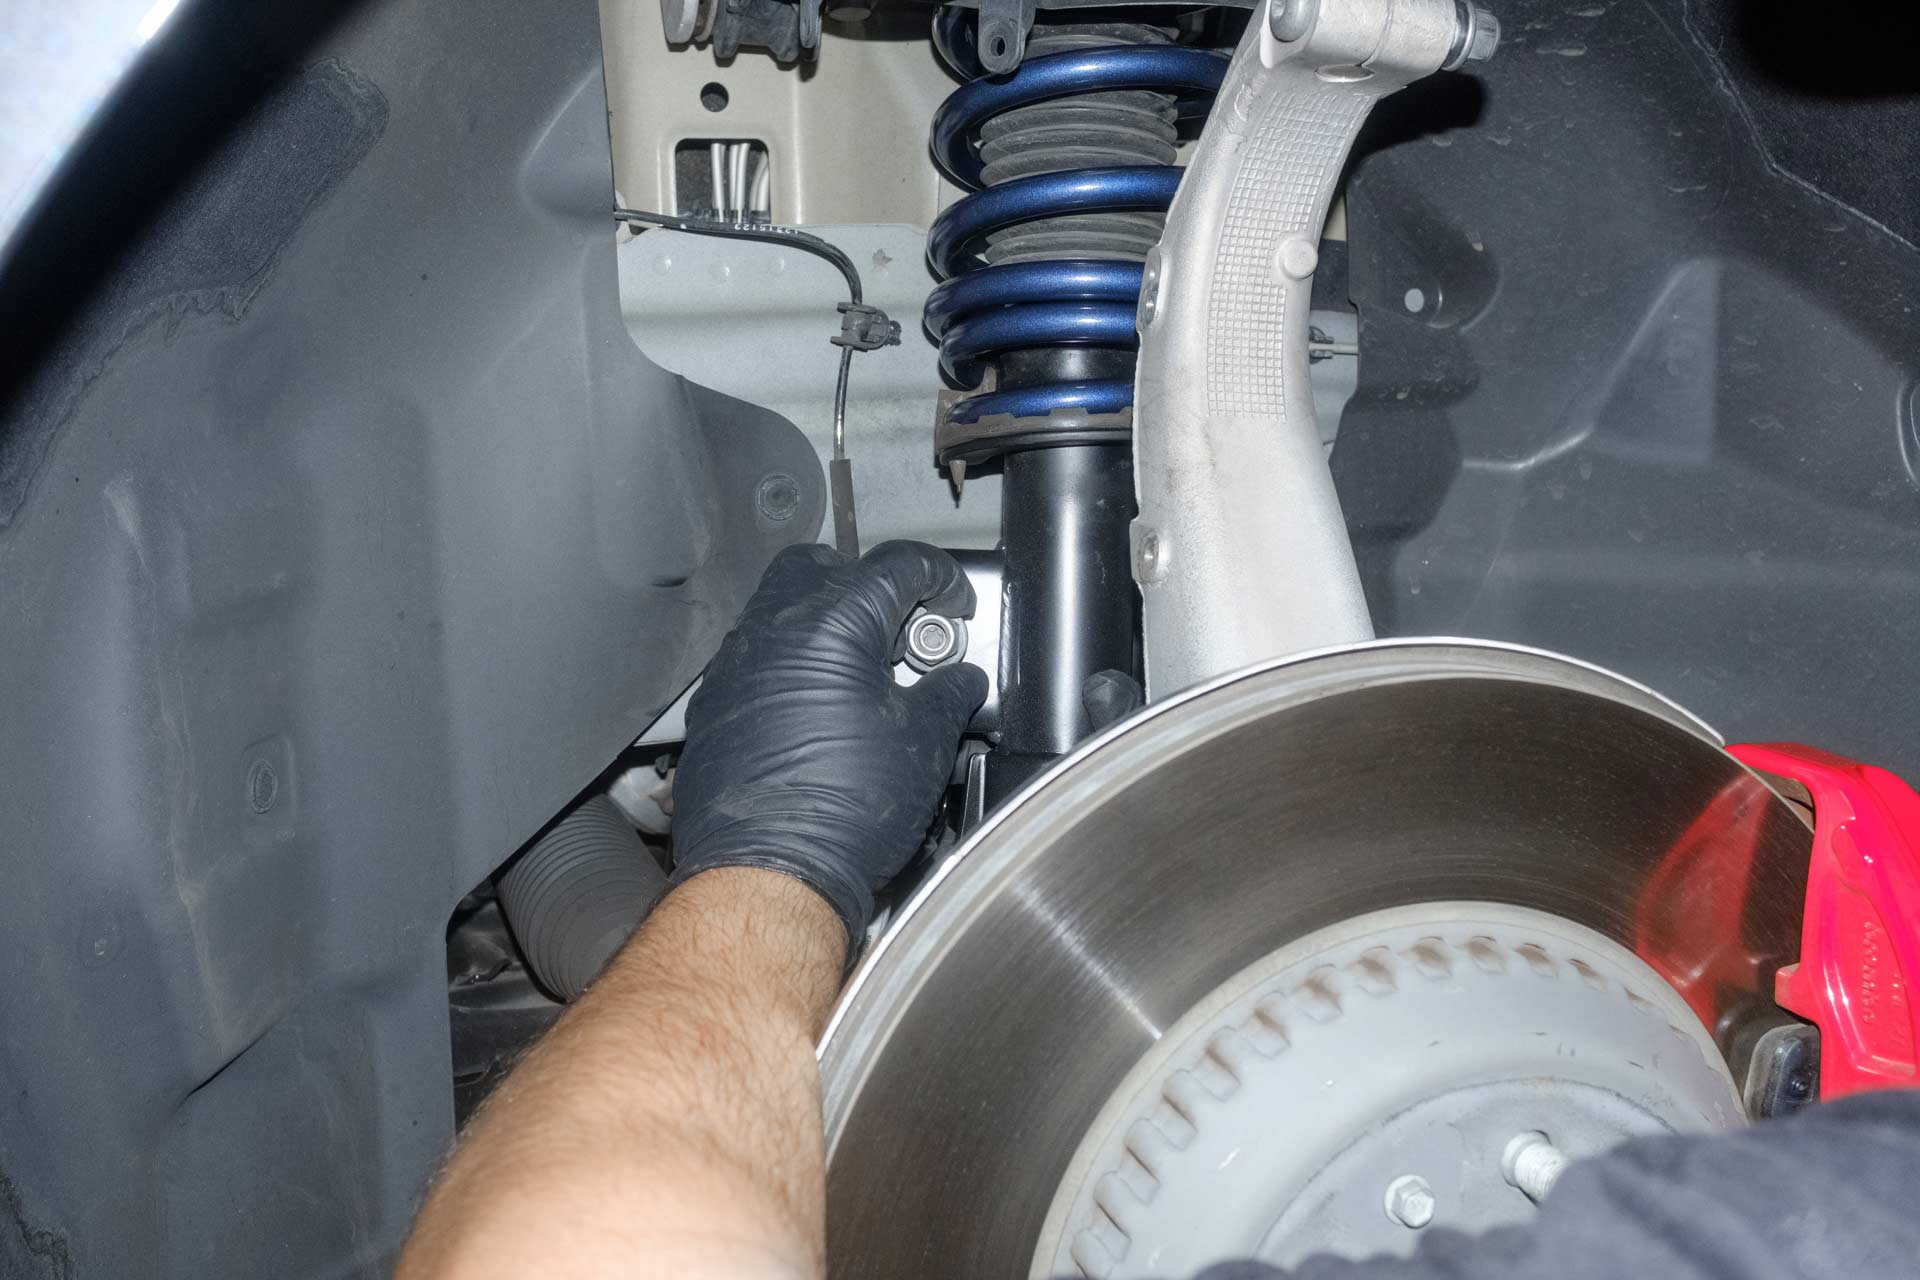
42. Using an 18mm socket and a torque wrench, torque to 72ft/lbs.
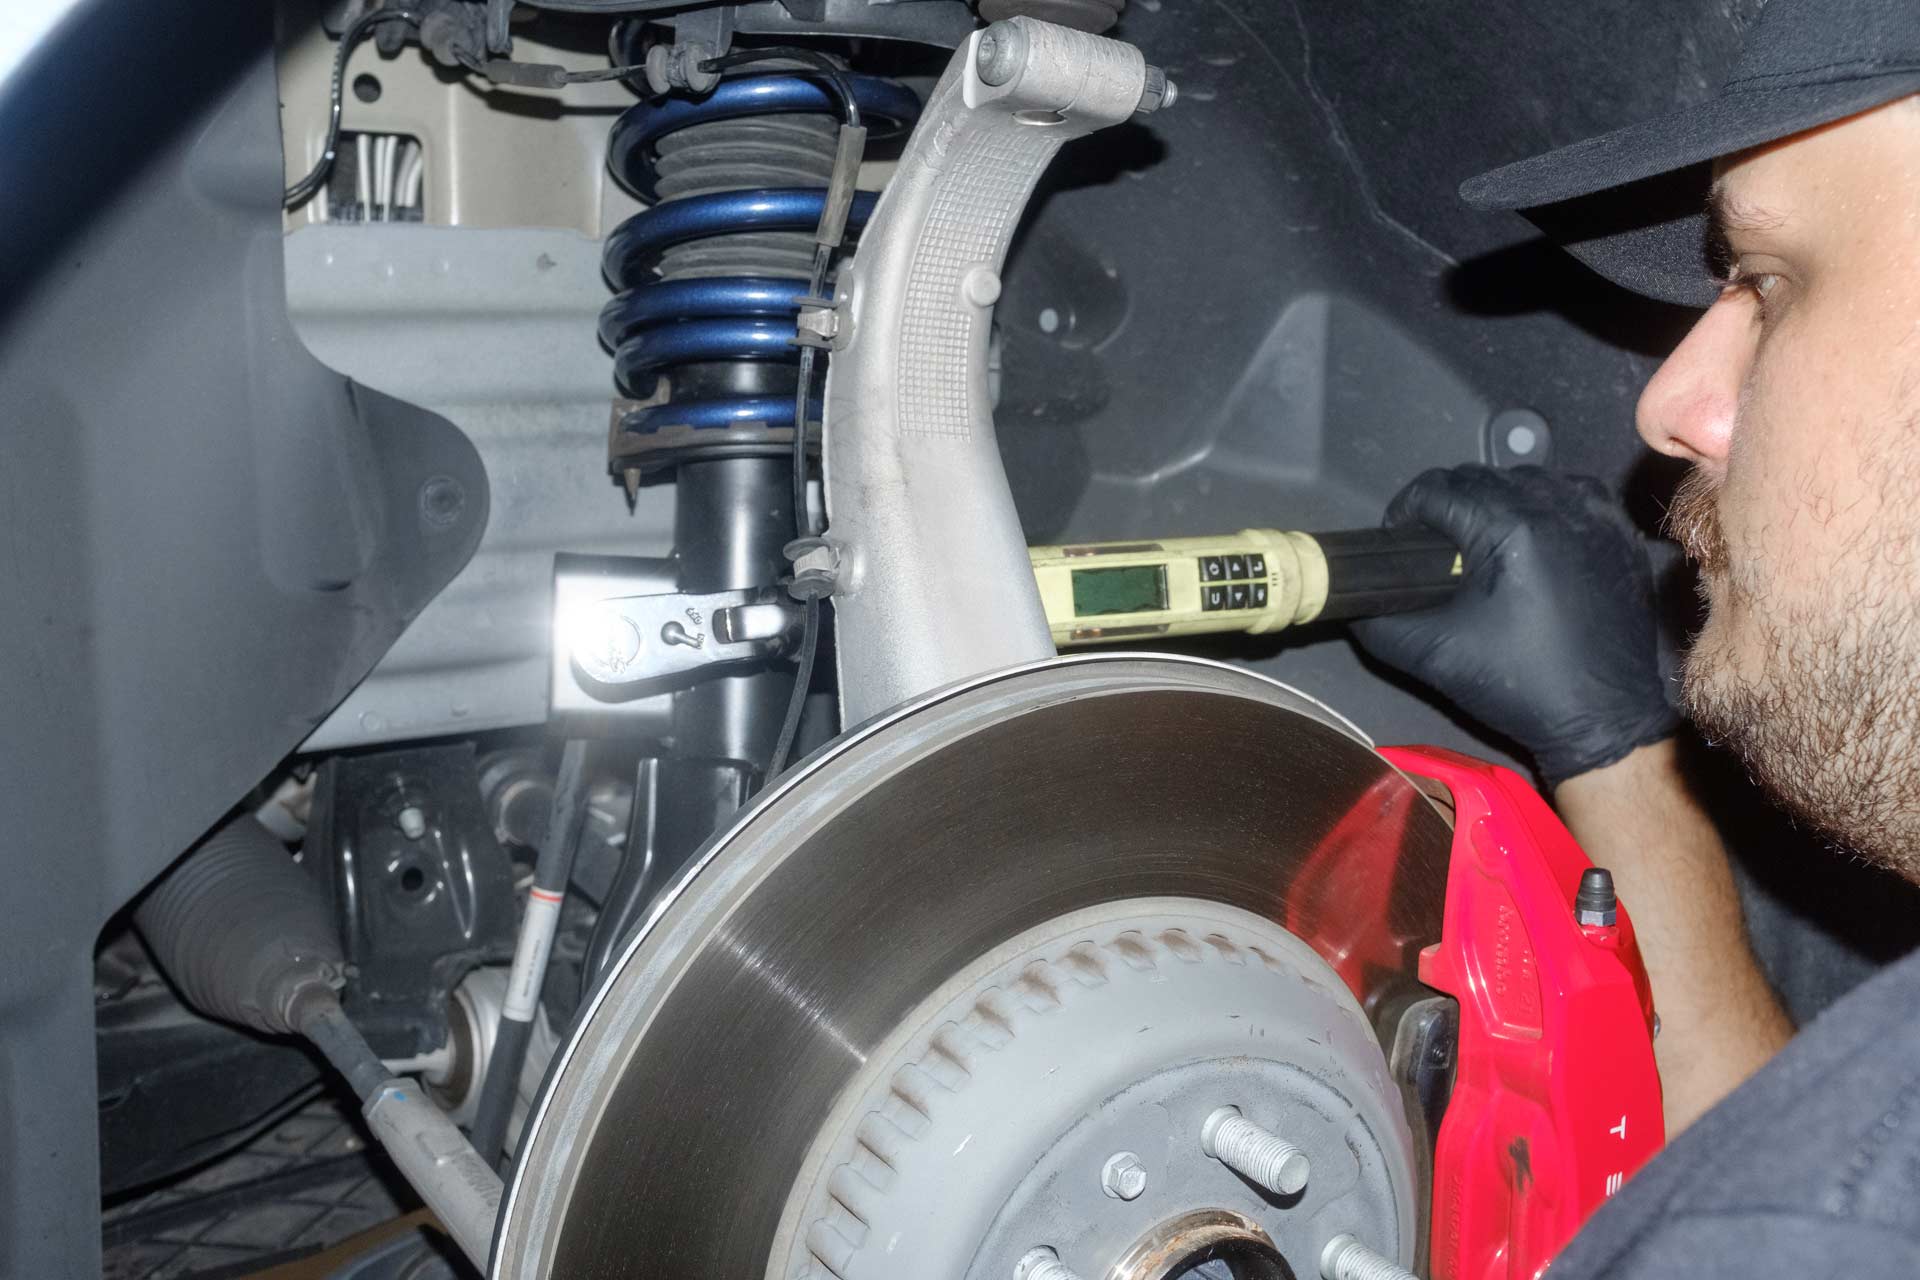
43. Using a 10mm socket, fasten the factory bolt to secure the brake line to the upright.
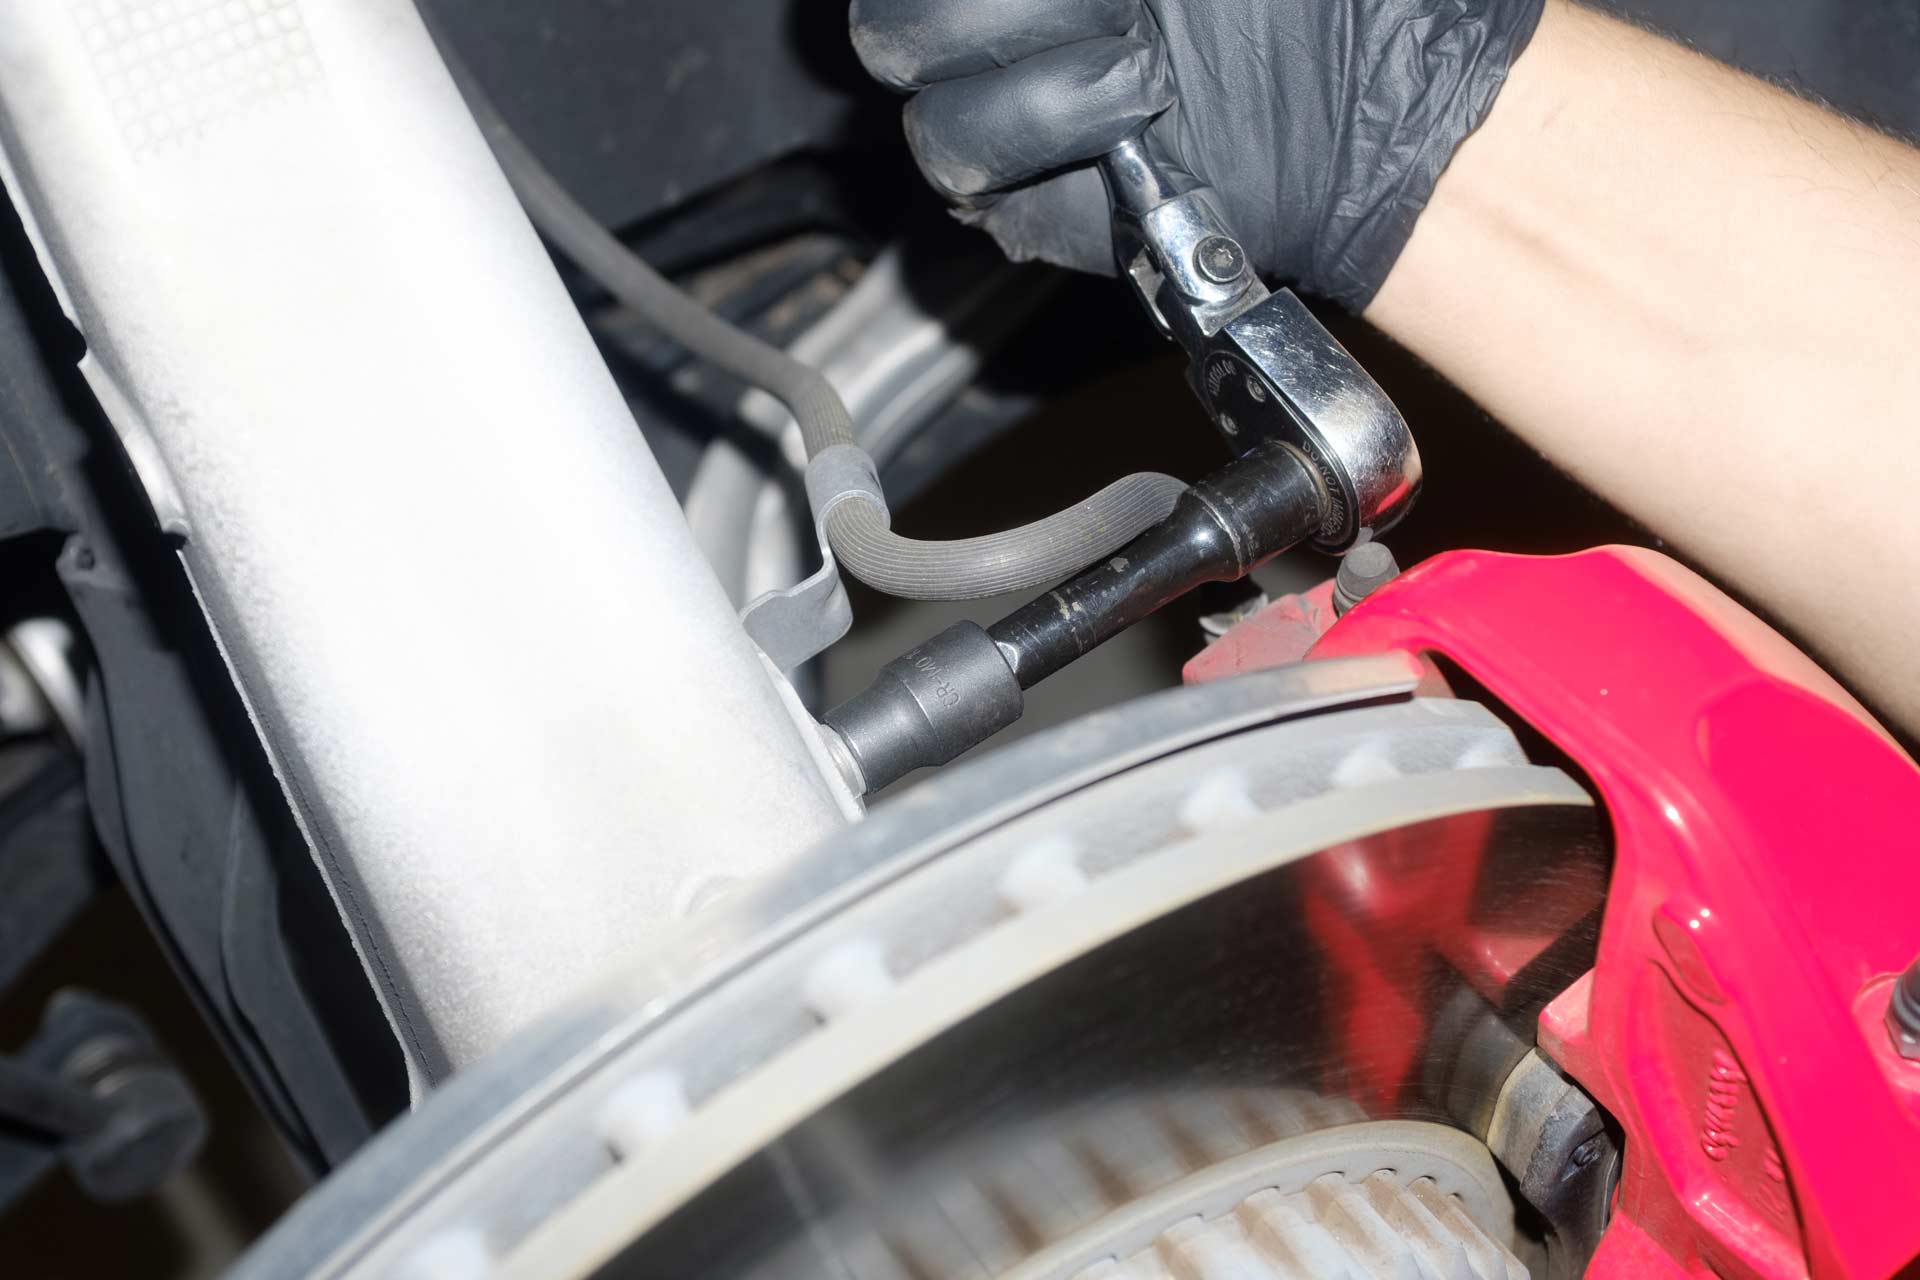
44. Using a 10mm socket and a torque wrench, torque to 6ft/lbs.
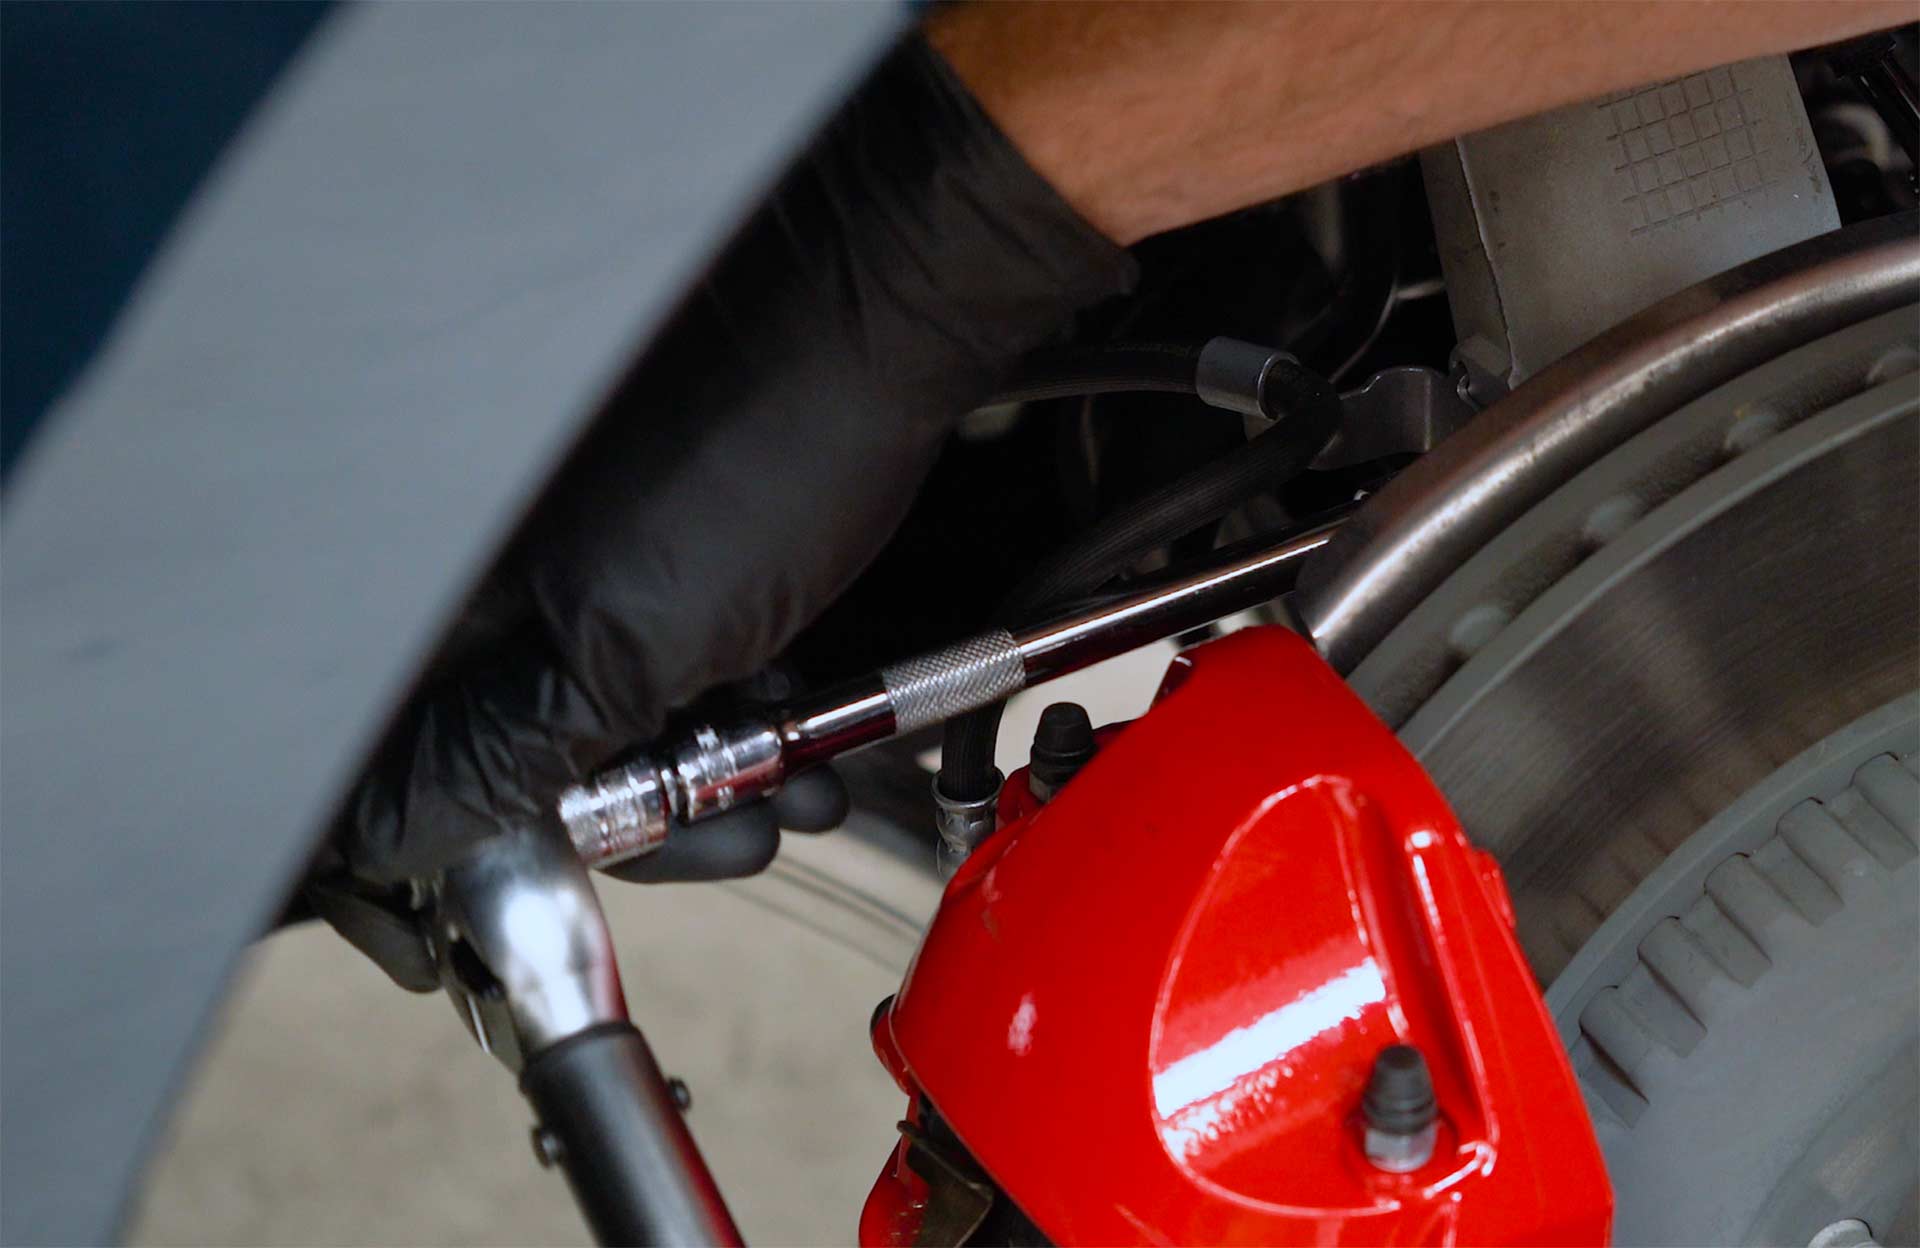
45. Resecure the wheel speed sensor assembly to the factory upright and front upper control arm assembly.
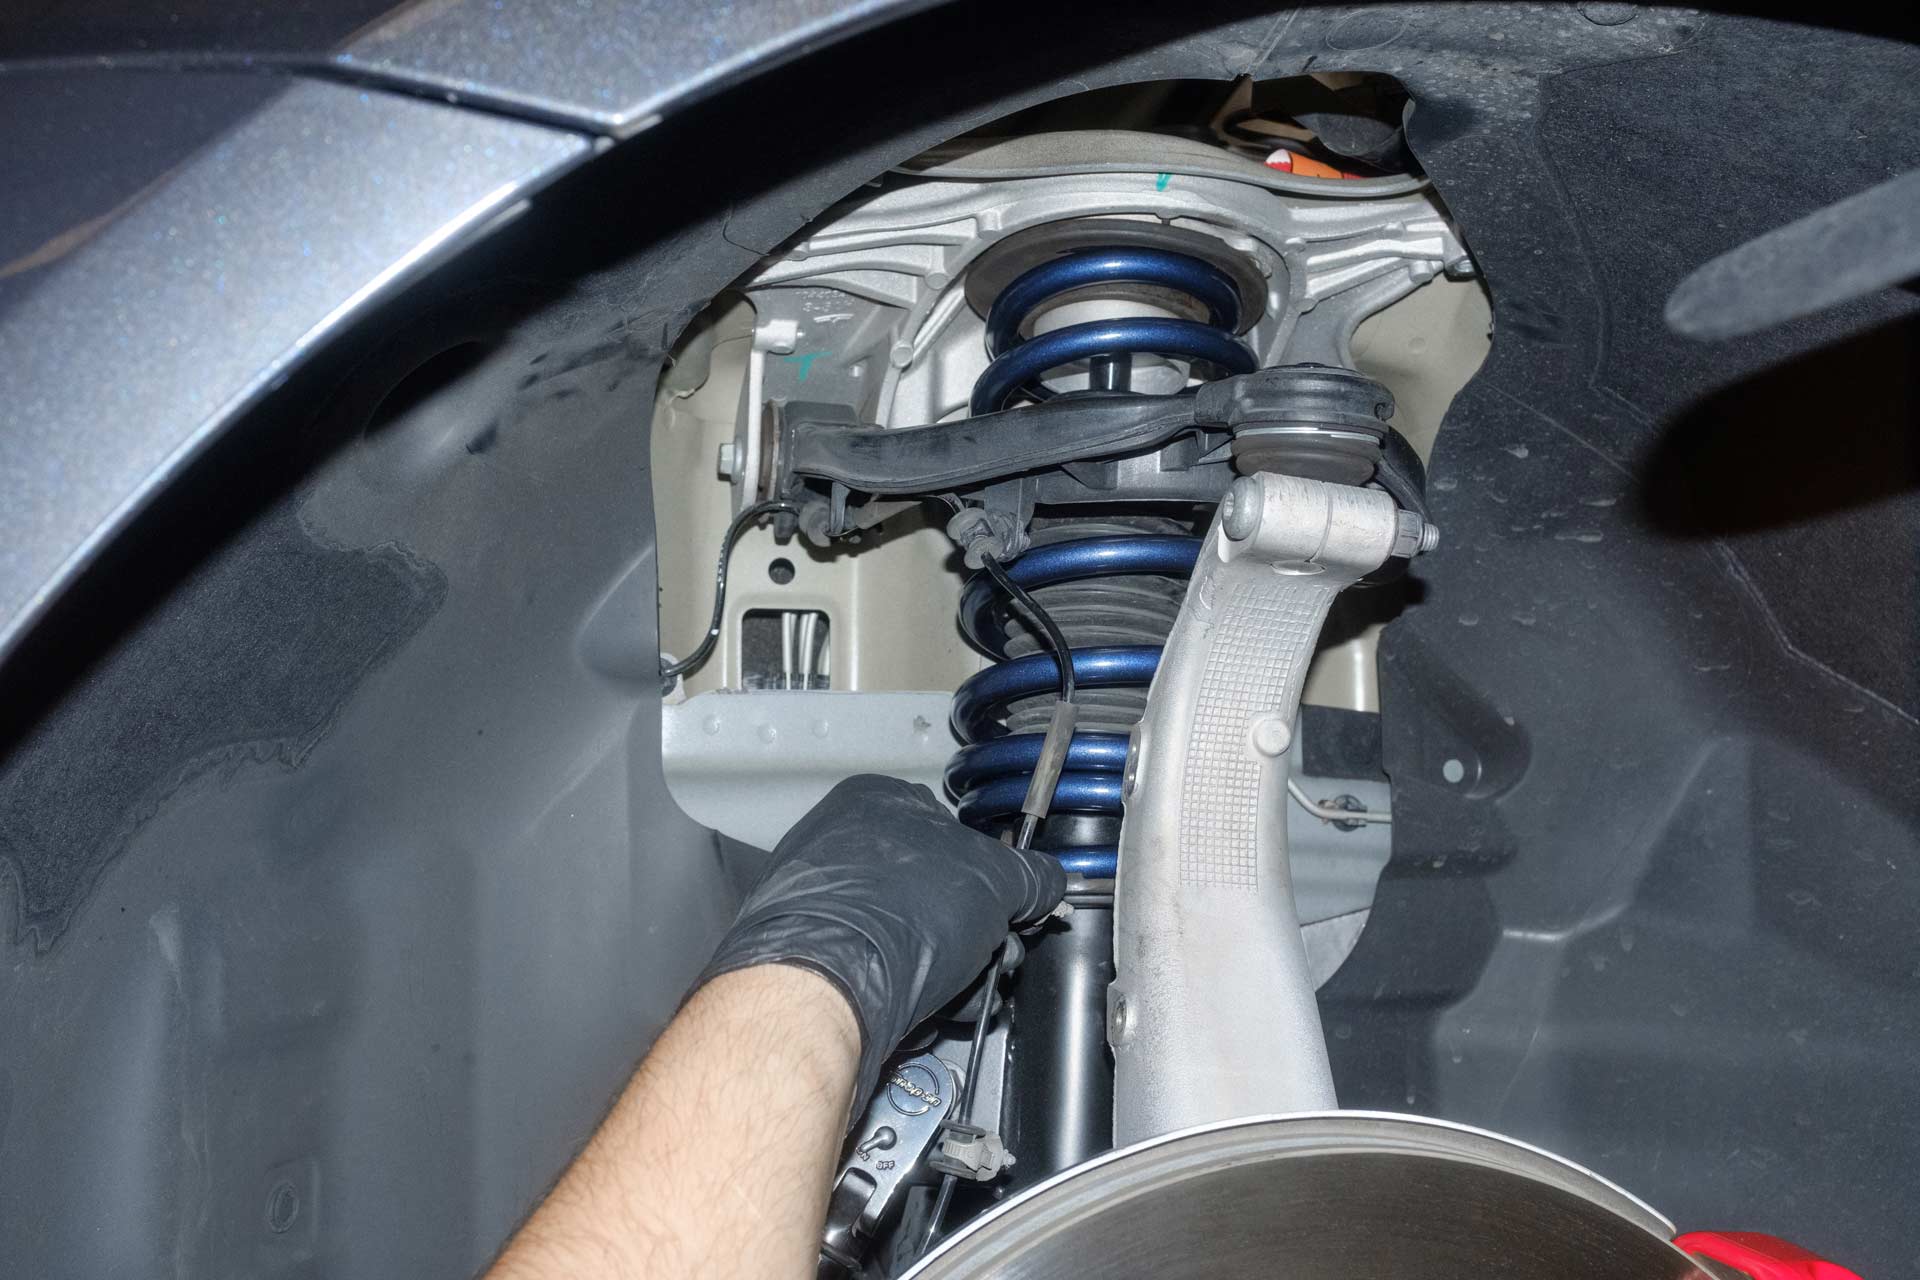
46. Repeat Step 5 for the other side of the vehicle. Then, reinstall the front trunk assembly in the opposite order it was removed from the vehicle. Torque the 10mm bolts to 12 ft/lbs.
47. Using a 21mm socket, remove the rear wheels from the vehicle.
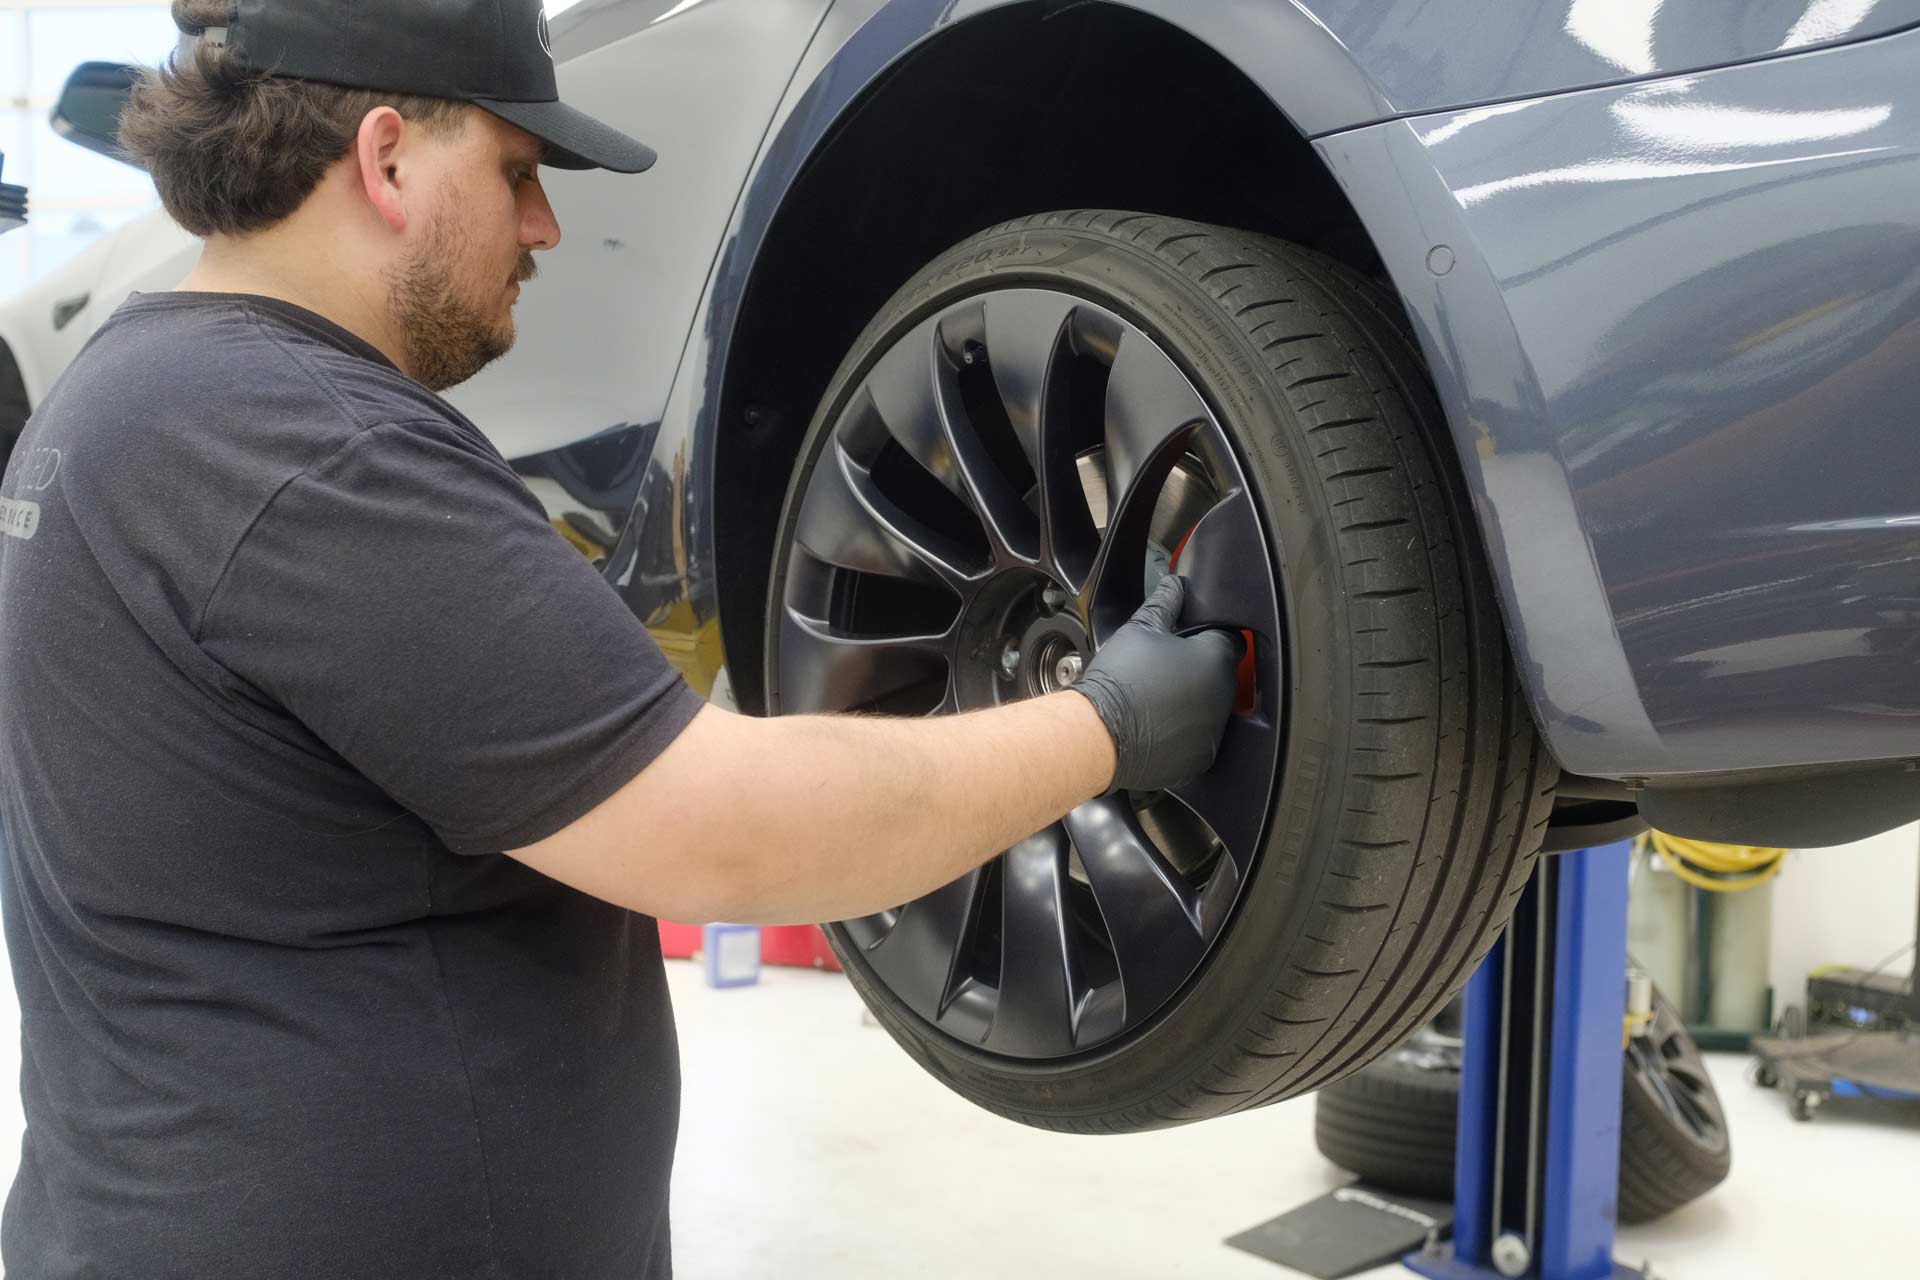
48. Using a 10mm socket, remove the rear spring arm covers. (It may also be helpful to remove the rear under tray as well to increase clearance for the rear spring removal.)
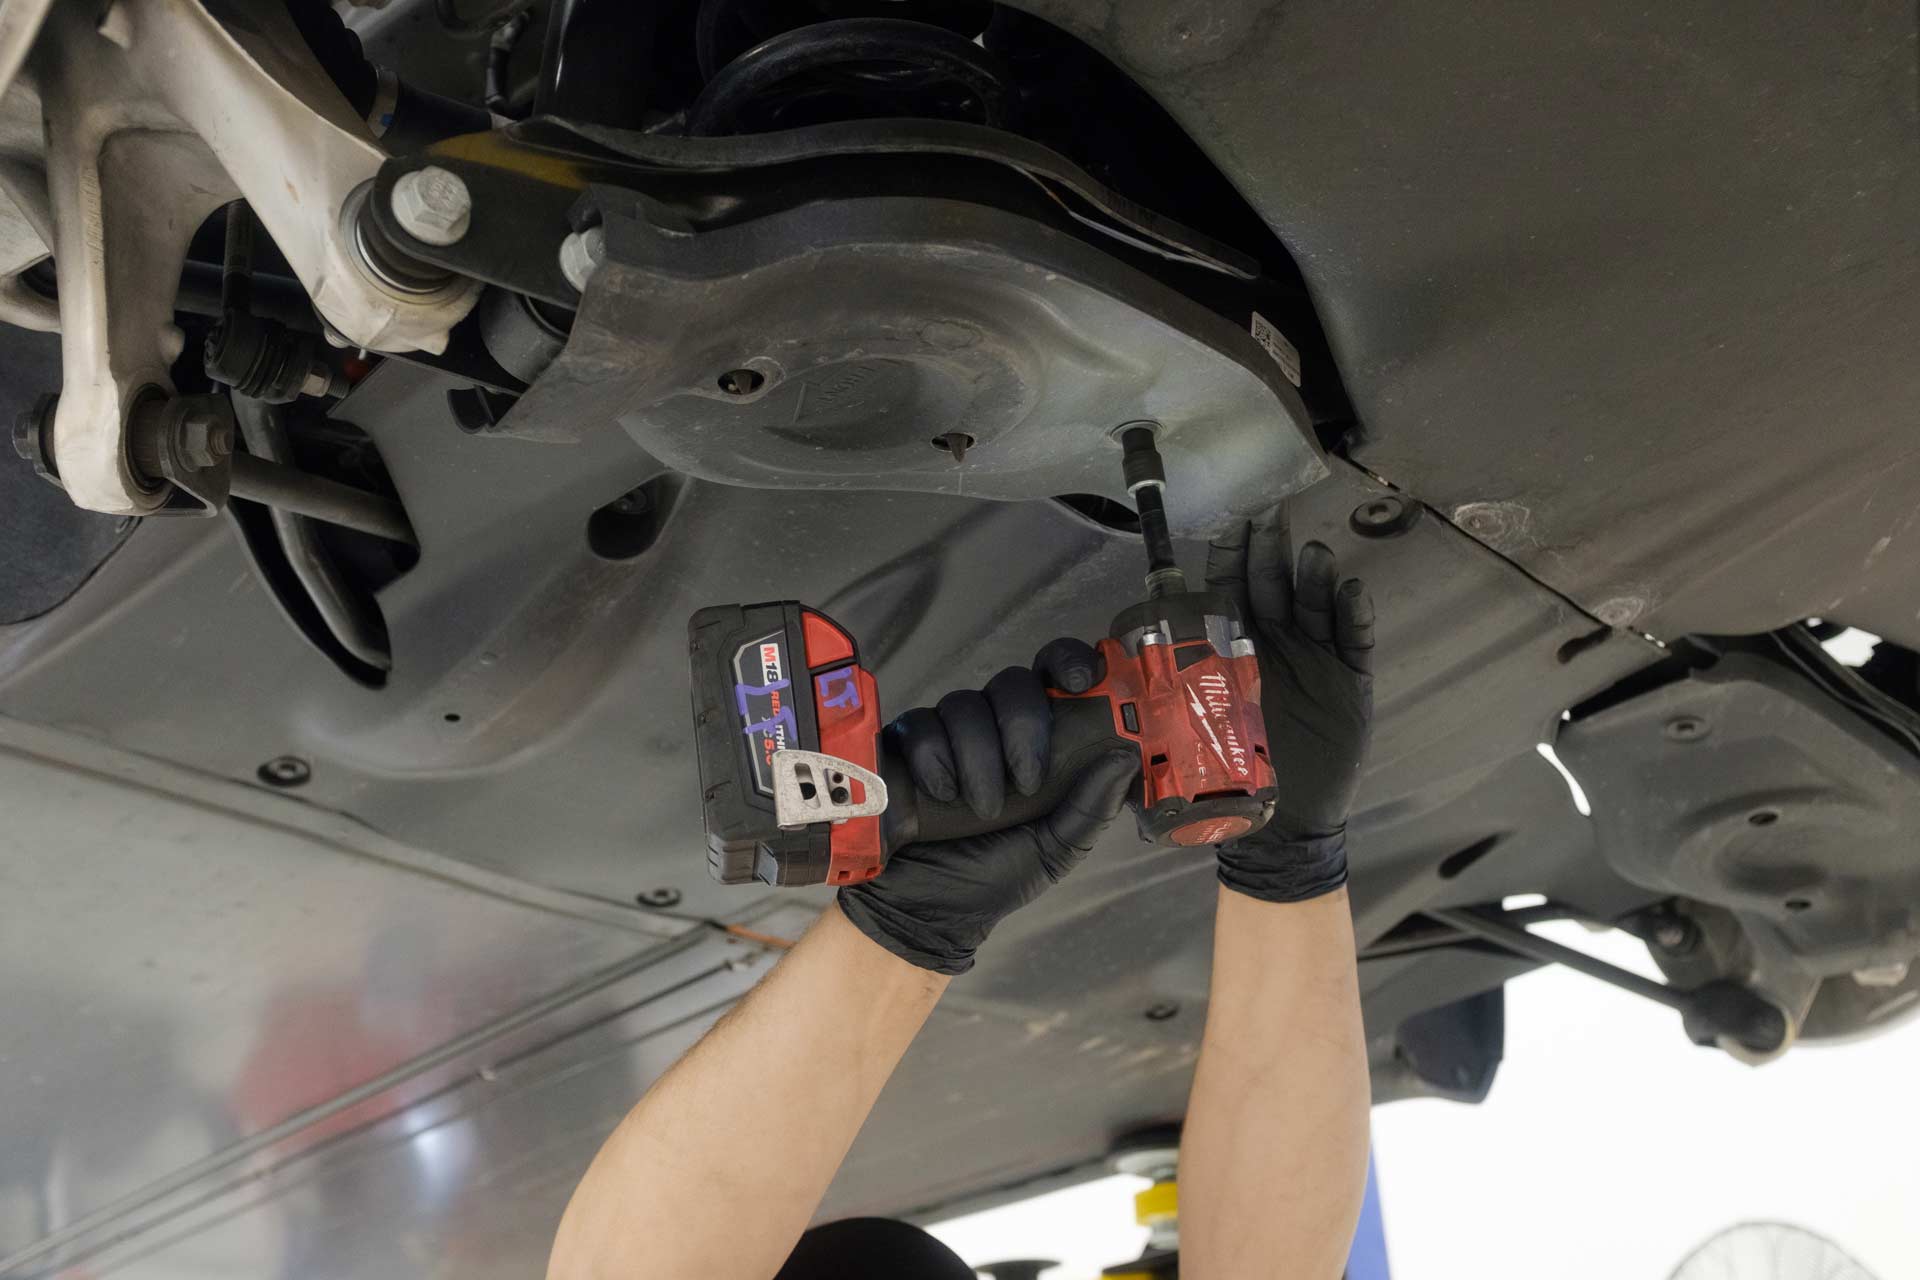
49. Using a transmission jack (or floor jack if applicable), support the rear lower spring arm to ensure any loaded pressure can be supported in a controlled fashion.
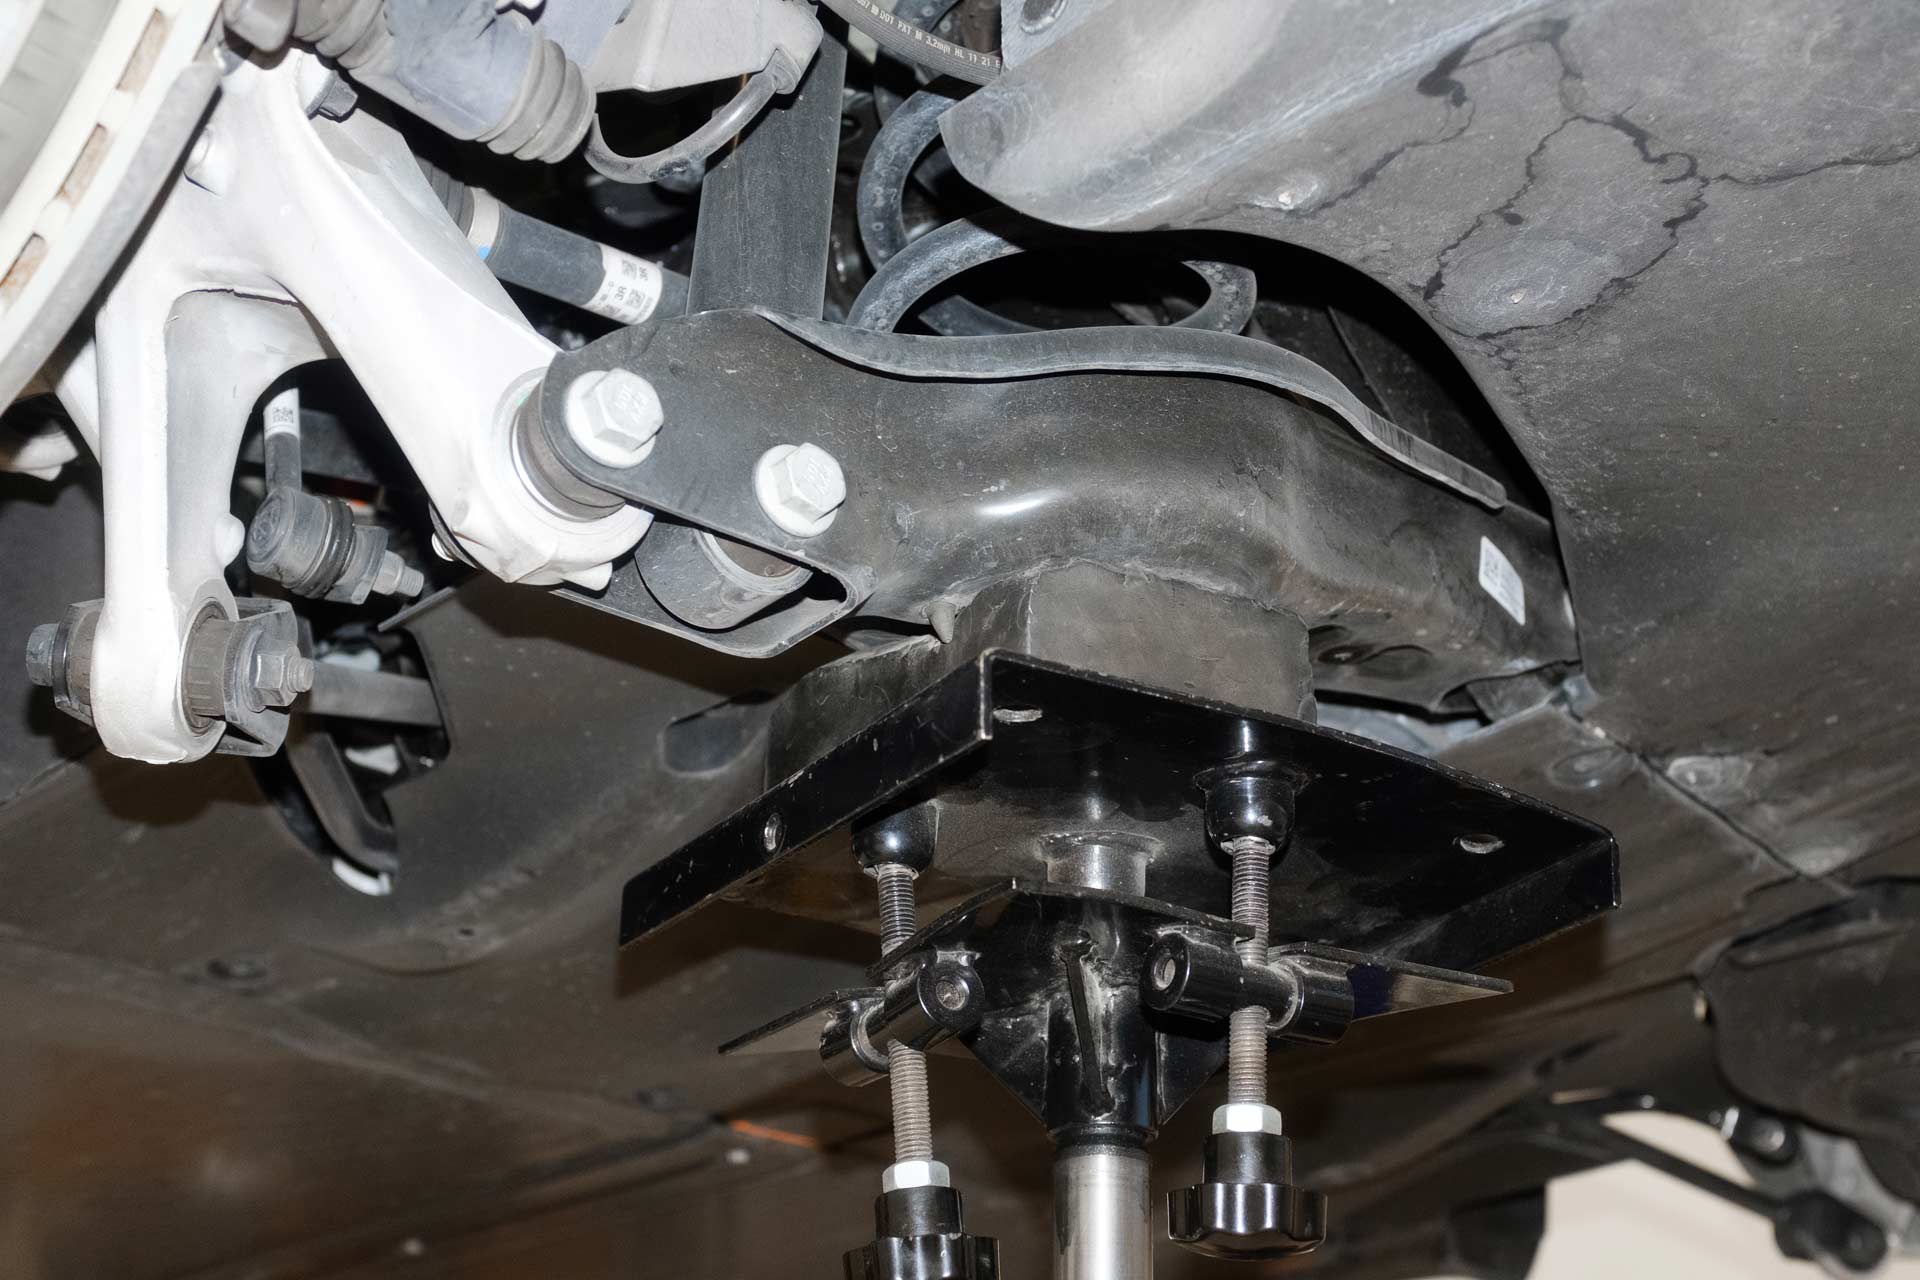
50. Using a 21mm socket, and a 21mm end wrench, remove the bolt and nut securing the lower shock mount to the rear lower spring arm.
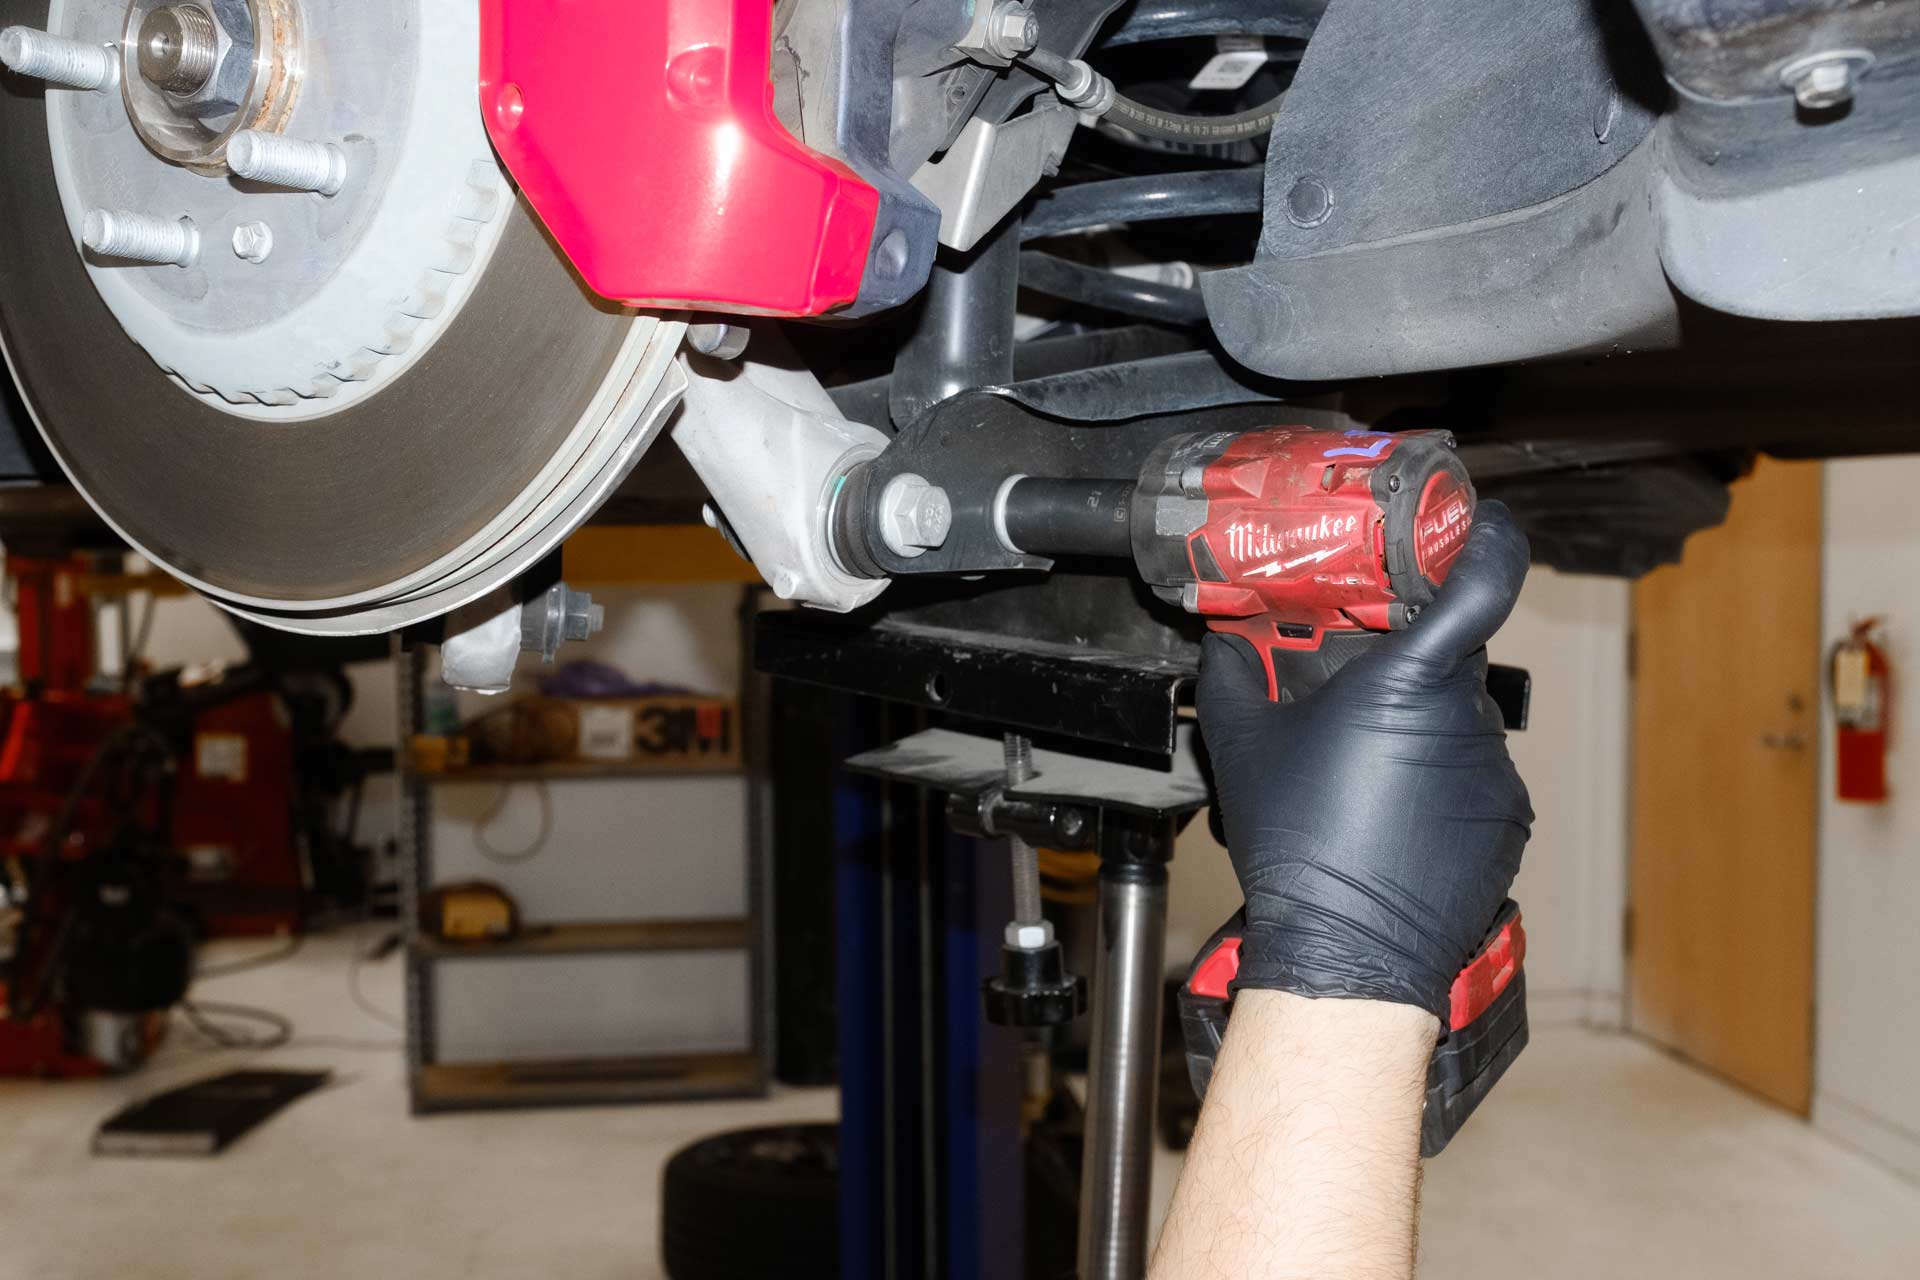
51. Using a 21mm socket, and a 21mm end wrench, remove the bolt and nut securing the rear knuckle to the rear lower spring arm.
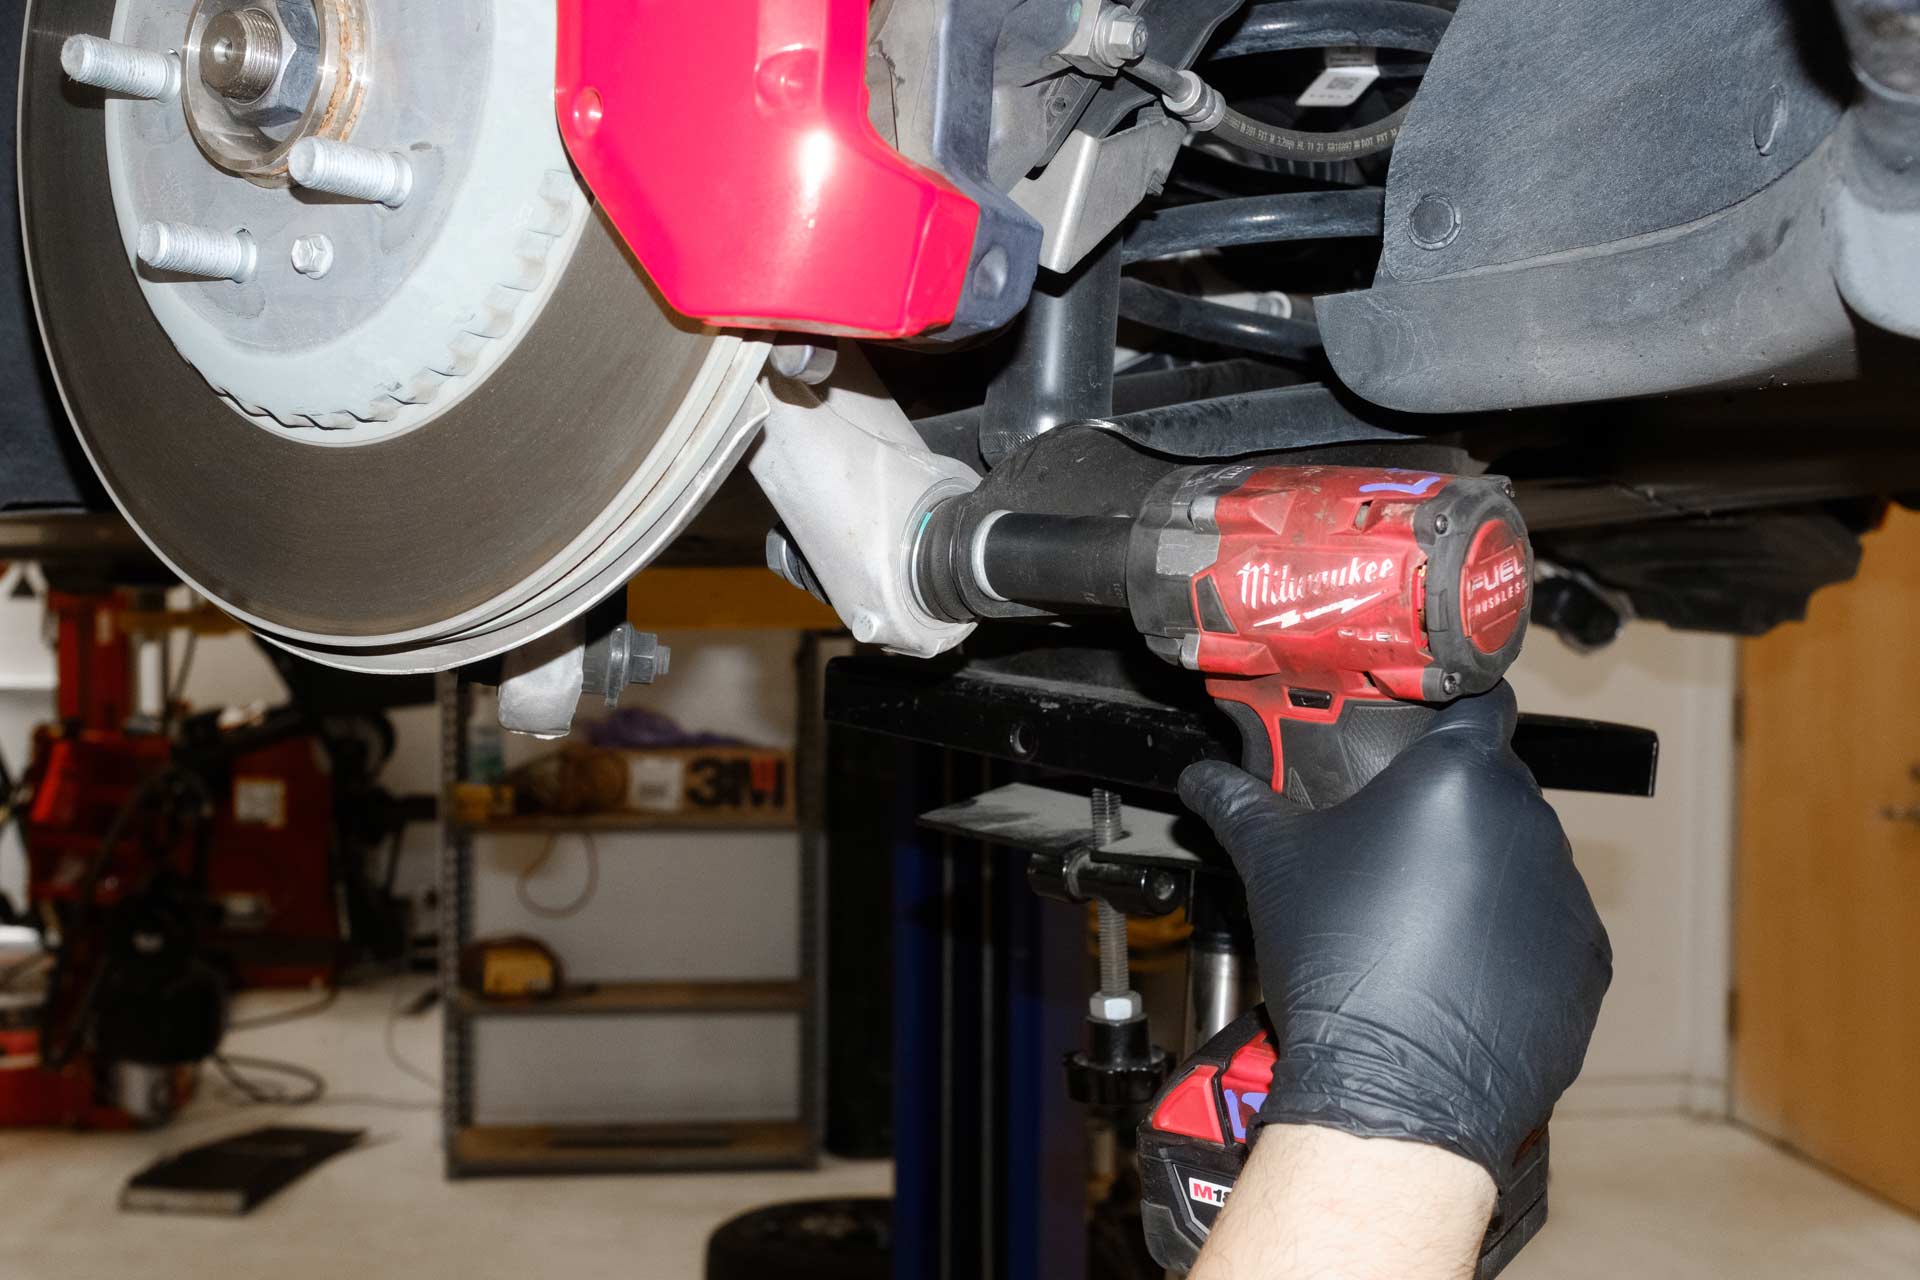
52. With both 21mm bolts and nuts removed from the rear spring arm, slowly release pressure from the transmission jack to allow the spring arm to droop underneath the vehicle.
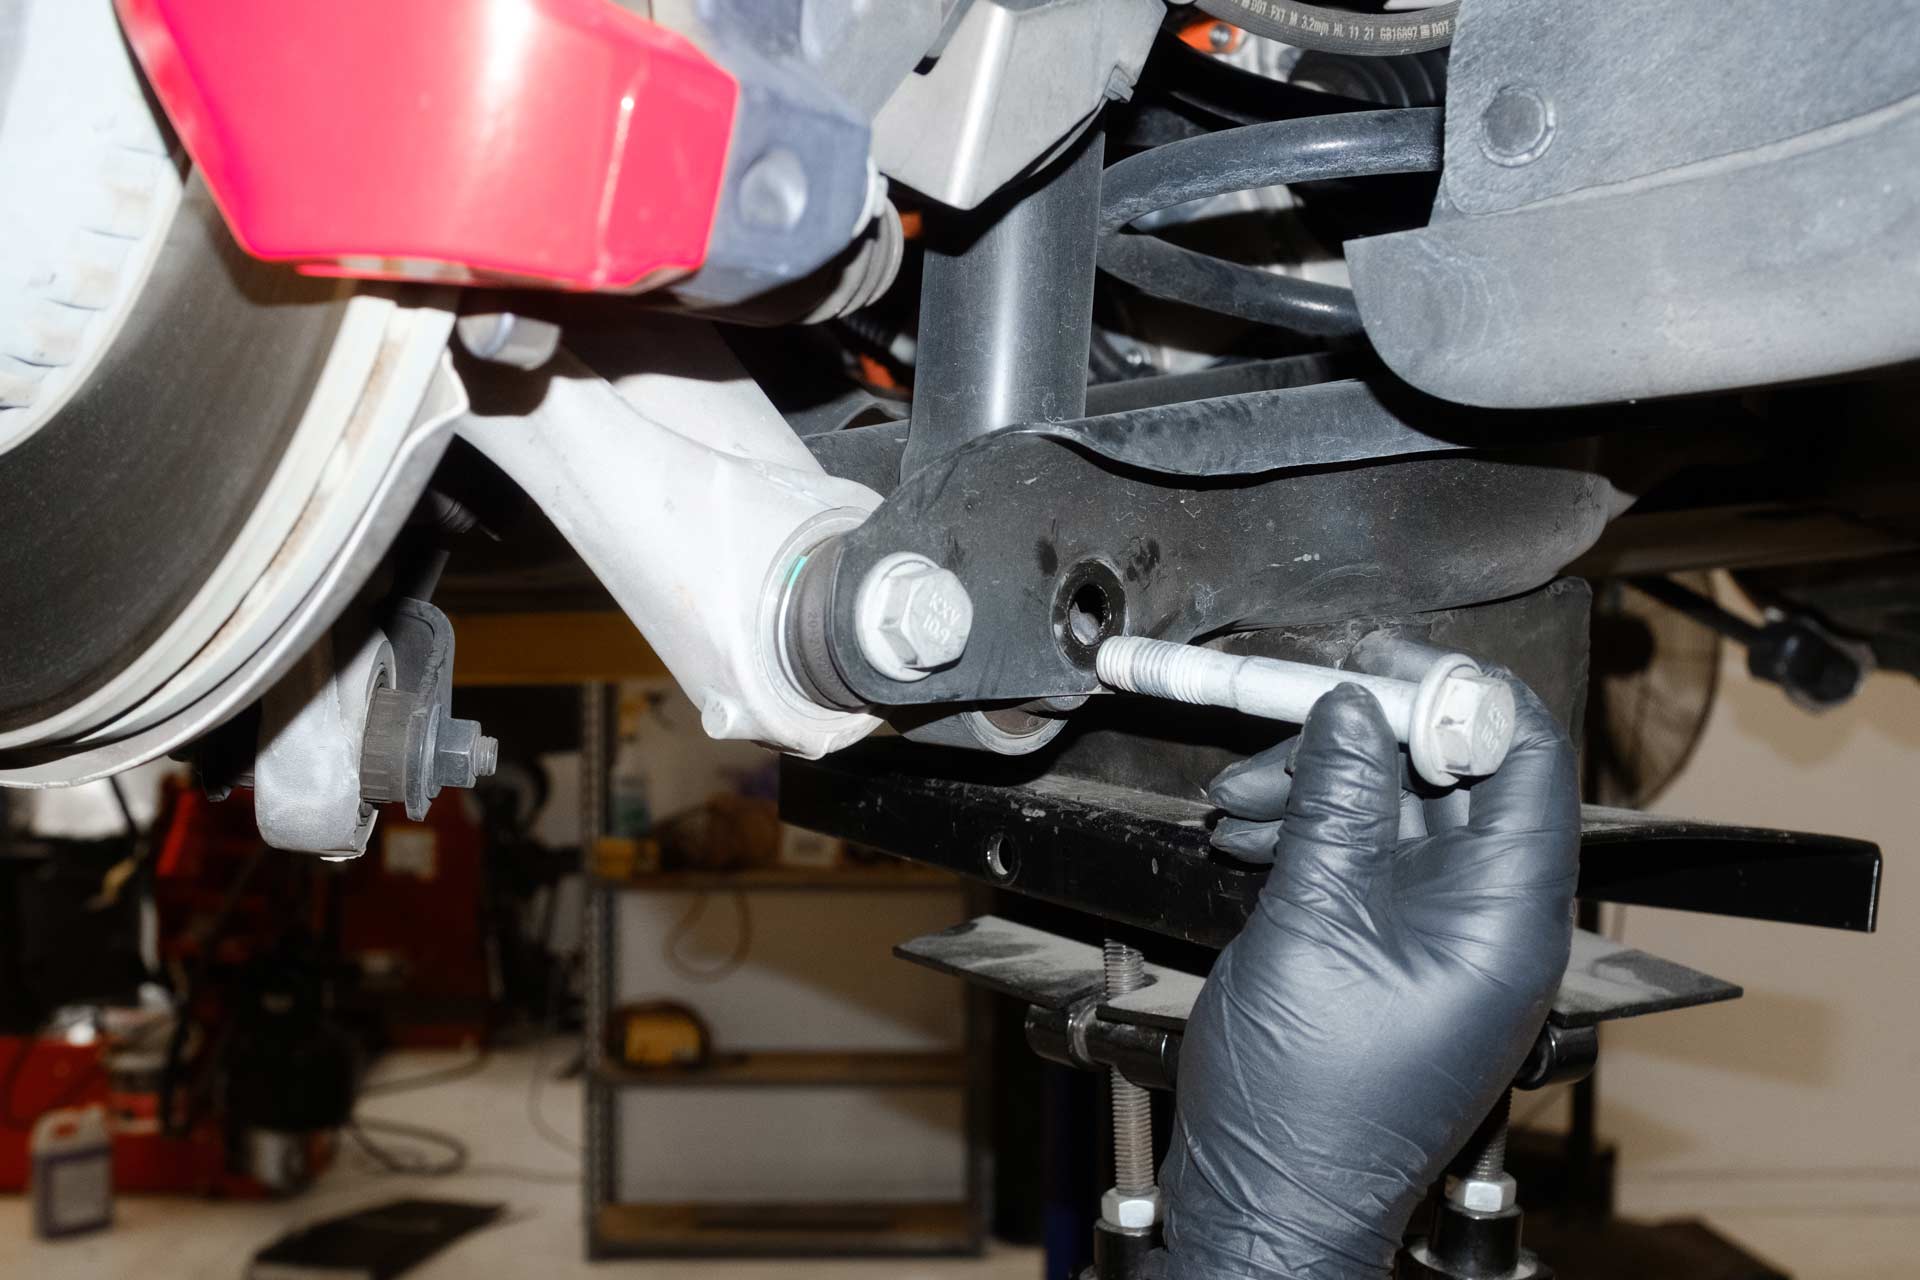
53. Using a 15mm socket, remove the 2 bolts securing the rear tophat to the vehicle chassis. Be sure to carefully hold the shock with one hand when removing the second bolt as the shock may fall away from the vehicle.
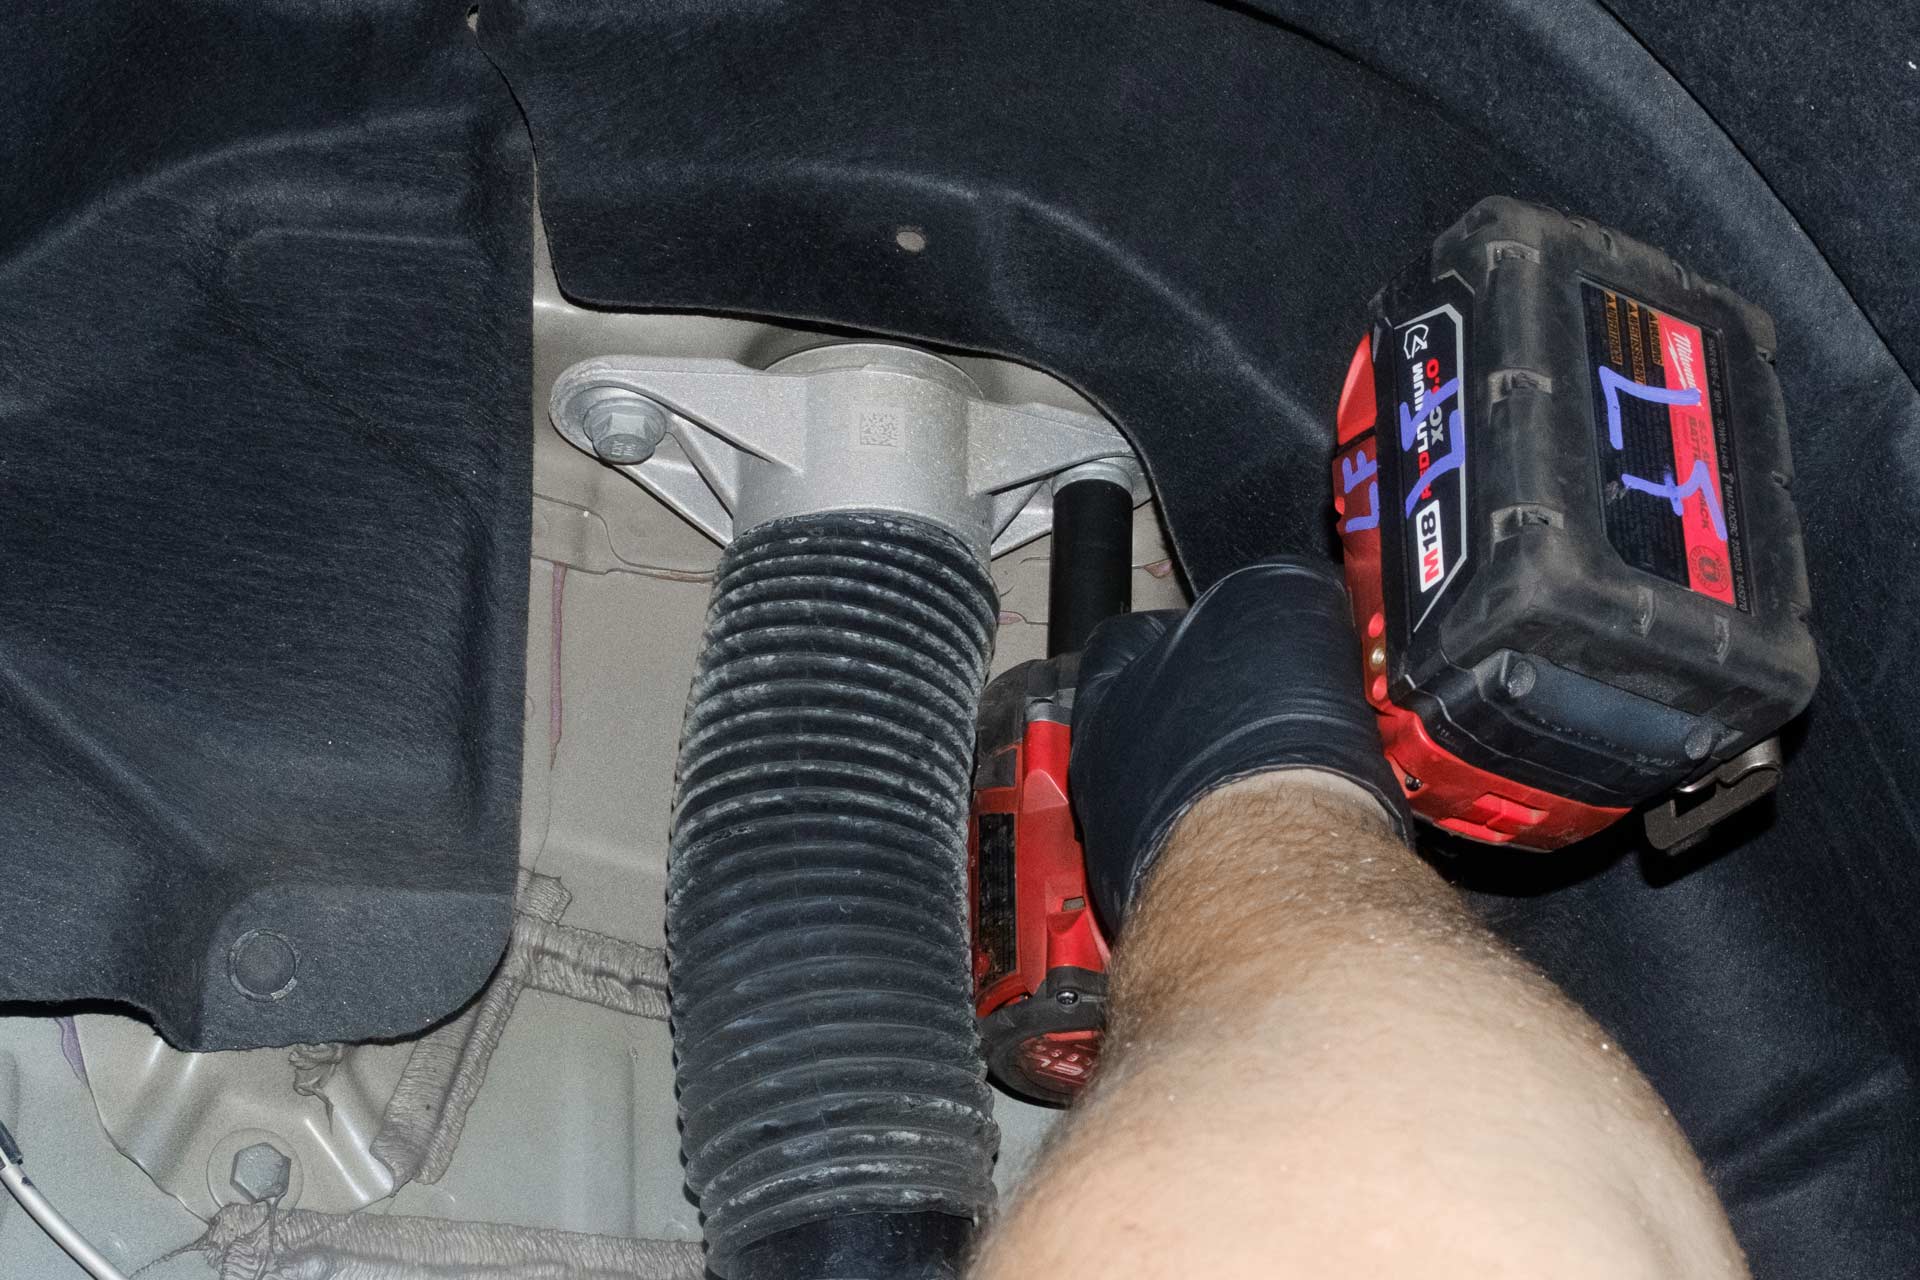
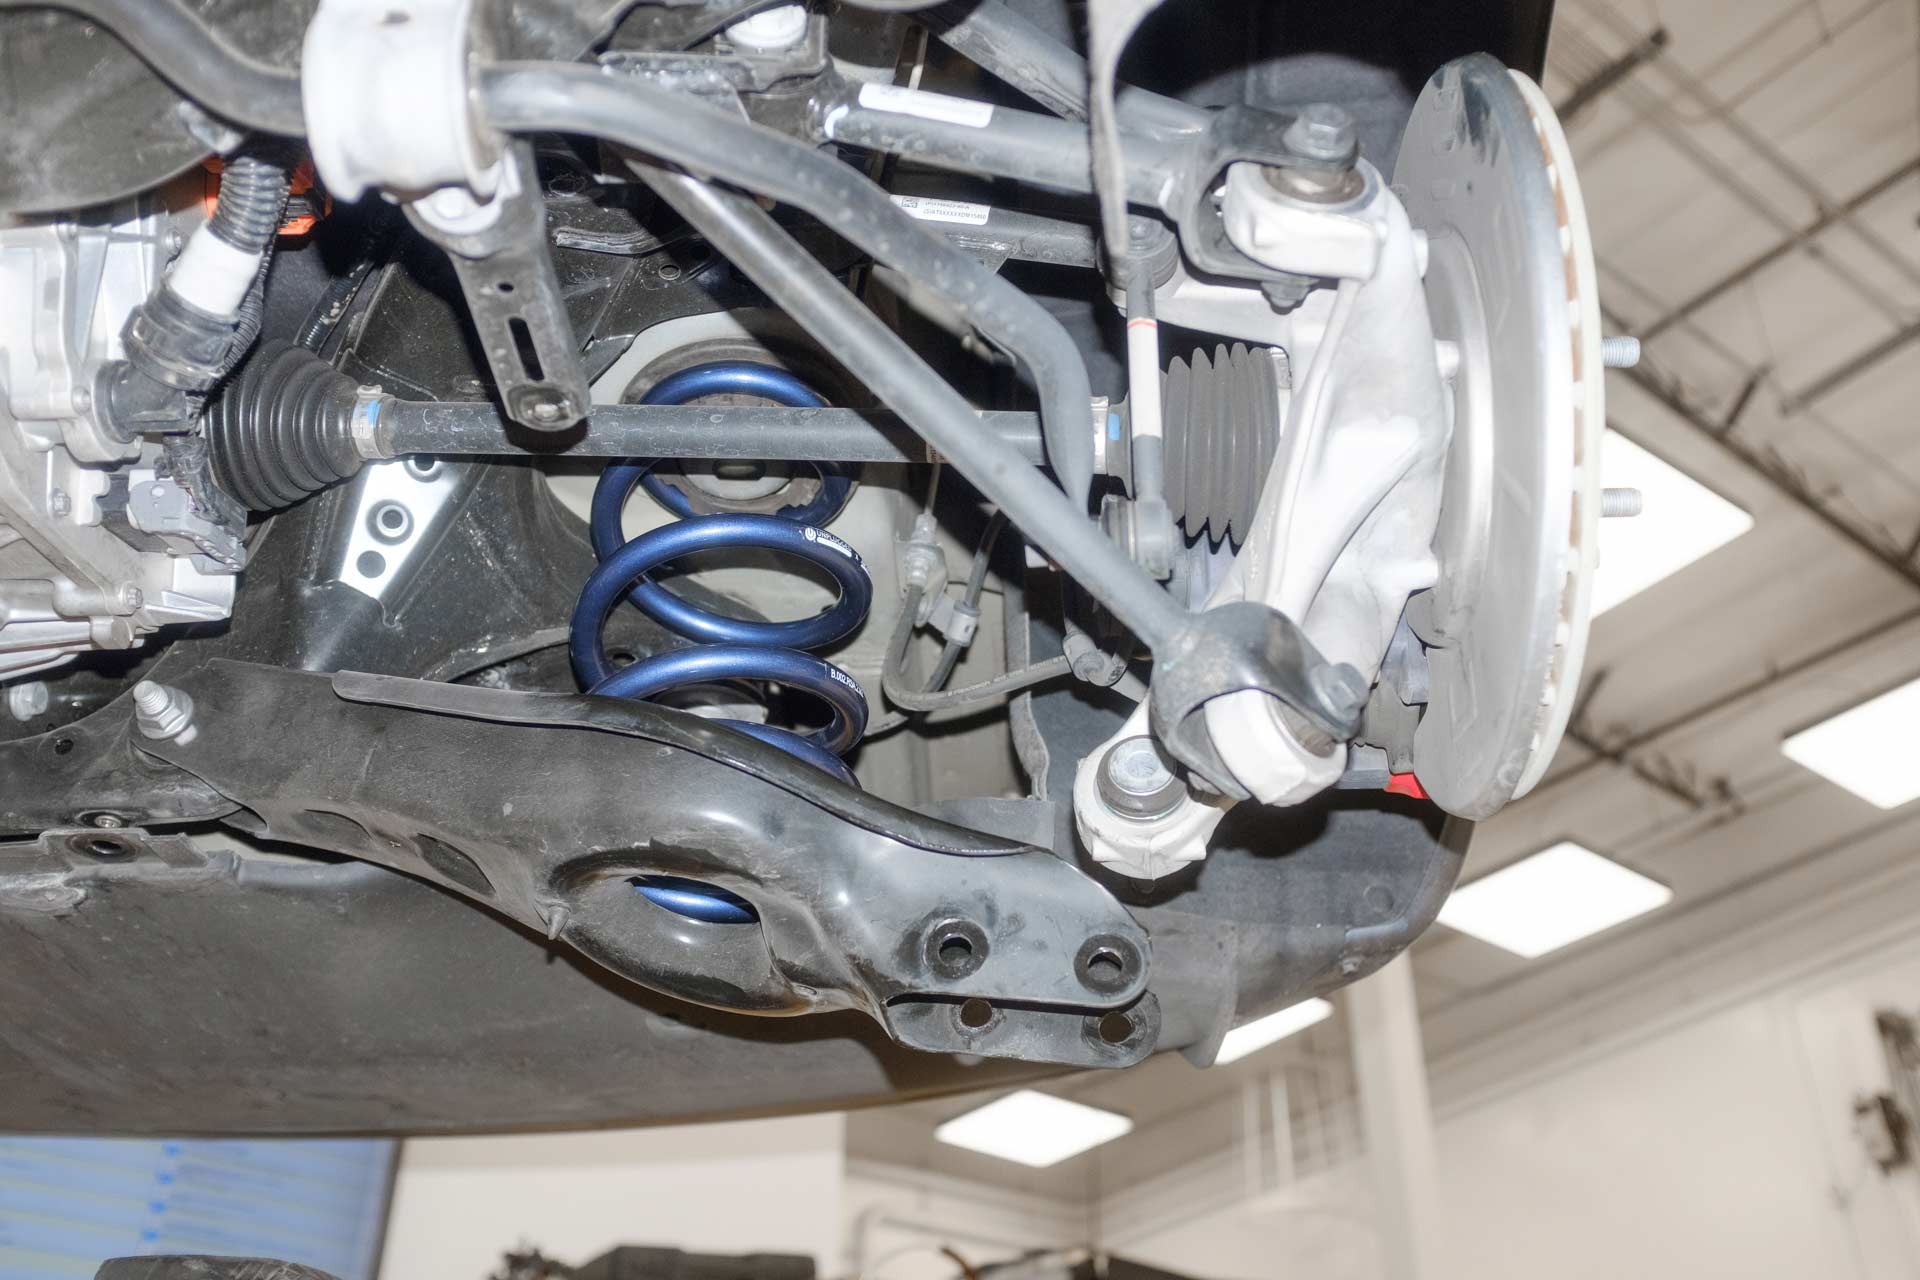
54. With the Rear shock removed, you now have adequate clearance to remove the rear spring. Press the rear spring arm downward and pull the rear spring assembly away from the vehicle.
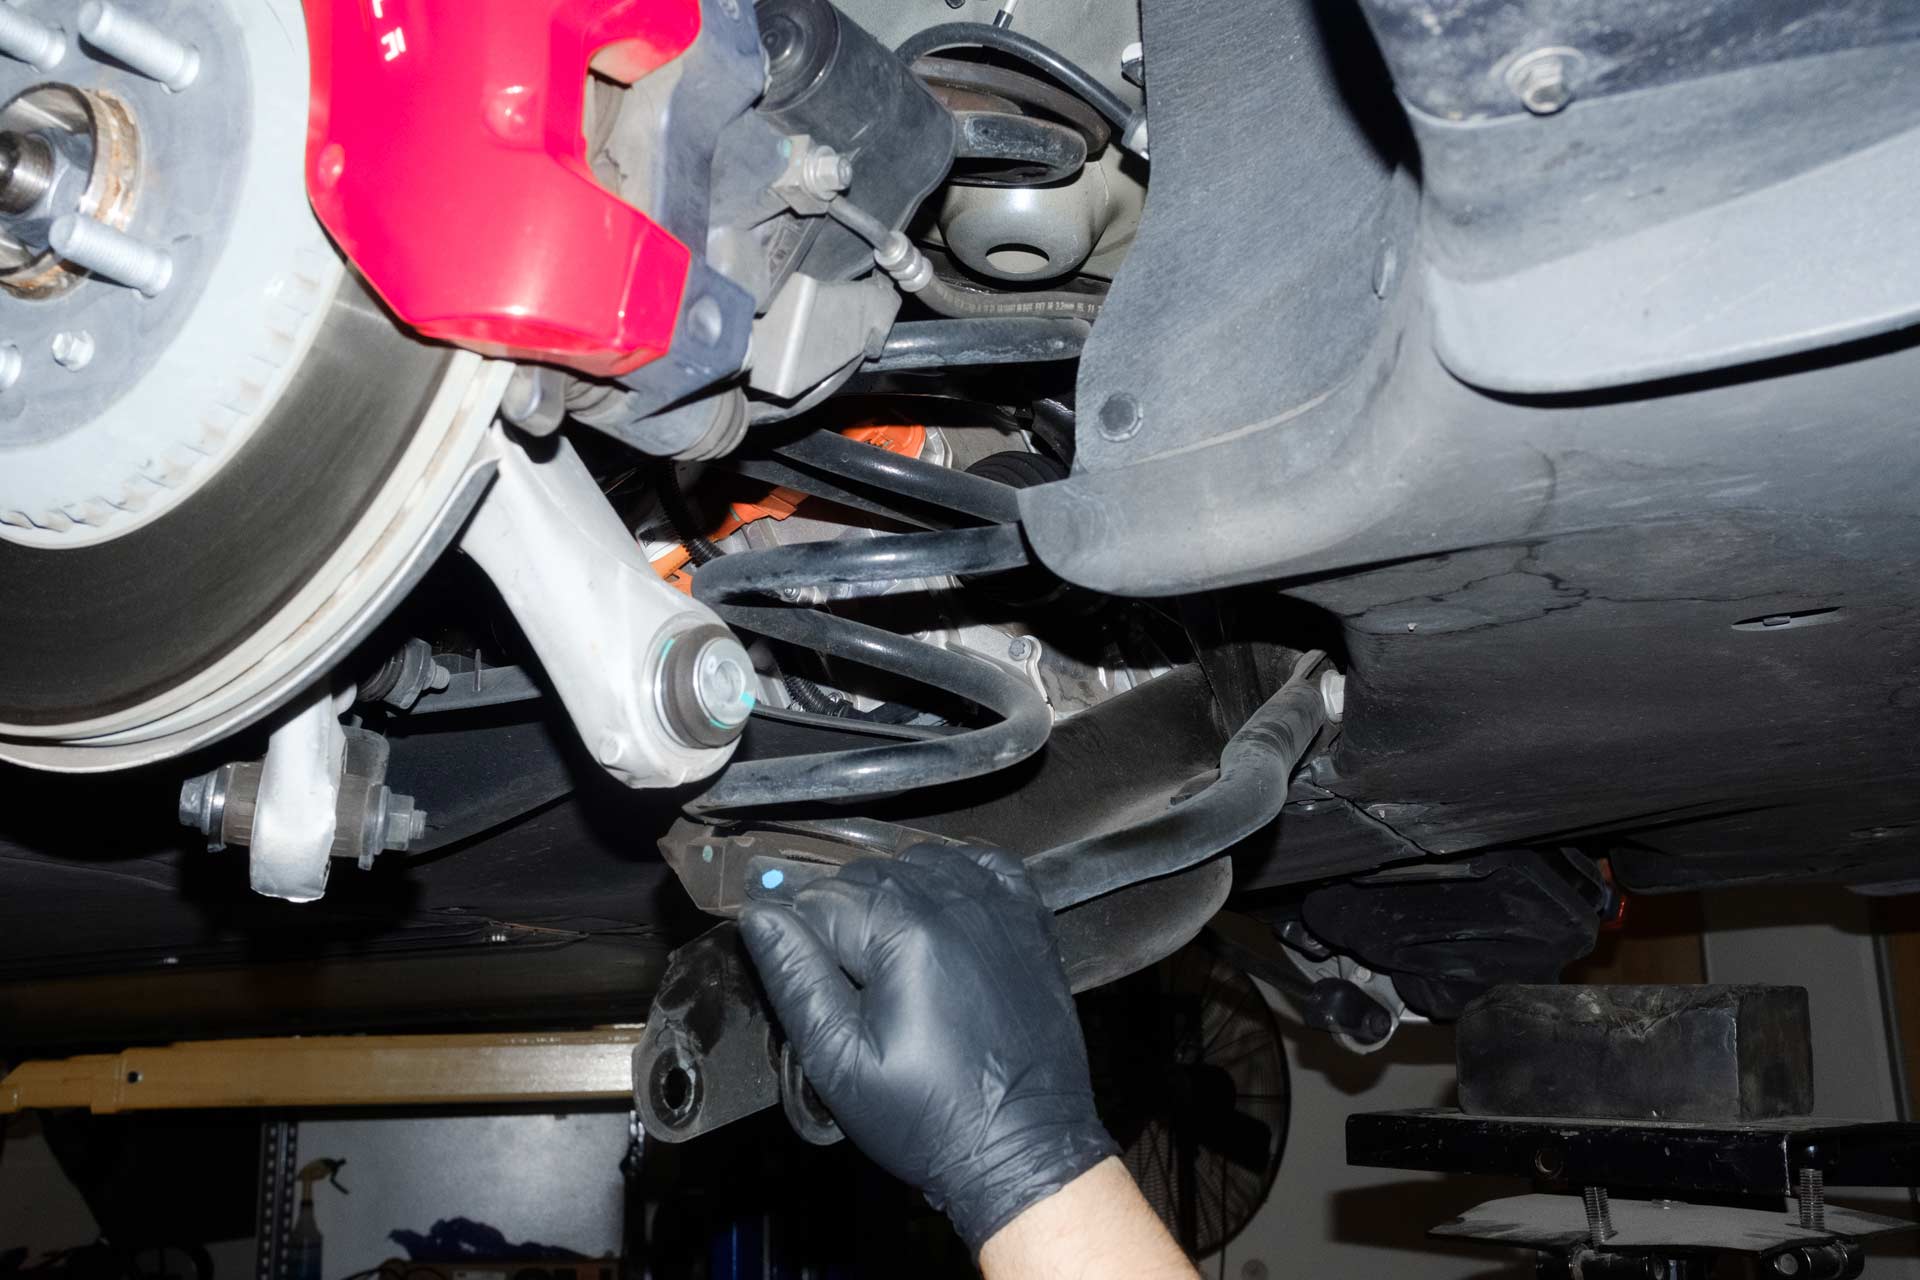
55. Repeat step 6 on the other side of the vehicle.
56. Now that the rear shock and spring are removed, proceed to transfer the factory rear spring isolators to the rear UP dual rate linear spring in the same orientation it was removed from the vehicle. Note: Be sure that the tighter coils are facing downward.
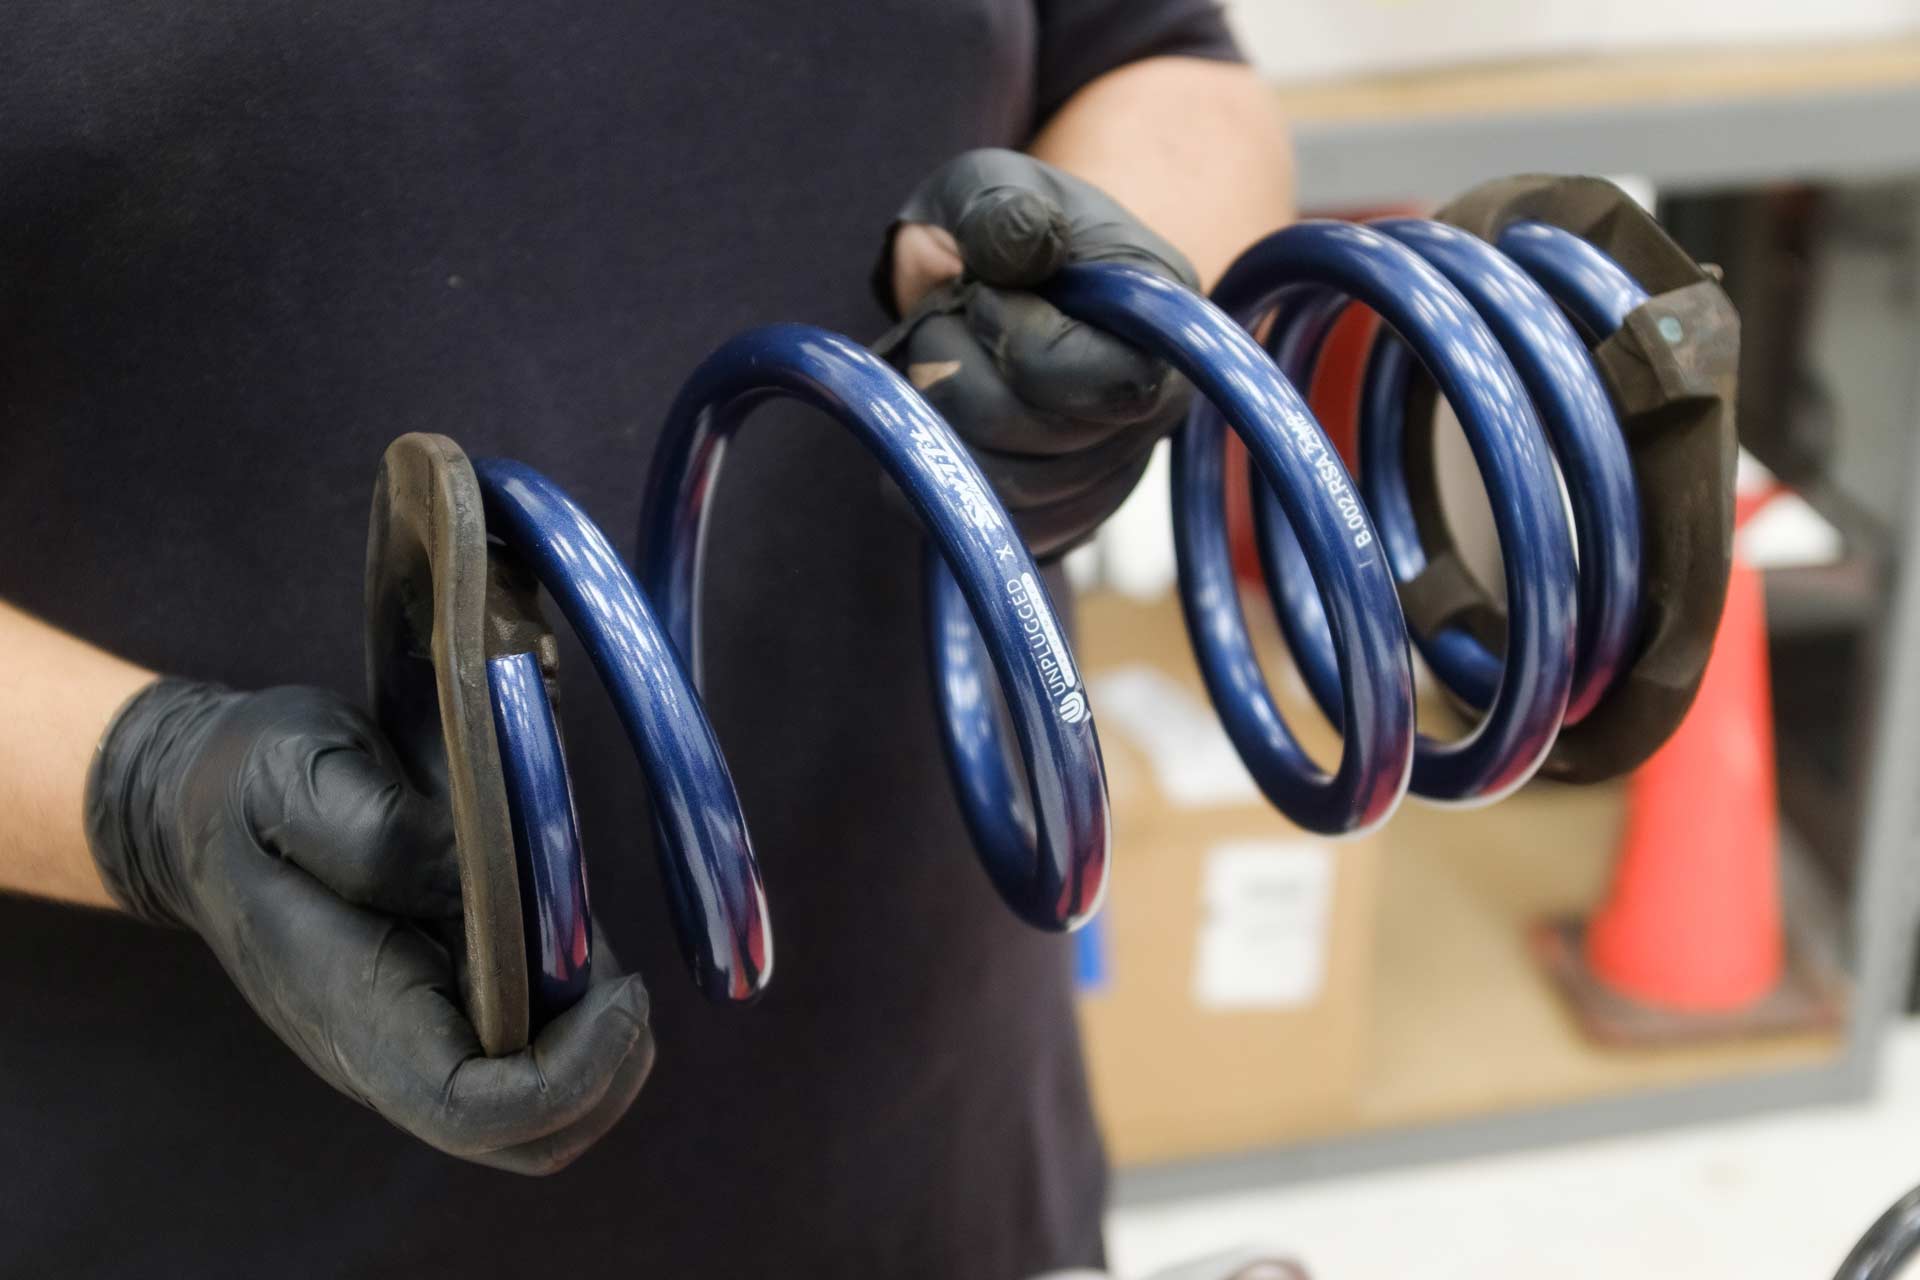
57. Using a 17mm socket, remove the factory locknut securing the factory rear tophat to the factory rear shock piston. Note: A piston clamp or non abrasive vice may be useful to keep the shock piston from spinning.
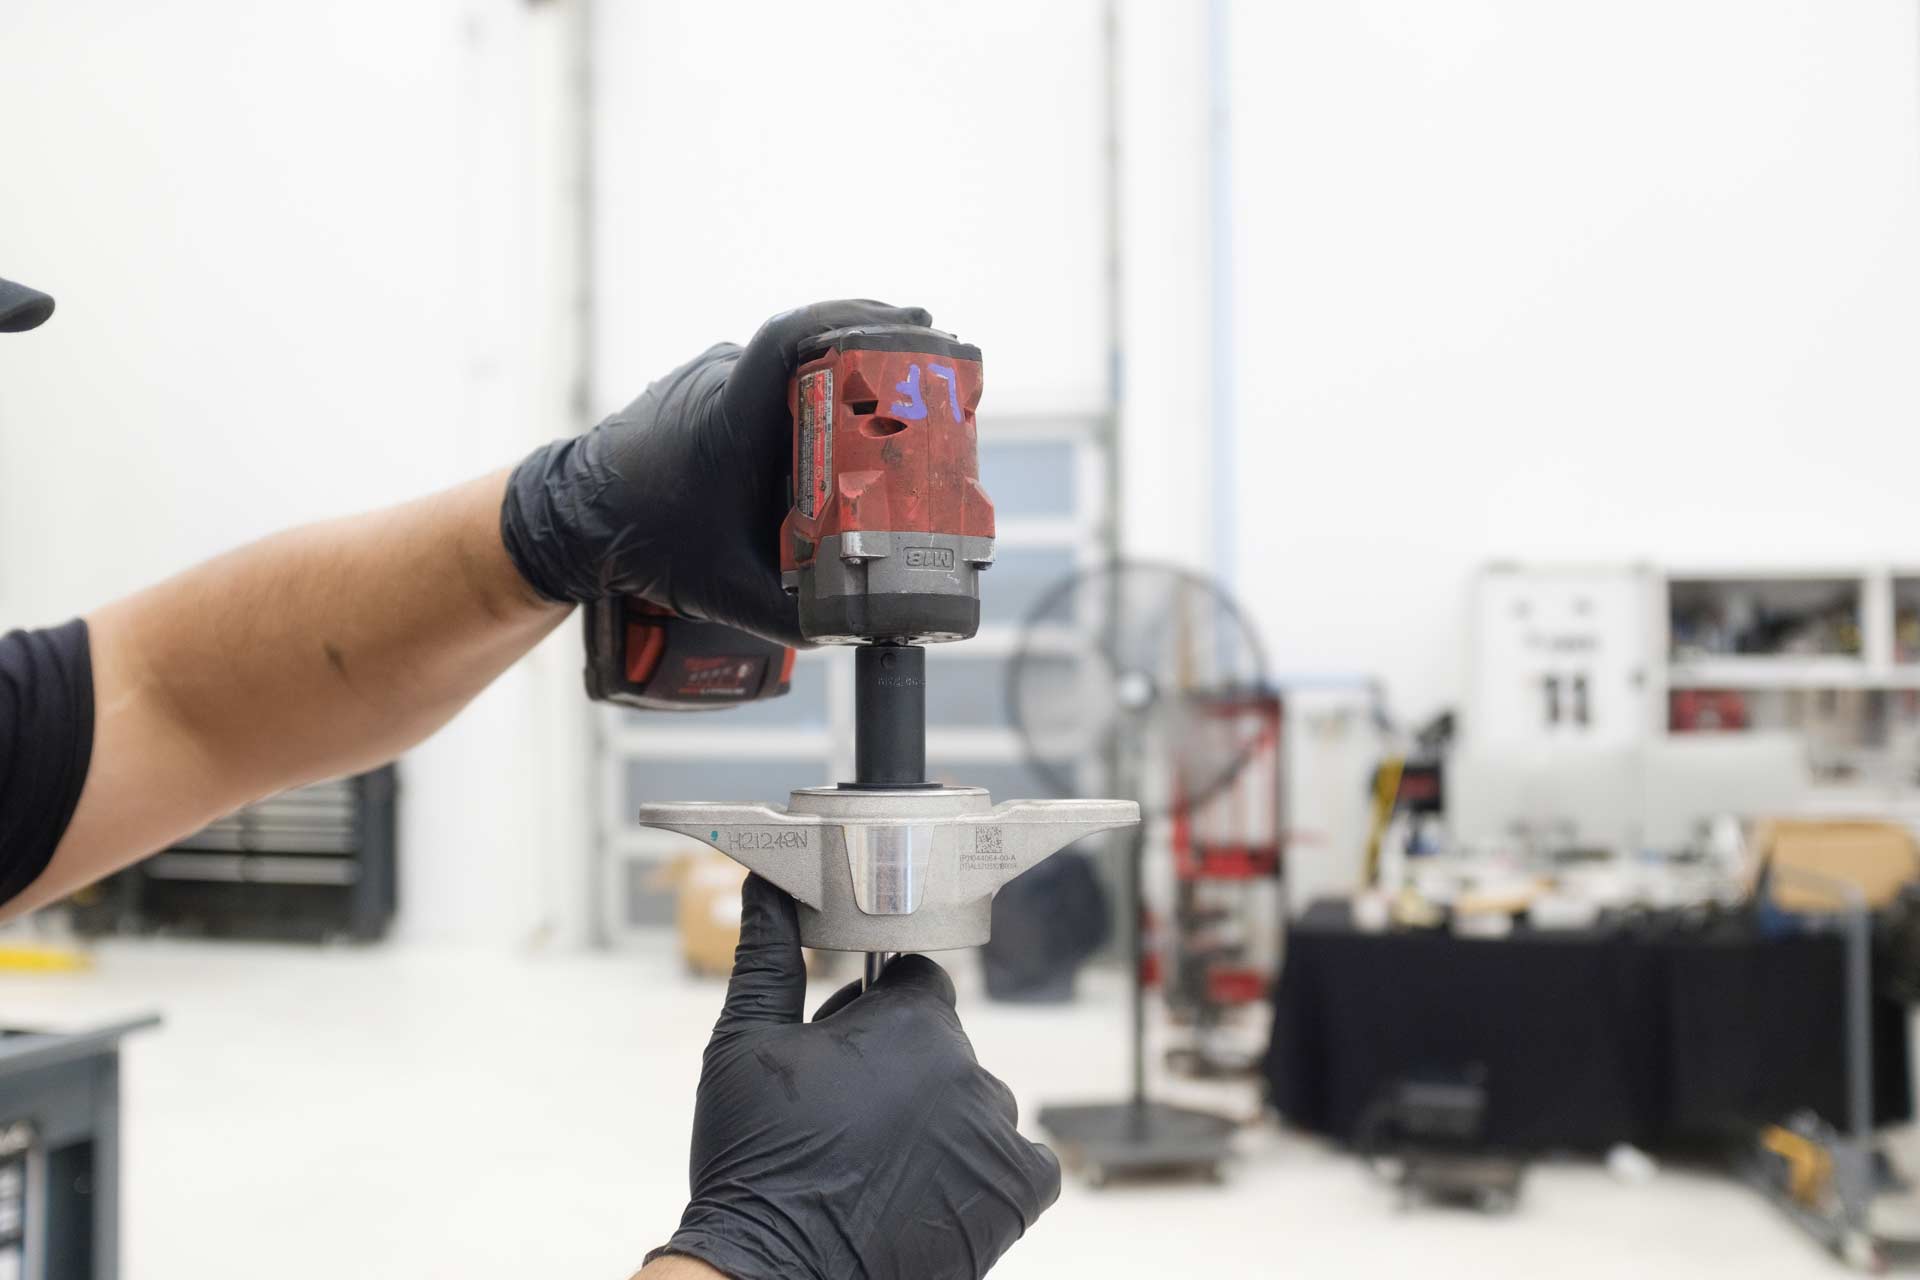
58. Transfer the factory rear dust boot, bump stop, and tophat onto the rear UP adjustable shock piston in the same orientation they were removed from the factory rear shock.
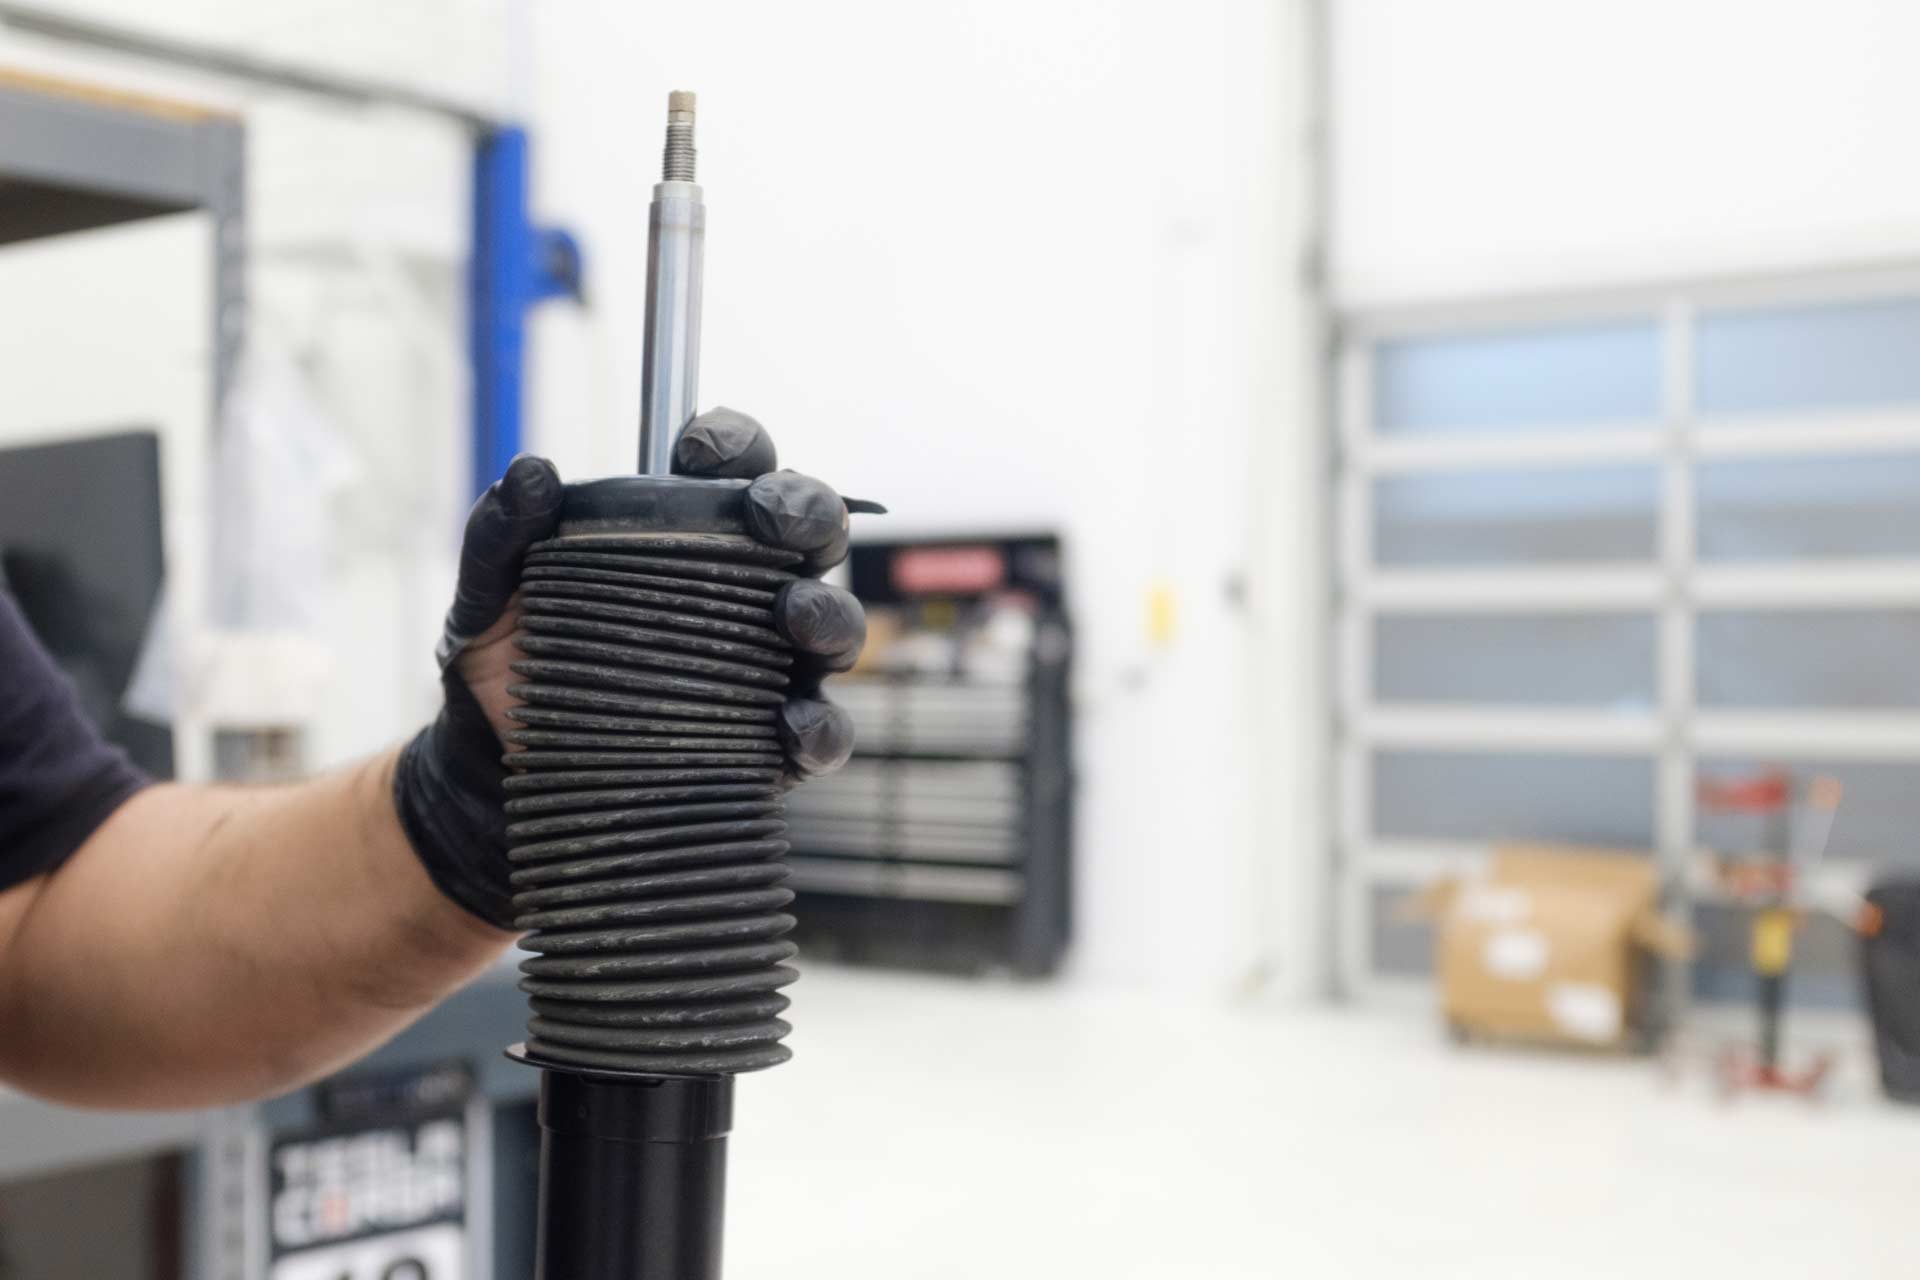
59. Using an 8mm end wrench, remove the damper adjuster from the rear UP adjustable shock piston.
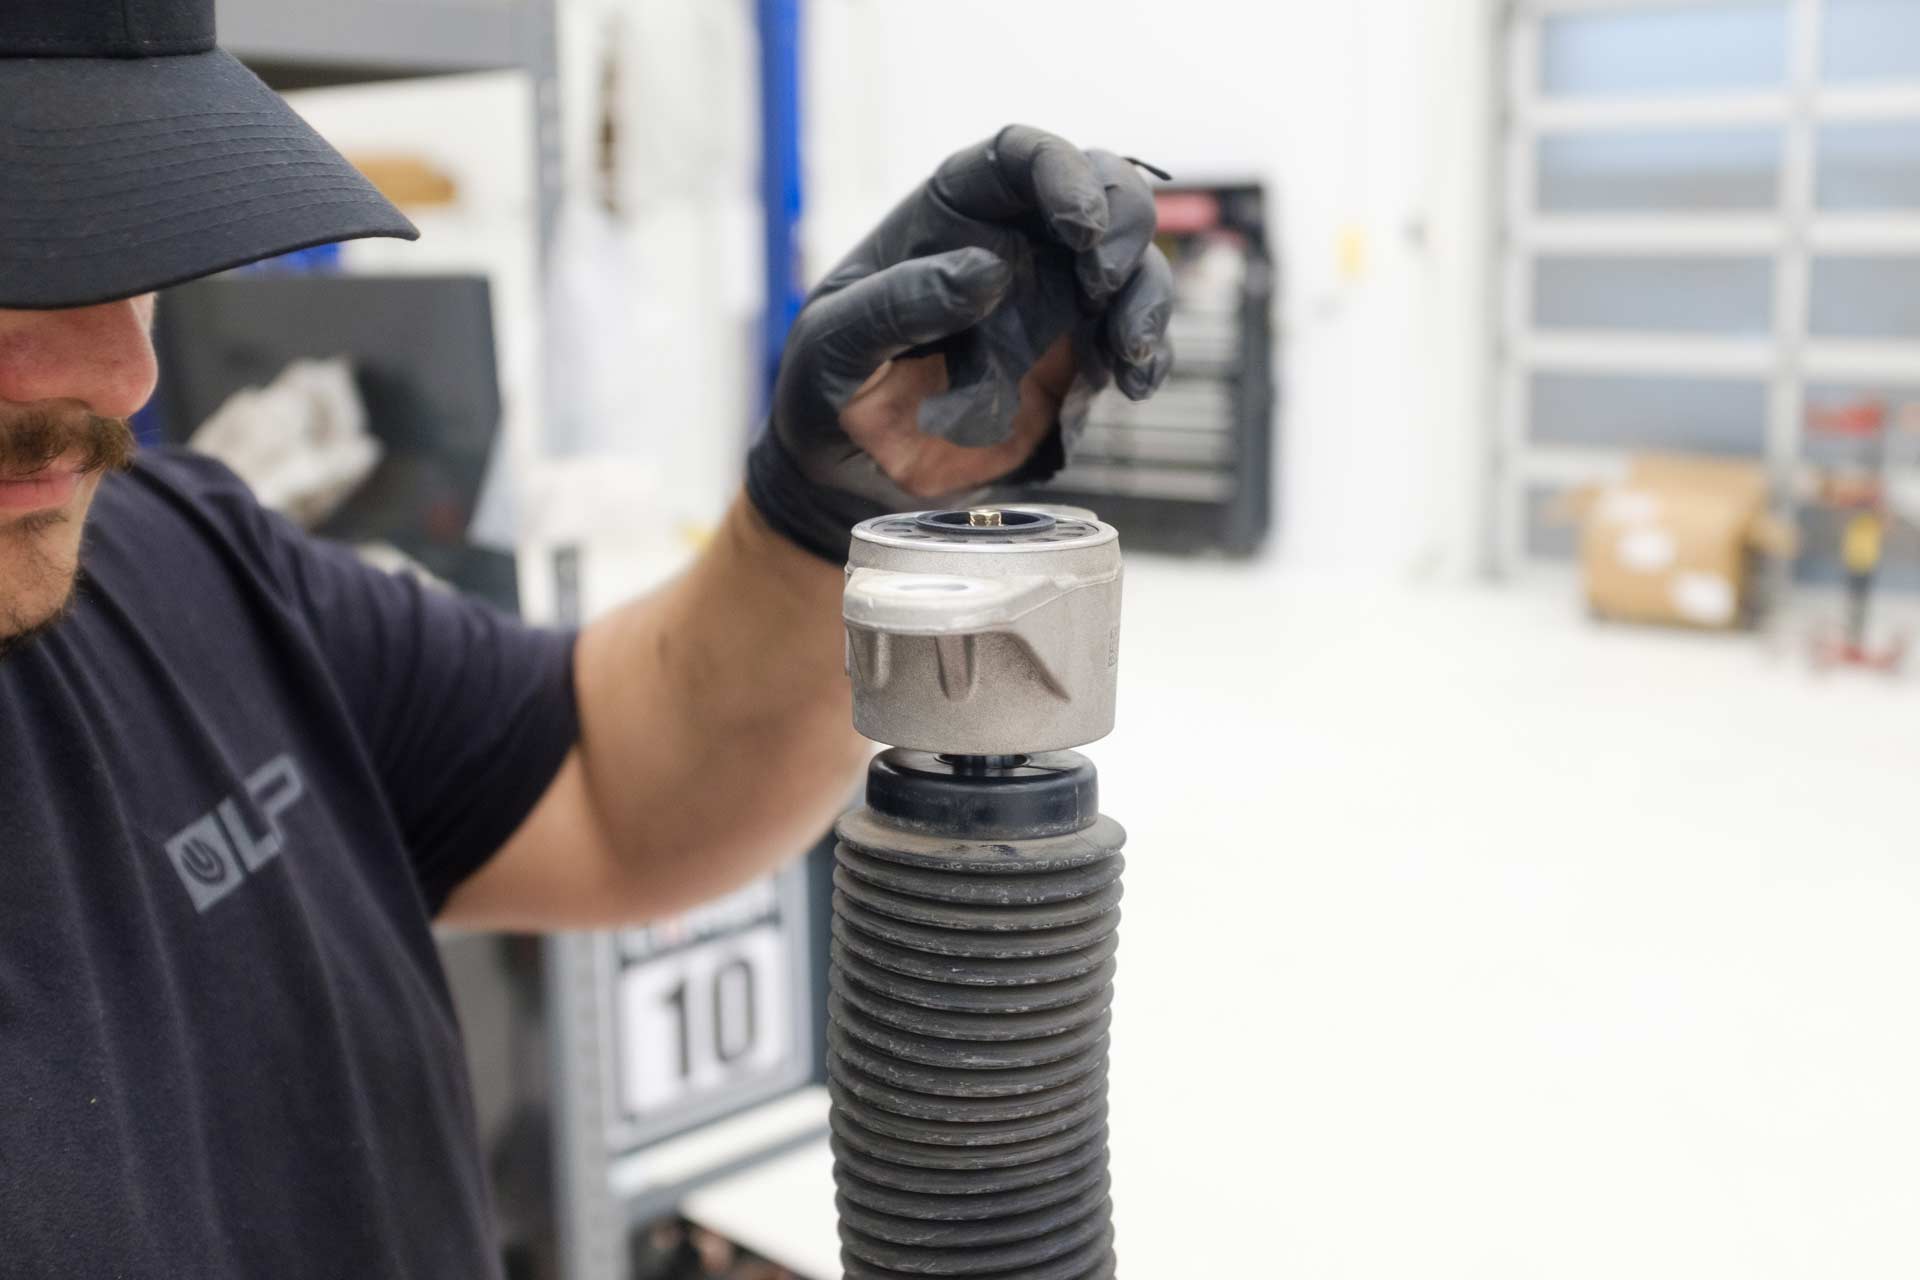
60. Using a 14mm socket, fasten the provided locknut to the rear UP adjustable shock piston. Note: Be sure that the top hat is seated on the piston seat prior to fastening the locknut. Preferably use hand tools to torque the upper shock mount nut to 25ft/lbs. If using an impact or power rachet, please be sure they are calibrated to tighten no more than 25 lbs/ft. Damage to shock piston threads as a result of overtorquing the top nut are not covered by our limited parts warranty. The use of a piston clamp is recommended to achieve proper torque.
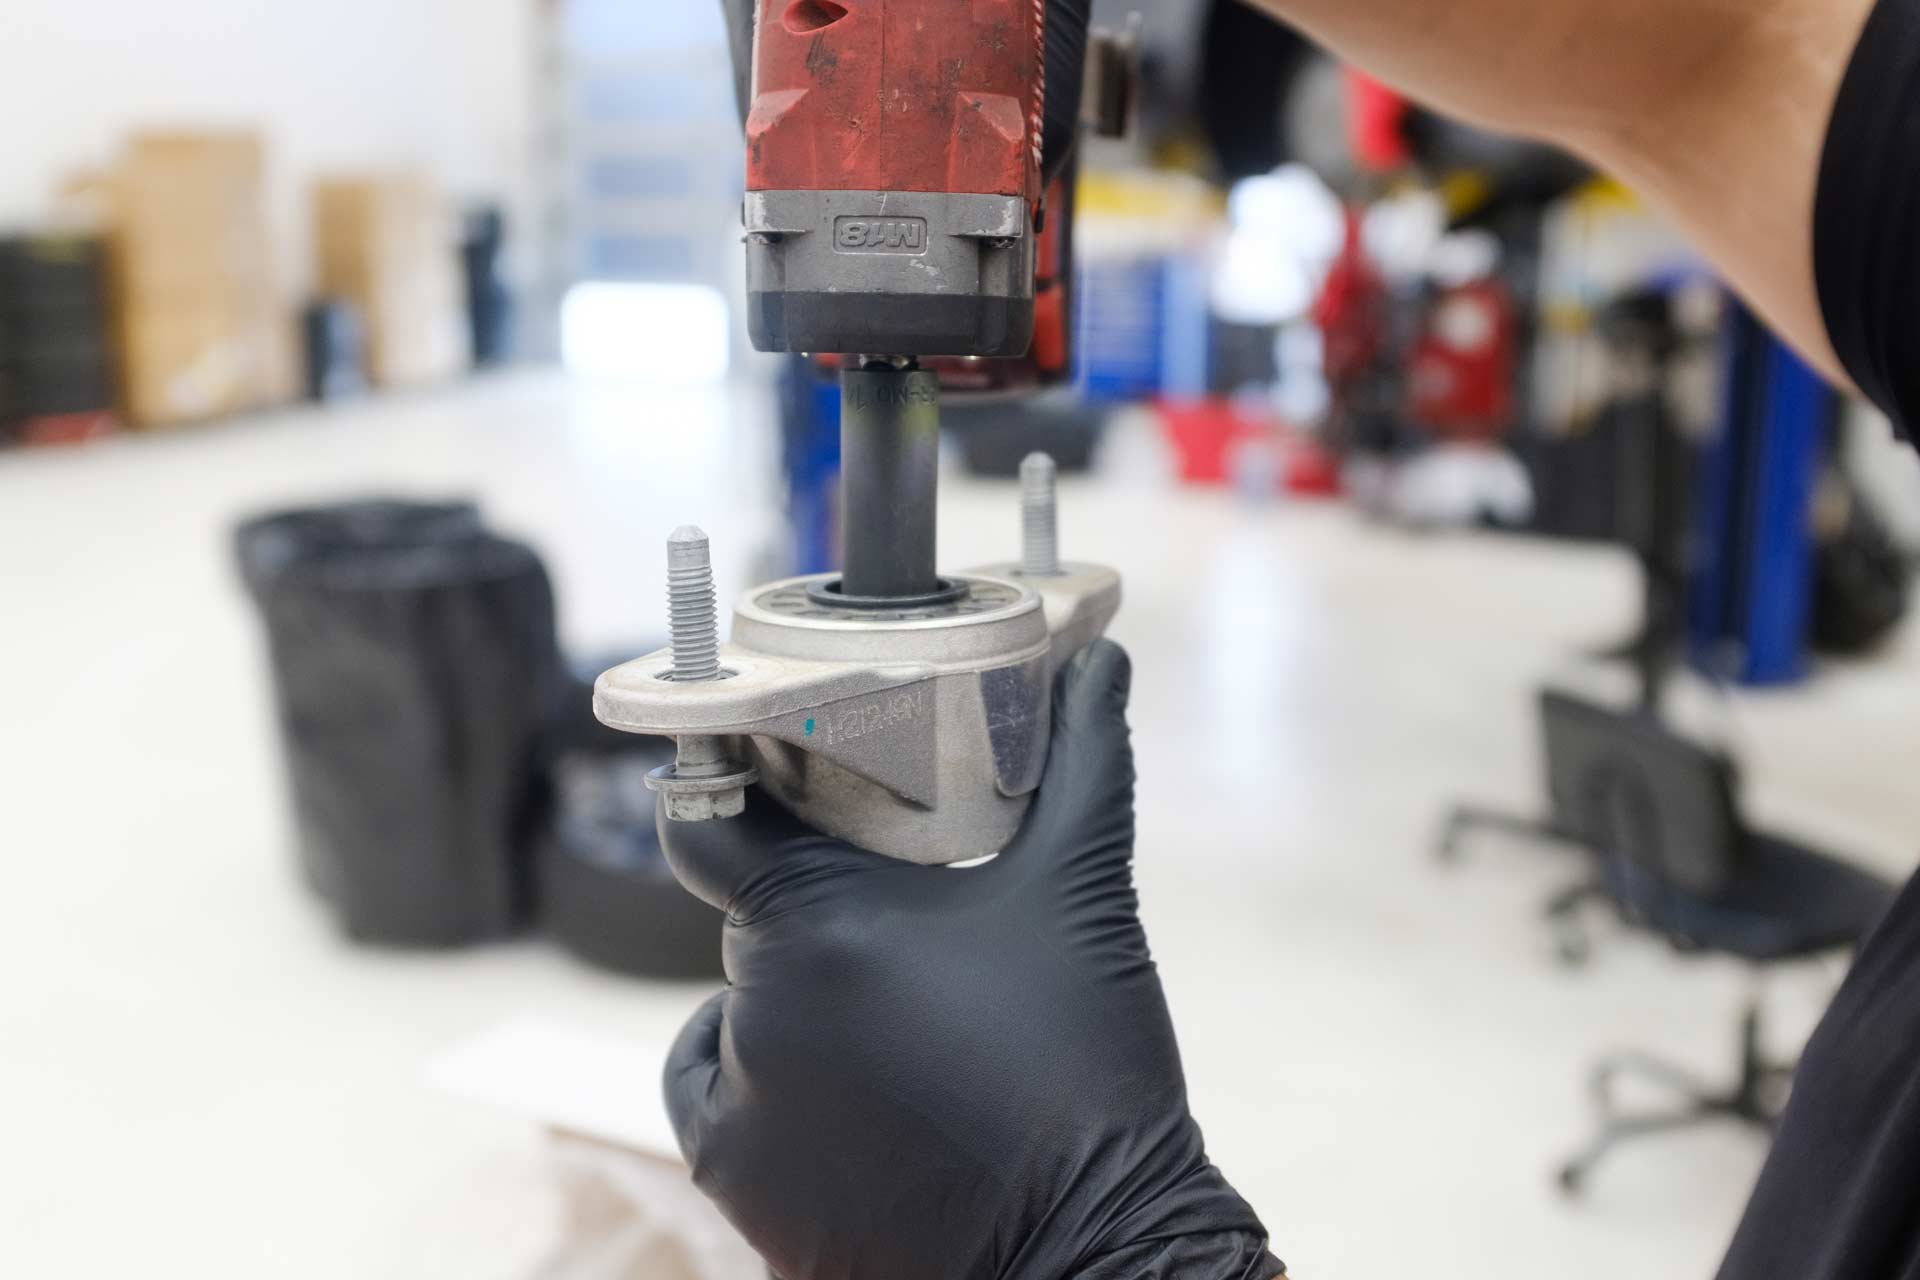
61. Repeat step 6 on the other side of the vehicle. Note: Before installing the shocks onto the vehicle, be sure to adjust the damper settings as these will no longer be accessible once the shock is installed onto the vehicle.
62. Install the rear UP dual rate linear spring, upper spring isolator, and lower spring isolator into the spring arm by pulling the spring arm down, similar to the spring removal process.
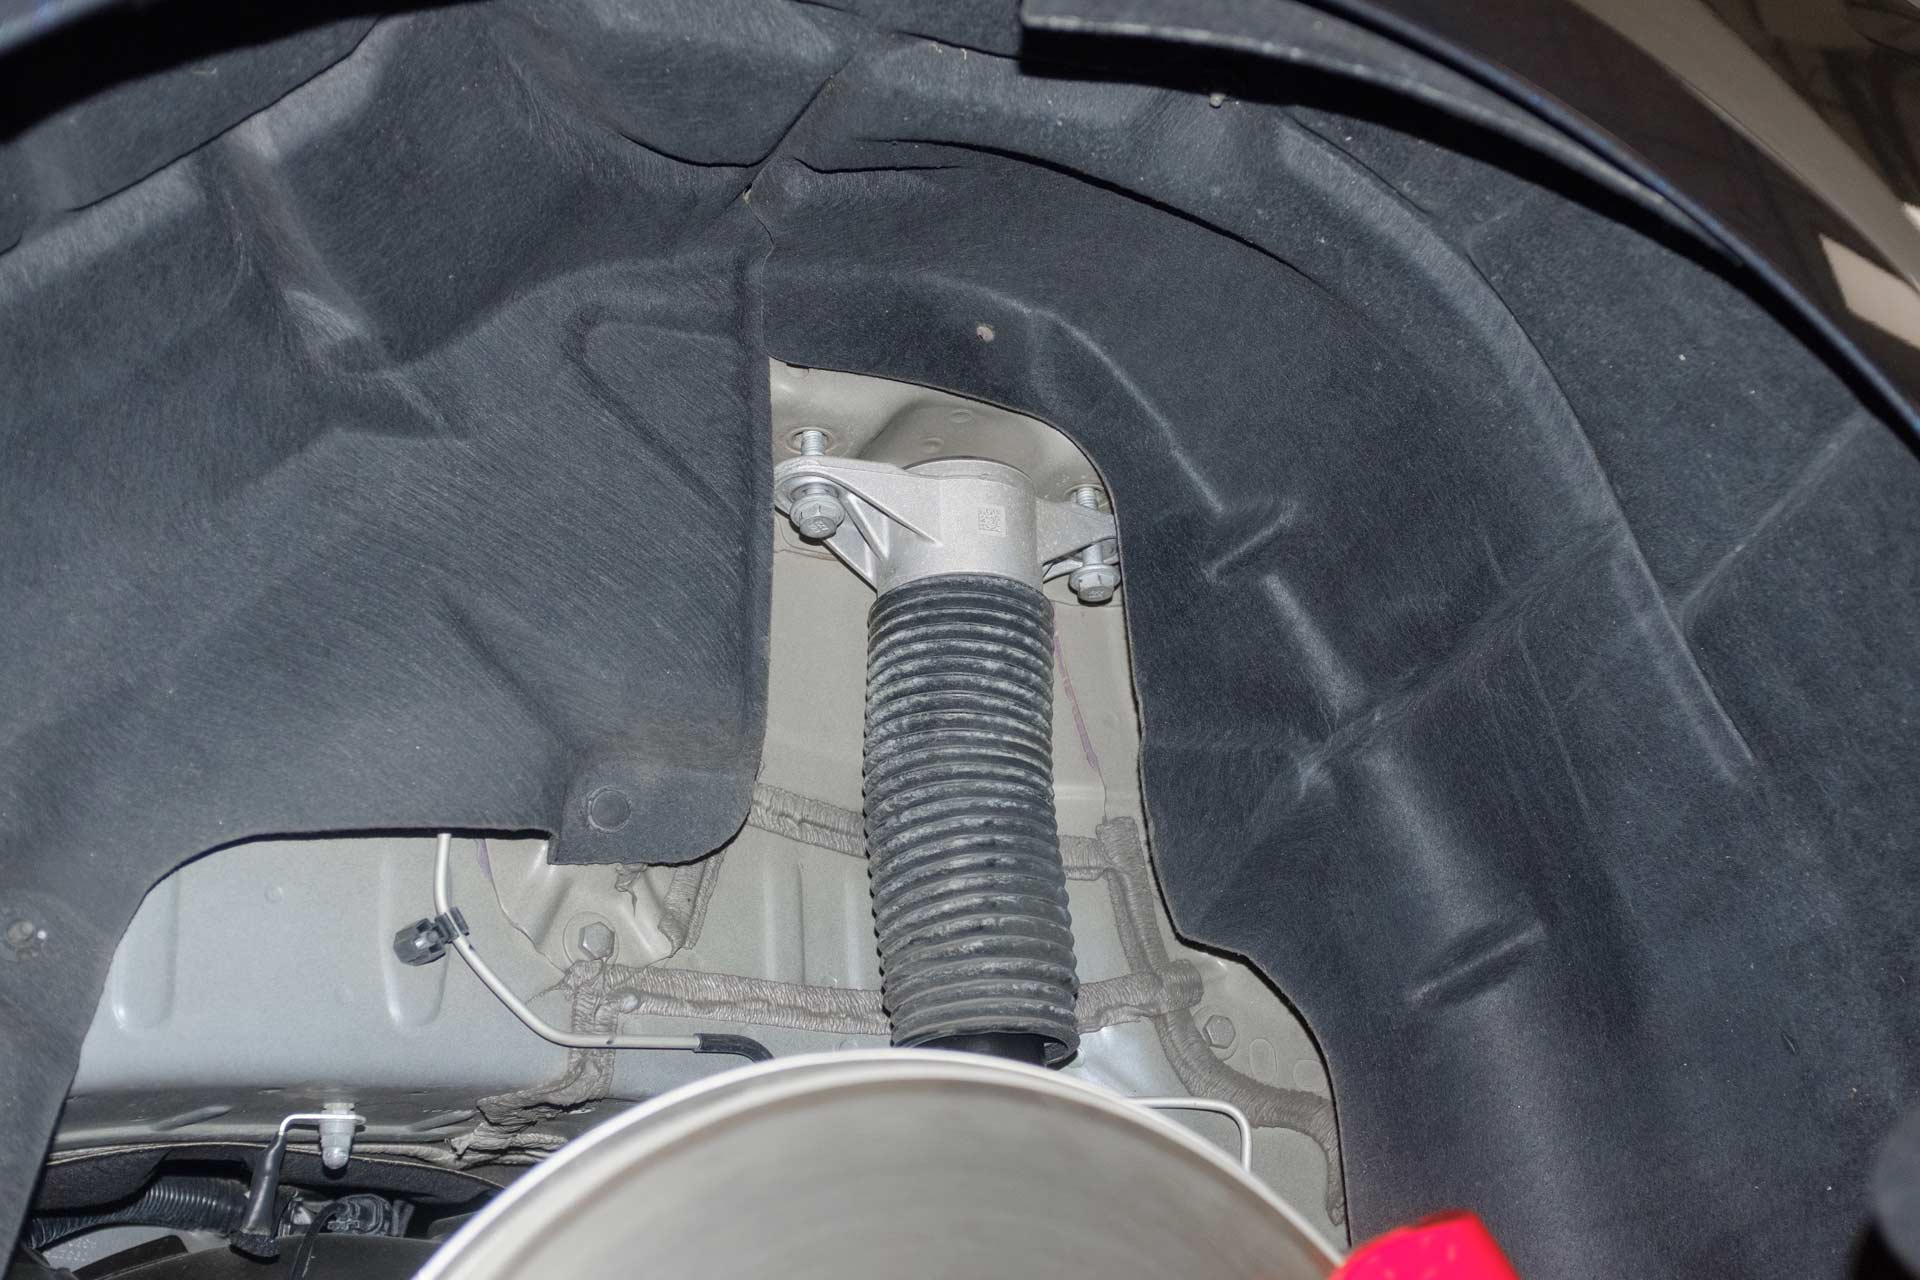
63. Using a 15mm socket, secure the rear UP adjustable shock assembly to the vehicle. Torque to 30 ft/lbs.
64. Using a transmission jack (or floor jack), lift the rear spring arm to align with the rear knuckle.
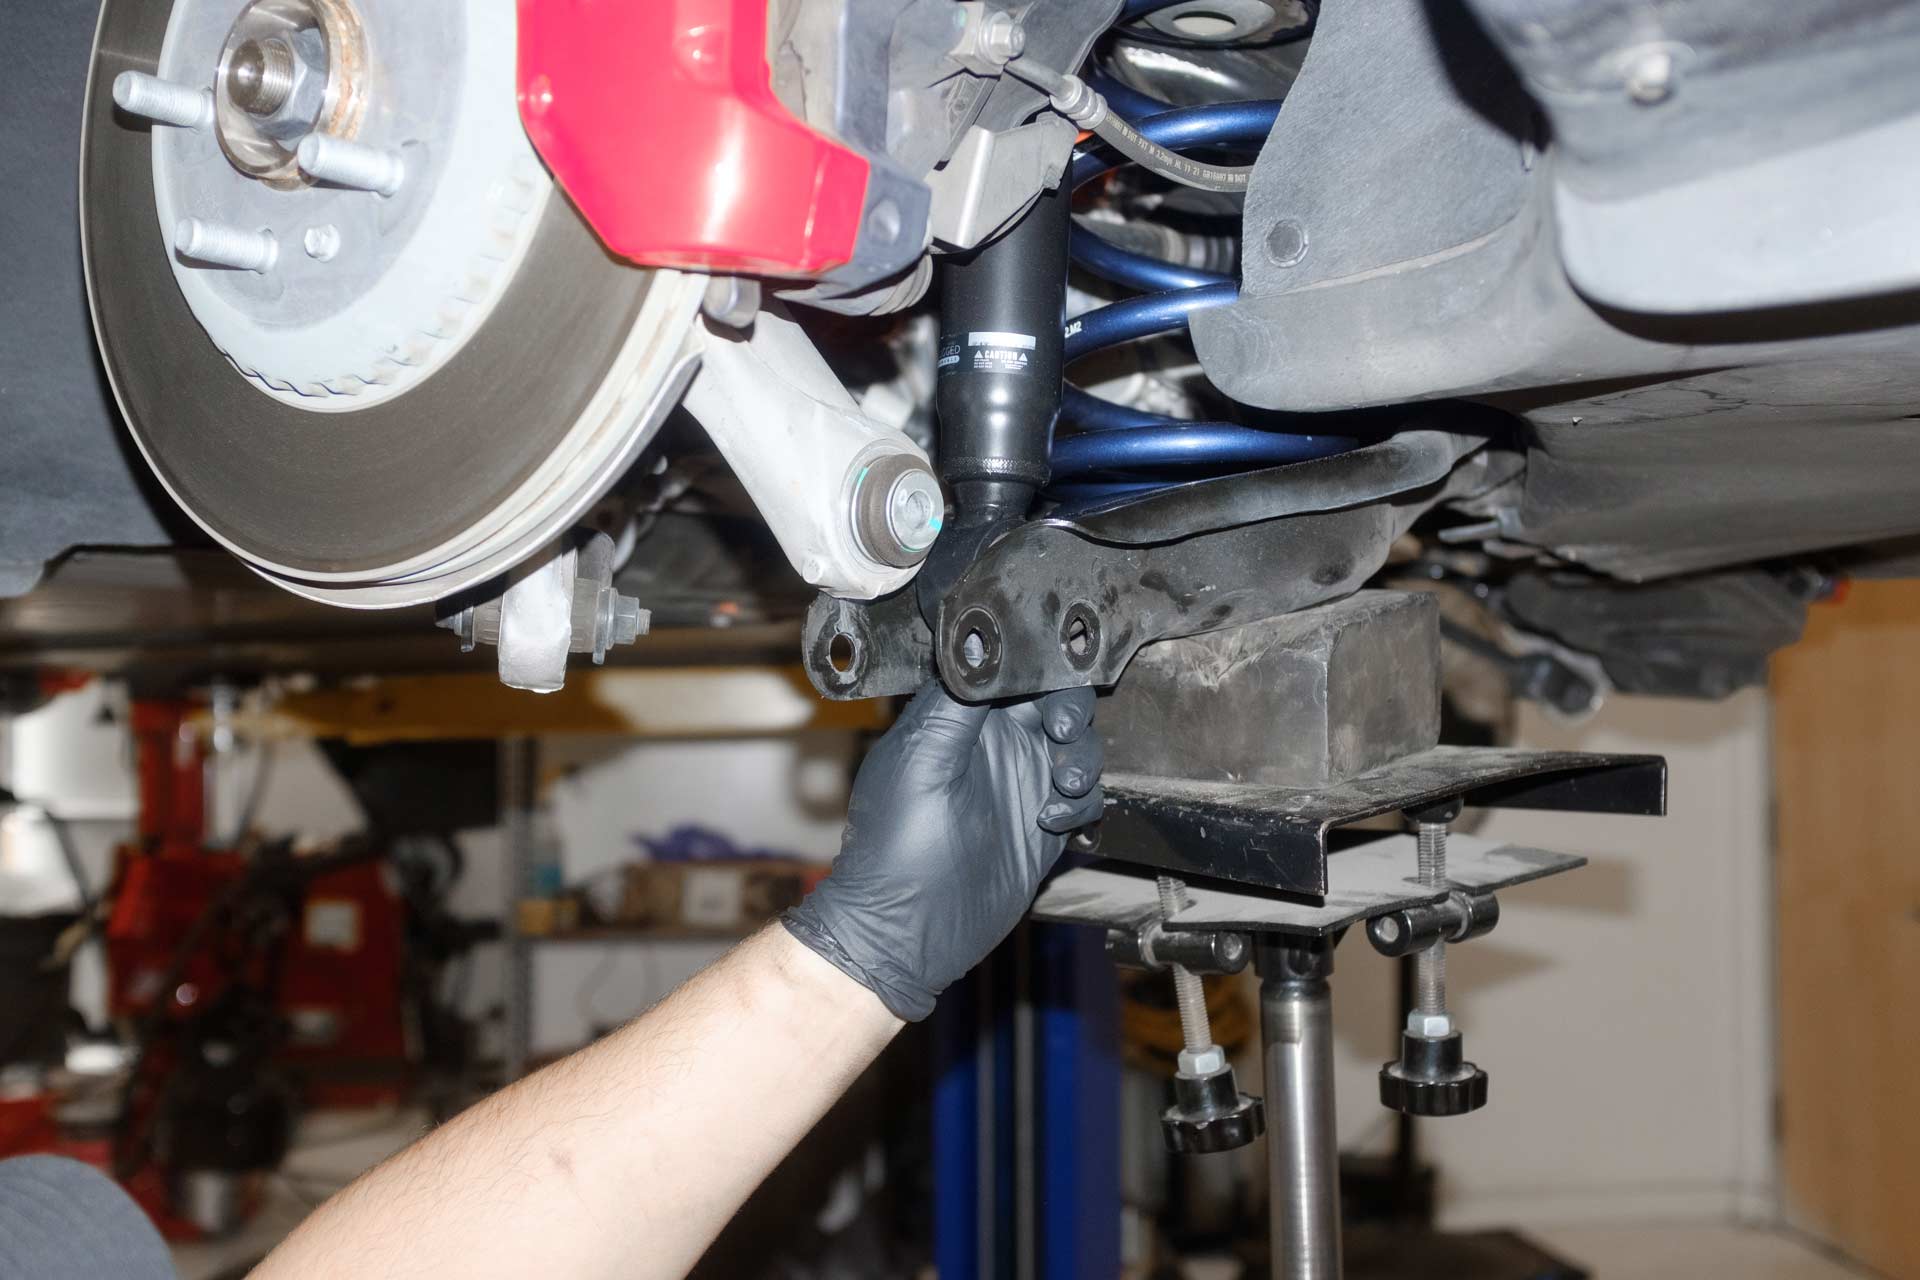
65. Using a 21mm socket and endwrench, fasten the factory bolt and nut to secure the rear spring arm to the rear shock mount.
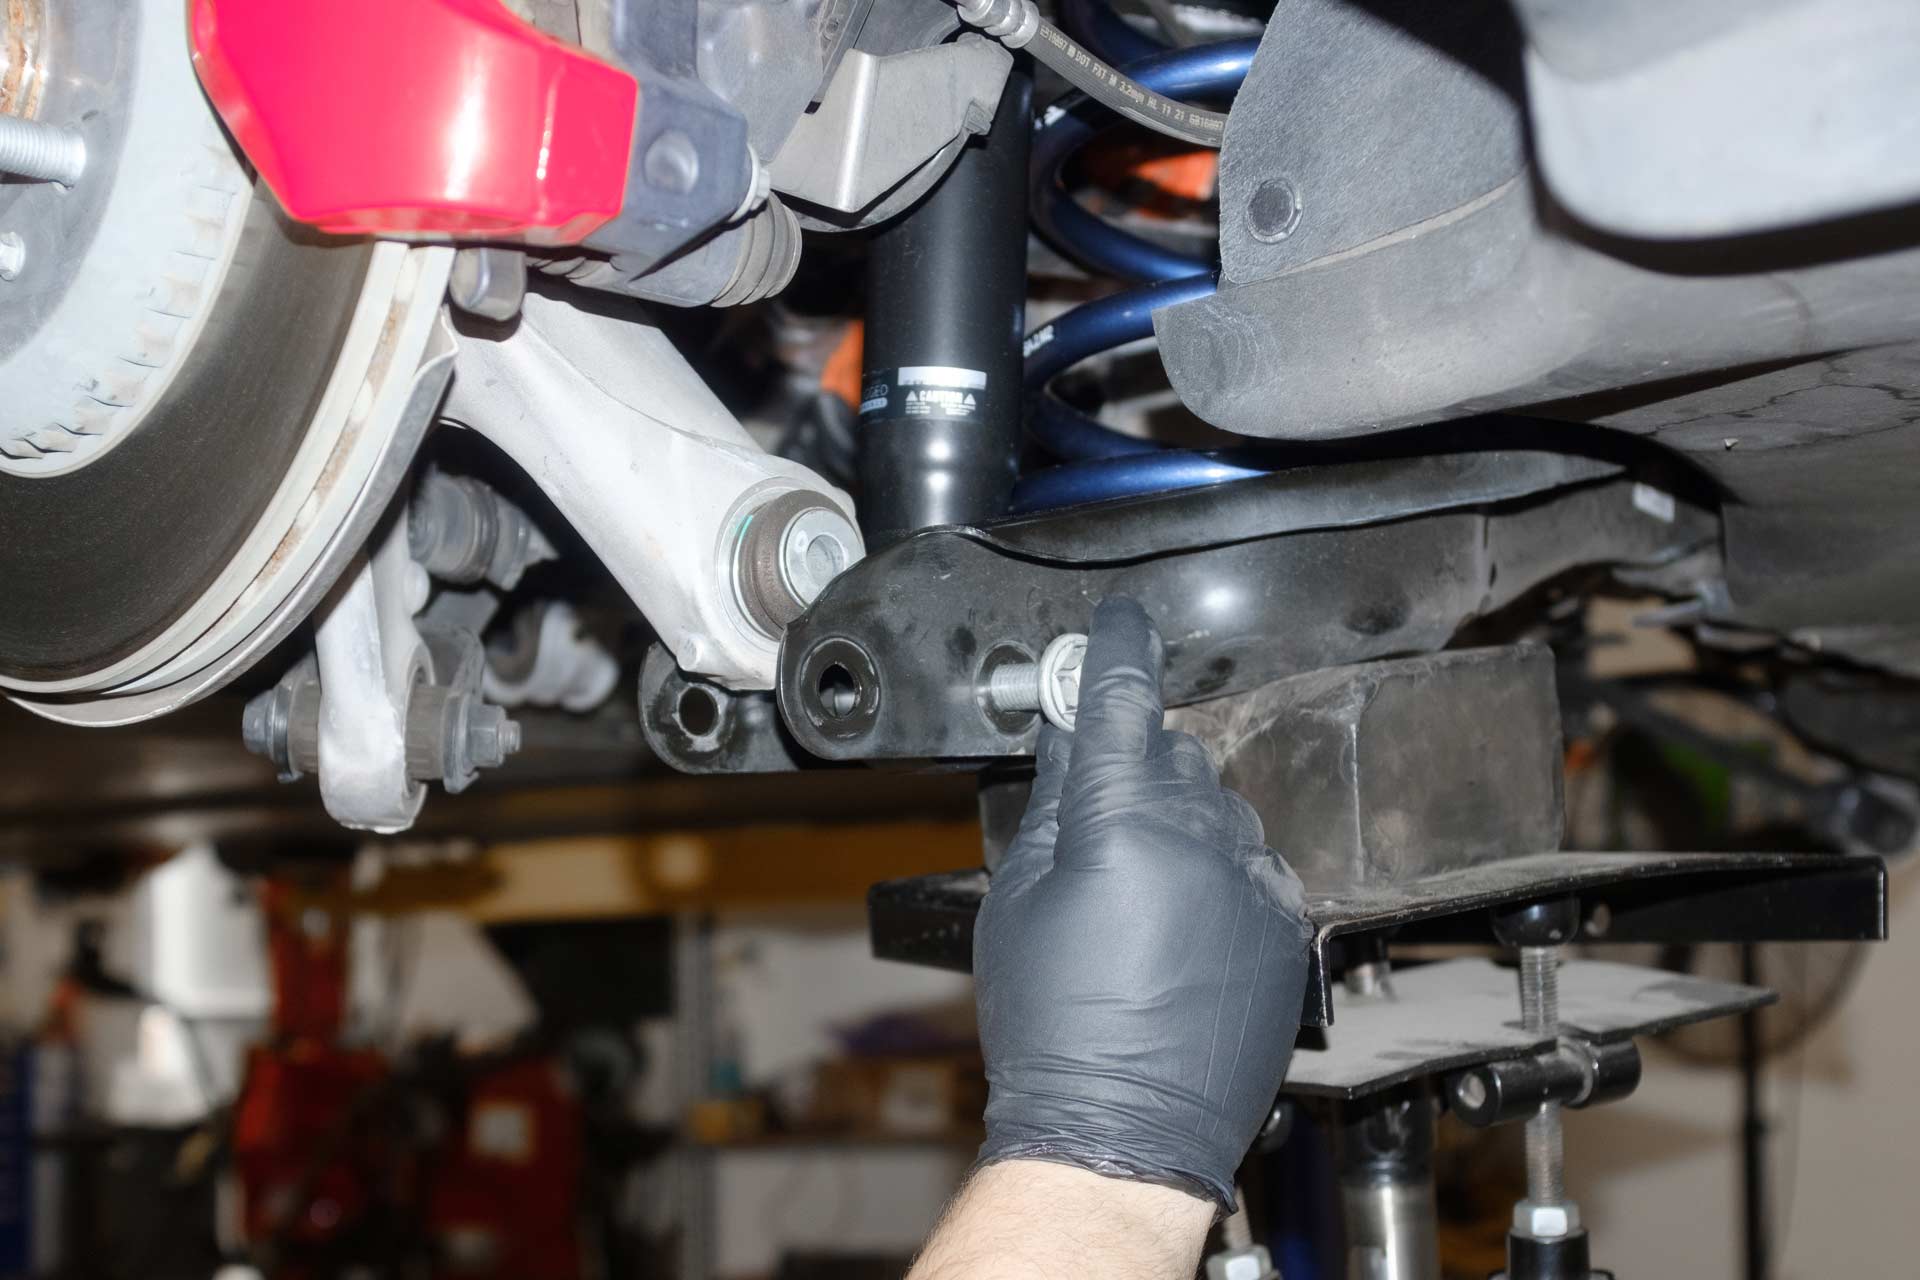
66. Using a 21mm socket and endwrench, fasten the factory bolt and nut to secure the rear spring arm to the rear knuckle.
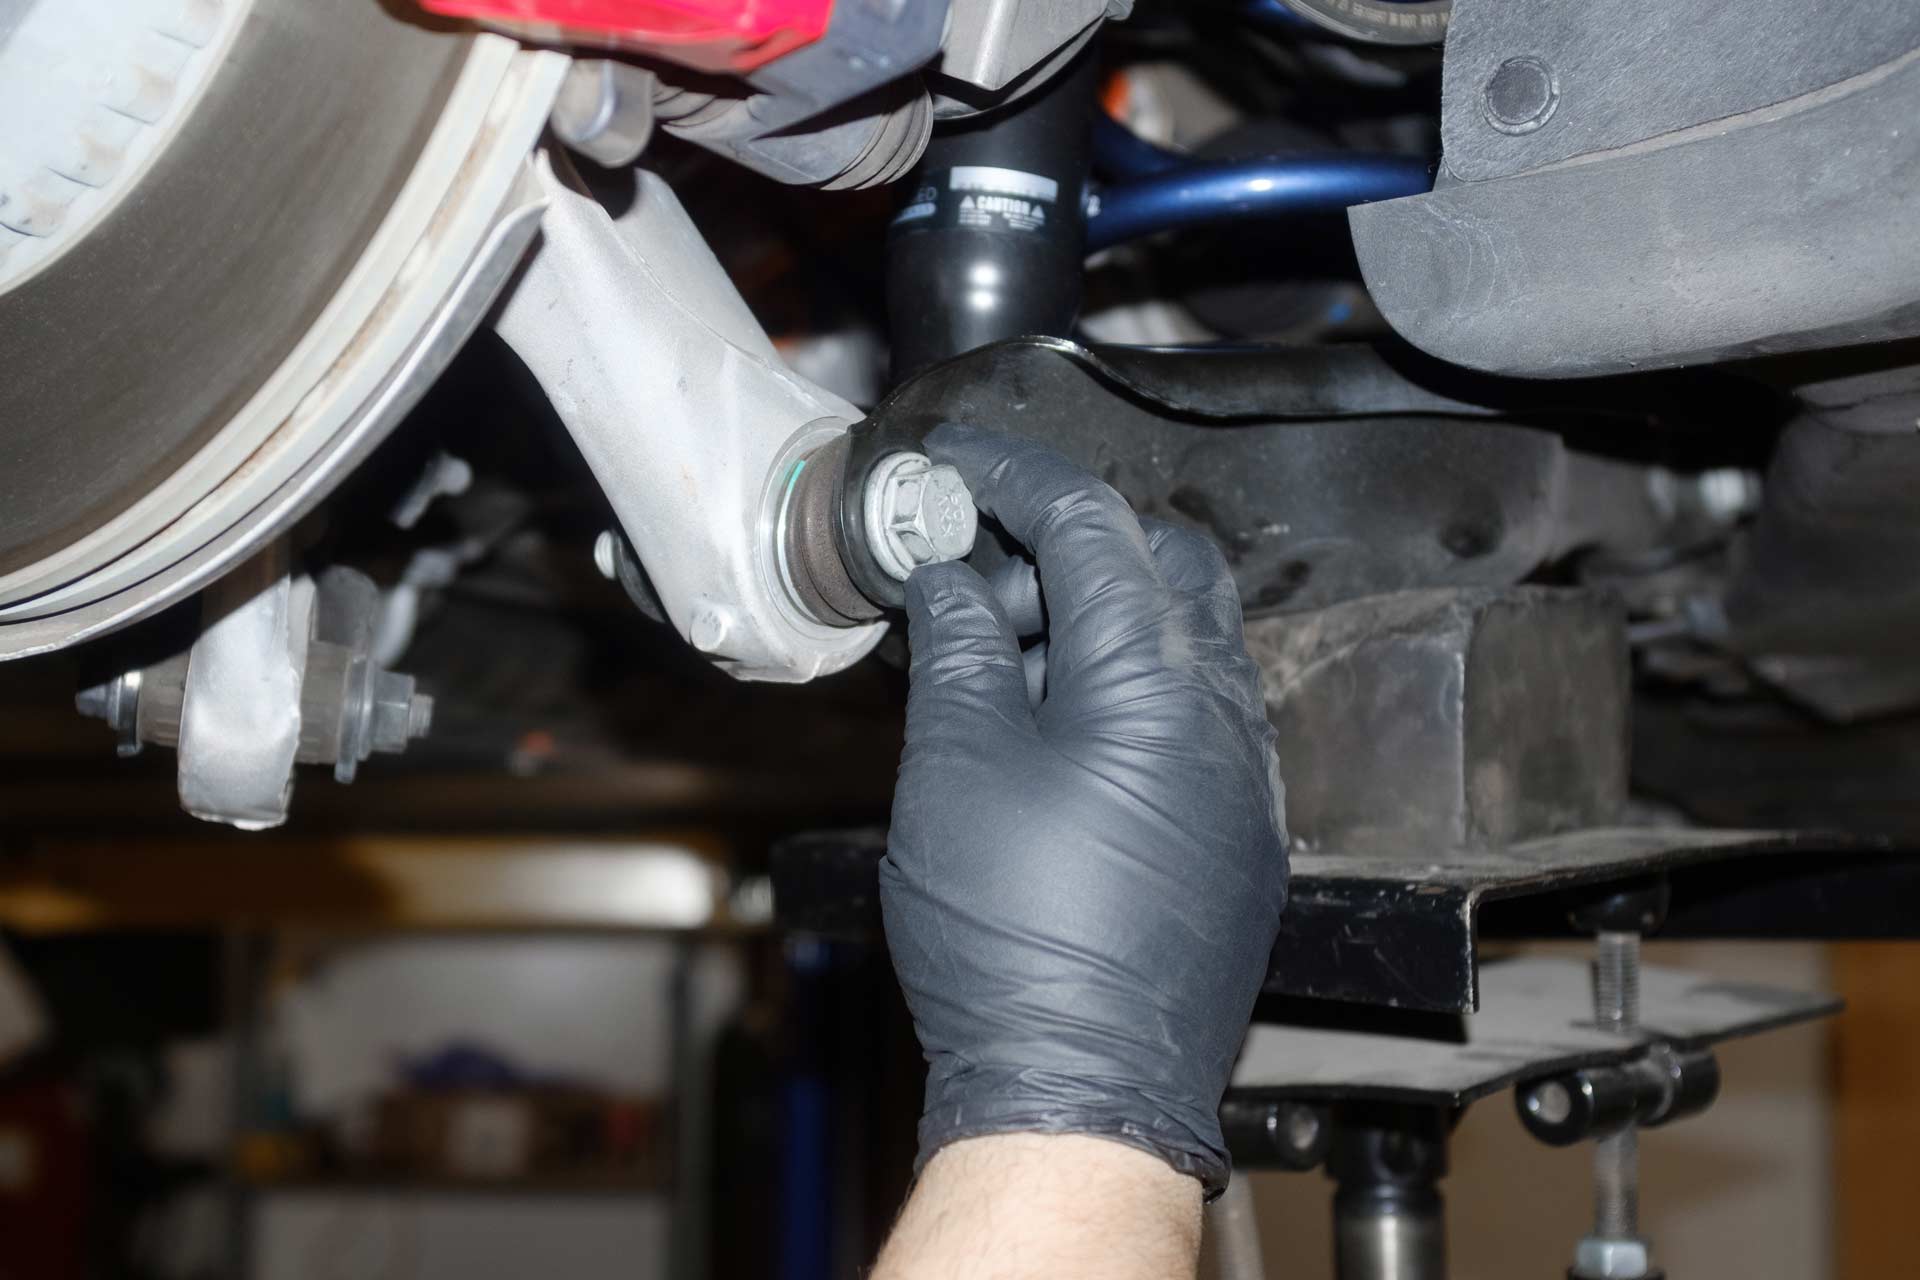
67. Using a 21mm socket, 21mm endwrench, and a torque wrench, torque 21mm knuckle bolt and nut to 85 ft/lbs.
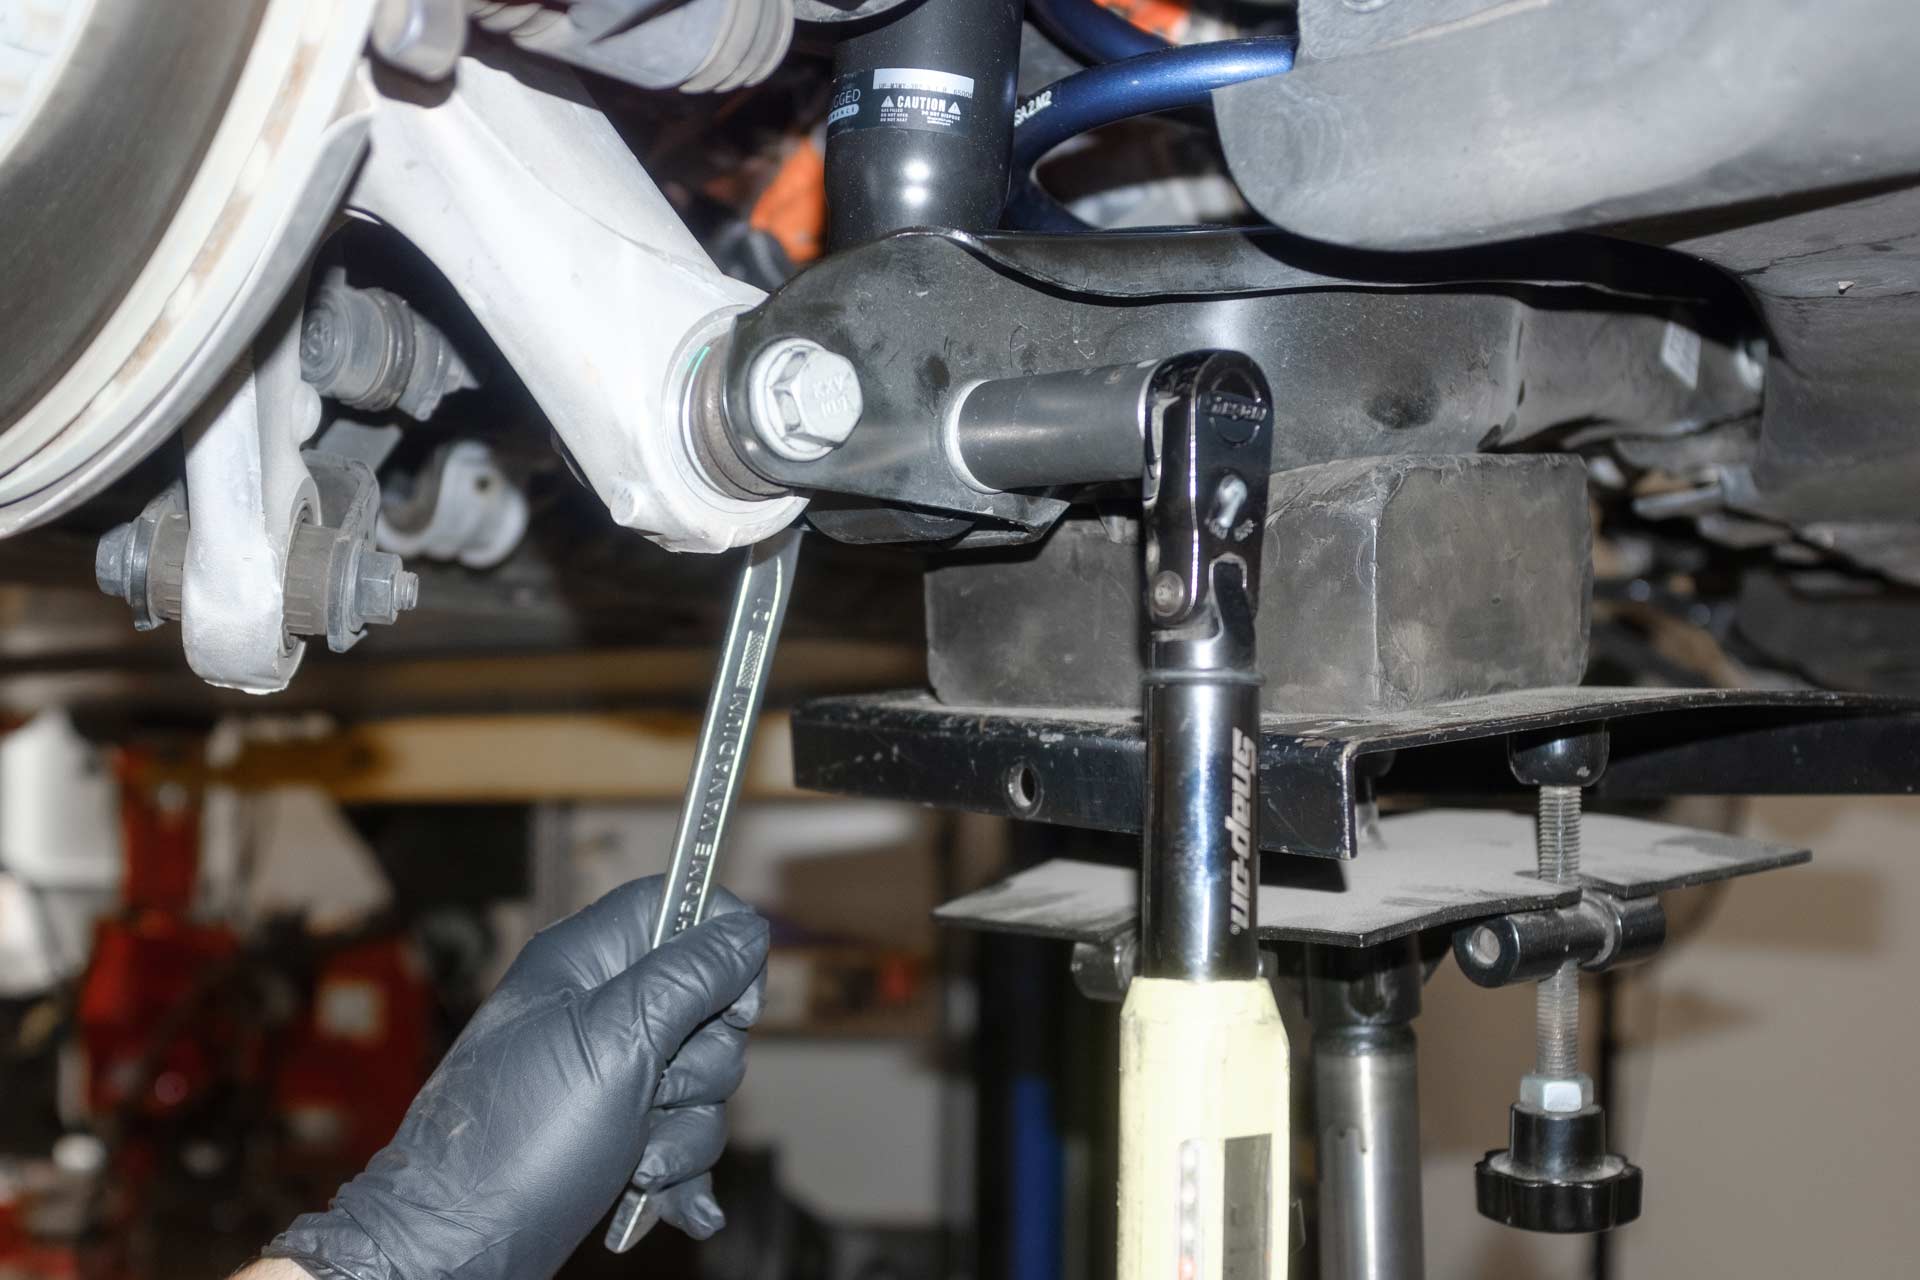
68. Using a 21mm socket, 21mm endwrench, and a torque wrench, torque 21mm shock mount bolt and nut to 85 ft/lbs.
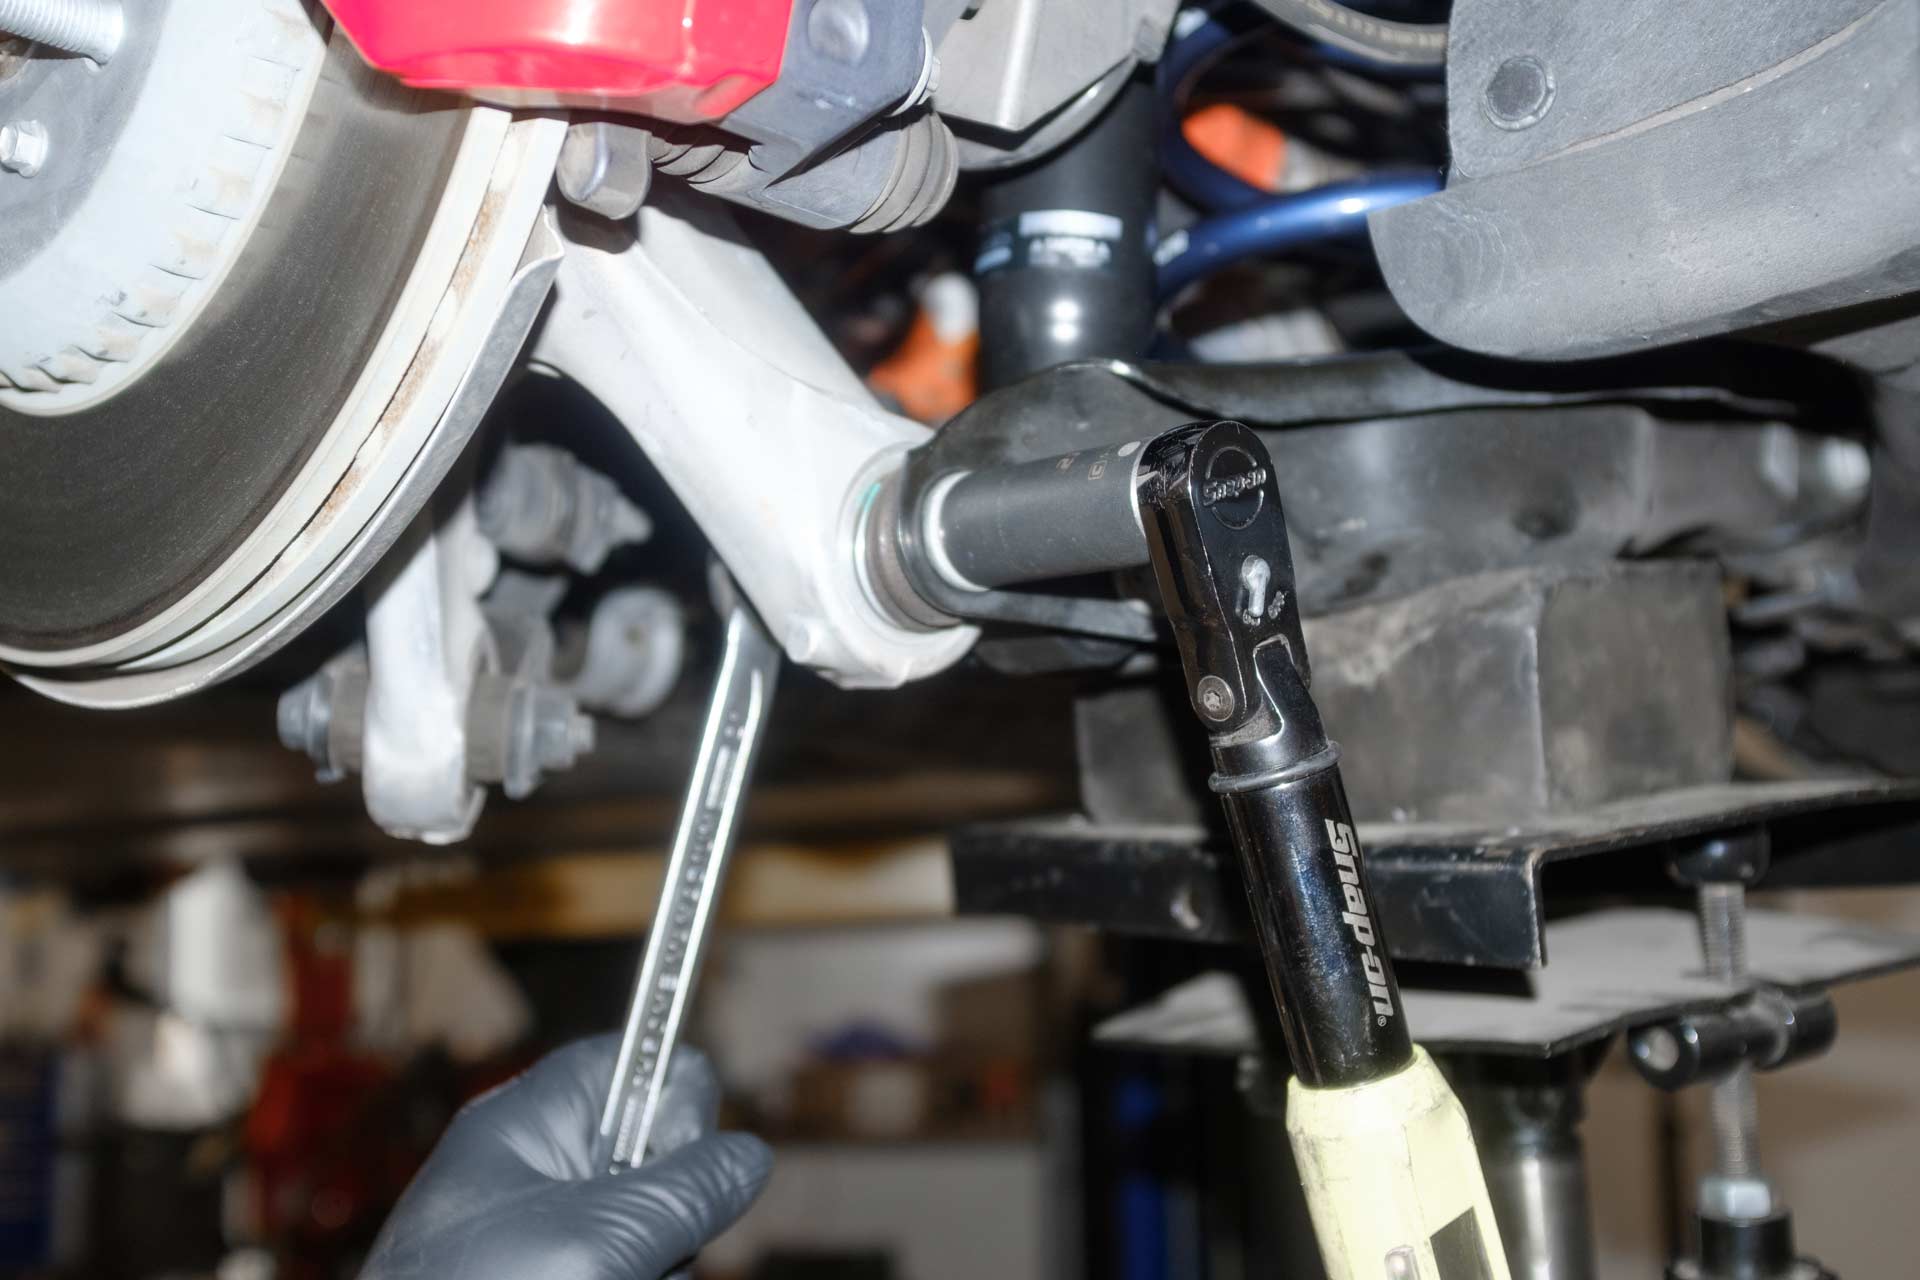
69. Slowly release the transmission jack and move it away from the vehicle.
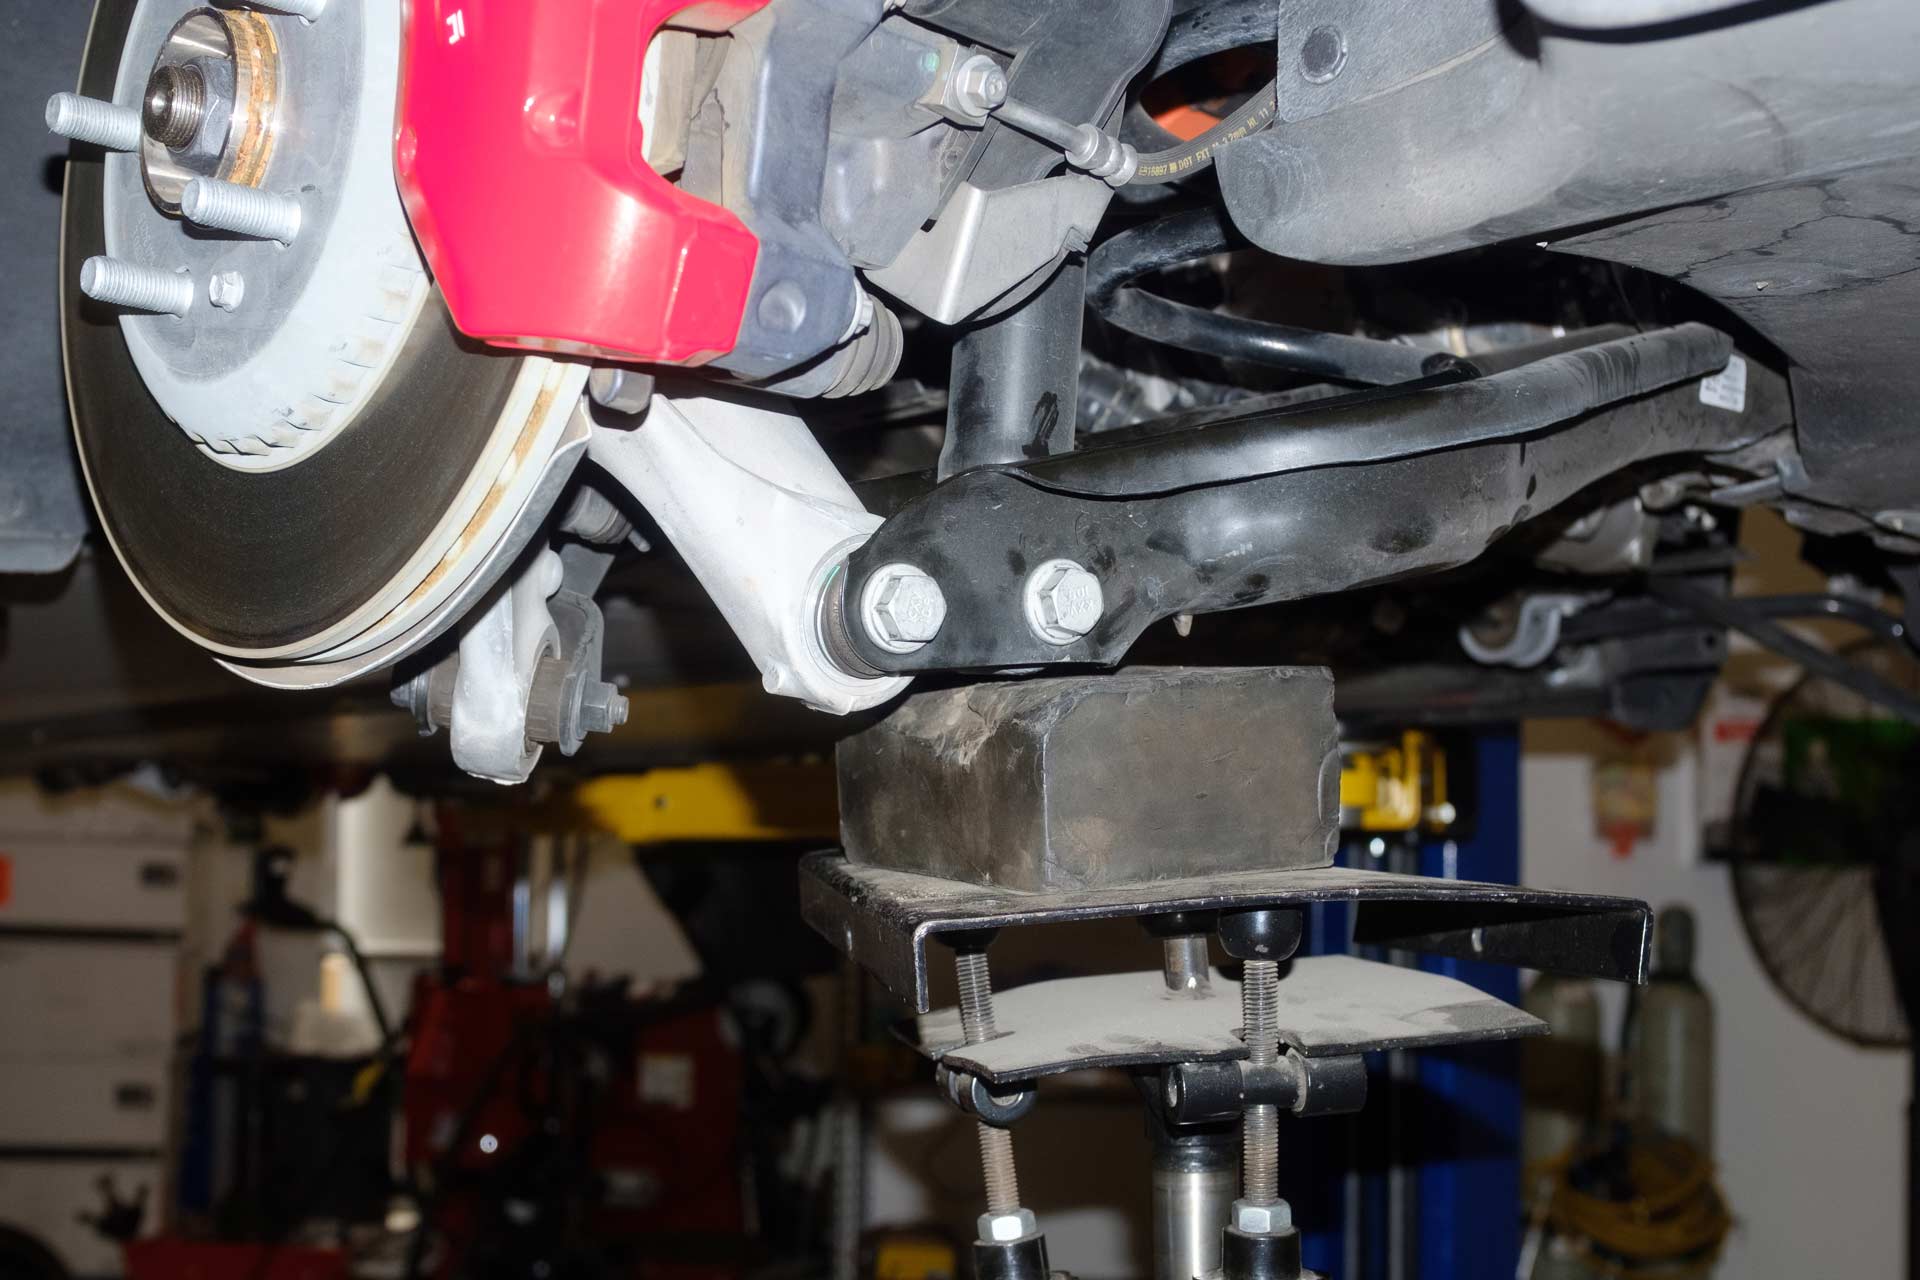
70. Repeat step 8 on the other side of the vehicle.
71. With the UP adjustable shock and dual rate linear springs installation complete, it is now time to reinstall the rear spring arm covers and wheels in the same orientation they were removed from the vehicle. Using a 10mm socket, torque the spring arm covers to 12 ft/lbs. Using a 21mm socket, torque the wheels to 130 ft/lbs.
72. We highly recommend following this installation with a vehicle alignment for an optimal driving experience.