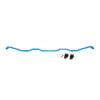
MODEL 3 SWAY BAR SET

RELEASE OF LIABILITY AND PRODUCT WARRANTY
READ CAREFULLY – THIS AFFECTS YOUR LEGAL RIGHTS
By installing or using this product, you understand and agree with the following: If you do not agree, do not proceed with the installation and return this product within 30 days for a full refund of the purchase price from the company from which you have purchased it.
- I understand and agree that this product is intended to be installed for use on private roads and in jurisdictions where the use of this product is deemed legal by the local authorities. Furthermore, I understand and agree Unplugged Performance does not have any knowledge or control of regulations in my local jurisdiction, and it is up to me to determine if the product is acceptable for use with my vehicle.
- I understand that Unplugged Performance has done testing of this product on road and on closed racetracks but does not have the ability to test the vehicle for localized standards and regulations.
- I understand and agree that if the vehicle manufacturer determines that any Unplugged Performance products have contributed to a problem with the vehicle it may affect the vehicle’s warranty. Furthermore, I understand and agree that Unplugged Performance has no duty nor ability to be involved in internal manufacturer decisions.
- I understand and agree that if this product is given to an installer for installation on my vehicle, I have read and agreed with all the previous, even if I am not personally installing these parts on my vehicle. Furthermore, I understand and agree that this product should be installed by a trained professional that is familiar with both the vehicle as well as this product. Furthermore, I understand and agree that I and/or my chosen installer will follow the installation instructions carefully and dutifully test the vehicle post-installation in a safe and controlled environment to ensure proper operation.
- I understand and agree that by installing this product Unplugged Performance and all associated persons and entities as well as the vehicle manufacturer and all associated entities must be held harmless in the event of any suit, damages, or other legal action. Furthermore, I hereby release Unplugged Performance and any associated entities from any and all liability for any potential claim or claims.
If you do not agree with any of the above statements, you should return the product immediately. For more information please see our Terms and Conditions.

PLEASE NOTE:
The vehicle must be lifted completely off of the ground and remain as such during the entire installation process.SR and SR+ Model 3s will require additional parts as they do not come with a rear sway bar. Parts Needed: 4 M10 1.5X25 Flange Bolts; OEM Endlinks; Part Numbers 1044491-00-E Rear Left 1044496-00-E Rear Right.
REMOVE FRONT UNDERTRAY PANEL


Figure 1 & 2- Remove the front under panel by unscrewing the bolts with a 10 & 15 mm socket
(Take caution when removing and detaching)
REMOVE FENDER LINER CLIPS


FIGURE-3-4: Remove two fender liner clips on both sides that holds the lip under tray the fender liner together to allow the lip under tray to hang, allowing more access space to reach the sway bar mounting bracket bolts.
REMOVE FRONT MOUNTING BRACKETS

Figure 5: Remove the four nuts securing the mounting brackets of the bushings using a 15 mm socket
REMOVING FRONT SWAY BAR ENDLINKS

FIGURE 6: Unscrew the sway bar end link nut. Carefully remove the sway bars from the end link bolt threads with a 18 mm socket
LUBRICATING AND INSTALLING THE BUSHINGS
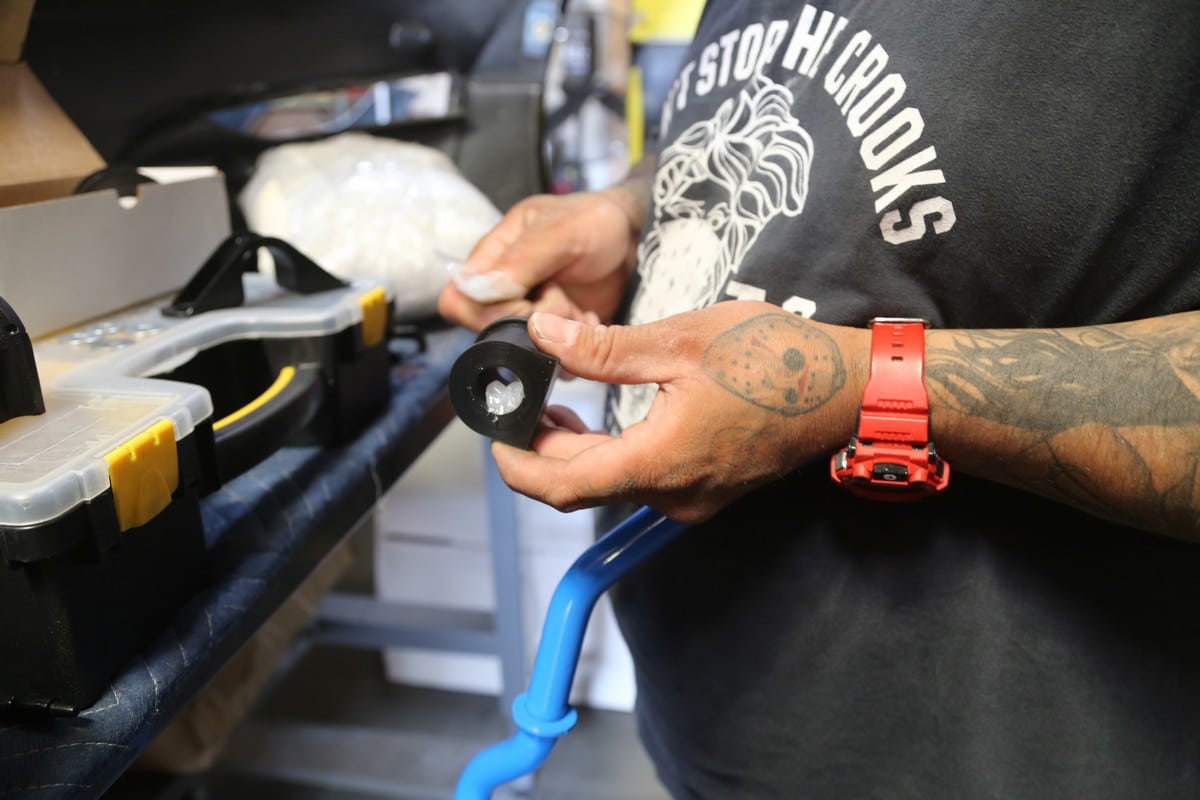

FIGURE 7- Use the included lubricant packet to coat the innerparts of the rubber bushing. One entire packet of lubricant per bushing should be used. *No Lubricant should be applied to the exterior of the bushing*
FIGURE 8- Fit the bushing around the sway bar against the swaybar bushing guide.
INSTALL FRONT SWAY BAR MOUNTING BRACKET

Figure 9- place the OEM bracket over the bushing
INSTALL FRONT SWAY BAR


FIGURE 10 & 11- Place and secure the Unplugged Sway Bar on the endlink
FIGURE 12 & 13- Place and secure the Unplugged Sway Bar by the mounting brackets on the bracket bolts. Push the brackets as far inward against the sway bar stops as possible while tightening.
Recommended Torque Specs:
- Front sway bar end link nut – 73 lbs-ft for OEM, 80 lbs-ft for Unplugged Adjustable End Link Set Option.
- Front sway bar bracket – 26 lbs-ft
REMOVE REAR UNDERPANEL


Figure 14 & 15- Remove the rear under panel by unscrewing the bolts with a 10 mm socket
(Take caution when removing and detaching)
REMOVE REAR SWAY BAR


FIGURE 16 & 17- Unscrew the rear sway bar end link nut. Carefully remove the sway bars from the end link bolt threads with a 15 mm socket
FIGURE 18- Remove the four nuts securing the mounting brackets of the bushings using an 11mm socket
INSTALL REAR SWAY BAR


FIGURE 19- Use the included lubricant packet to coat the innerparts of the rubber bushing. 1/2 of the included packet should be used per bushing.*No lubricant should be applied to the exterior of the bushing*
FIGURE 20- Fit the bushing around the sway bar against the swaybar bushing guide.
FIGURE 21- Attach the new mounting brackets to the bushing.
INSTALL REAR SWAY BAR (CONT.D)


FIGURE 22 & 23- Place and secure the Unplugged Sway Bar on the endlink
FIGURE 24- Place and secure the Unplugged Sway Bar by the mounting brackets on the bracket bolts
Recommended Torque Specs:
- Rear sway bar end link nut – 41 lbs-ft
- Rear sway bar bracket – 22 lbs-ft
PLEASE NOTE:
MAKE SURE TO TORQUE WHEELS TO 129LBS/FT