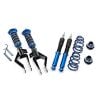
MODEL S - PLUG-N-PLAY HIGH-PERFORMANCE SHOCKS FOR AIR SUSPENSION INSTALLATION GUIDE
RELEASE OF LIABILITY AND PRODUCT WARRANTY
READ CAREFULLY – THIS AFFECTS YOUR LEGAL RIGHTS
By installing or using this product, you understand and agree with the following: If you do not agree, do not proceed with the installation and return this product within 30 days for a full refund of the purchase price from the company from which you have purchased it.
- I understand and agree that this product is intended to be installed for use on private roads and in jurisdictions where the use of this product is deemed legal by the local authorities. Furthermore, I understand and agree Unplugged Performance does not have any knowledge or control of regulations in my local jurisdiction, and it is up to me to determine if the product is acceptable for use with my vehicle.
- I understand that Unplugged Performance has done testing of this product on road and on closed racetracks but does not have the ability to test the vehicle for localized standards and regulations.
- I understand and agree that if the vehicle manufacturer determines that any Unplugged Performance products have contributed to a problem with the vehicle it may affect the vehicle’s warranty. Furthermore, I understand and agree that Unplugged Performance has no duty nor ability to be involved in internal manufacturer decisions.
- I understand and agree that if this product is given to an installer for installation on my vehicle, I have read and agreed with all the previous, even if I am not personally installing these parts on my vehicle. Furthermore, I understand and agree that this product should be installed by a trained professional that is familiar with both the vehicle as well as this product. Furthermore, I understand and agree that I and/or my chosen installer will follow the installation instructions carefully and dutifully test the vehicle post-installation in a safe and controlled environment to ensure proper operation.
- I understand and agree that by installing this product Unplugged Performance and all associated persons and entities as well as the vehicle manufacturer and all associated entities must be held harmless in the event of any suit, damages, or other legal action. Furthermore, I hereby release Unplugged Performance and any associated entities from any and all liability for any potential claim or claims.
If you do not agree with any of the above statements, you should return the product immediately. For more information please see our Terms and Conditions.
FRONT AIR STRUT ASSEMBLY REMOVAL


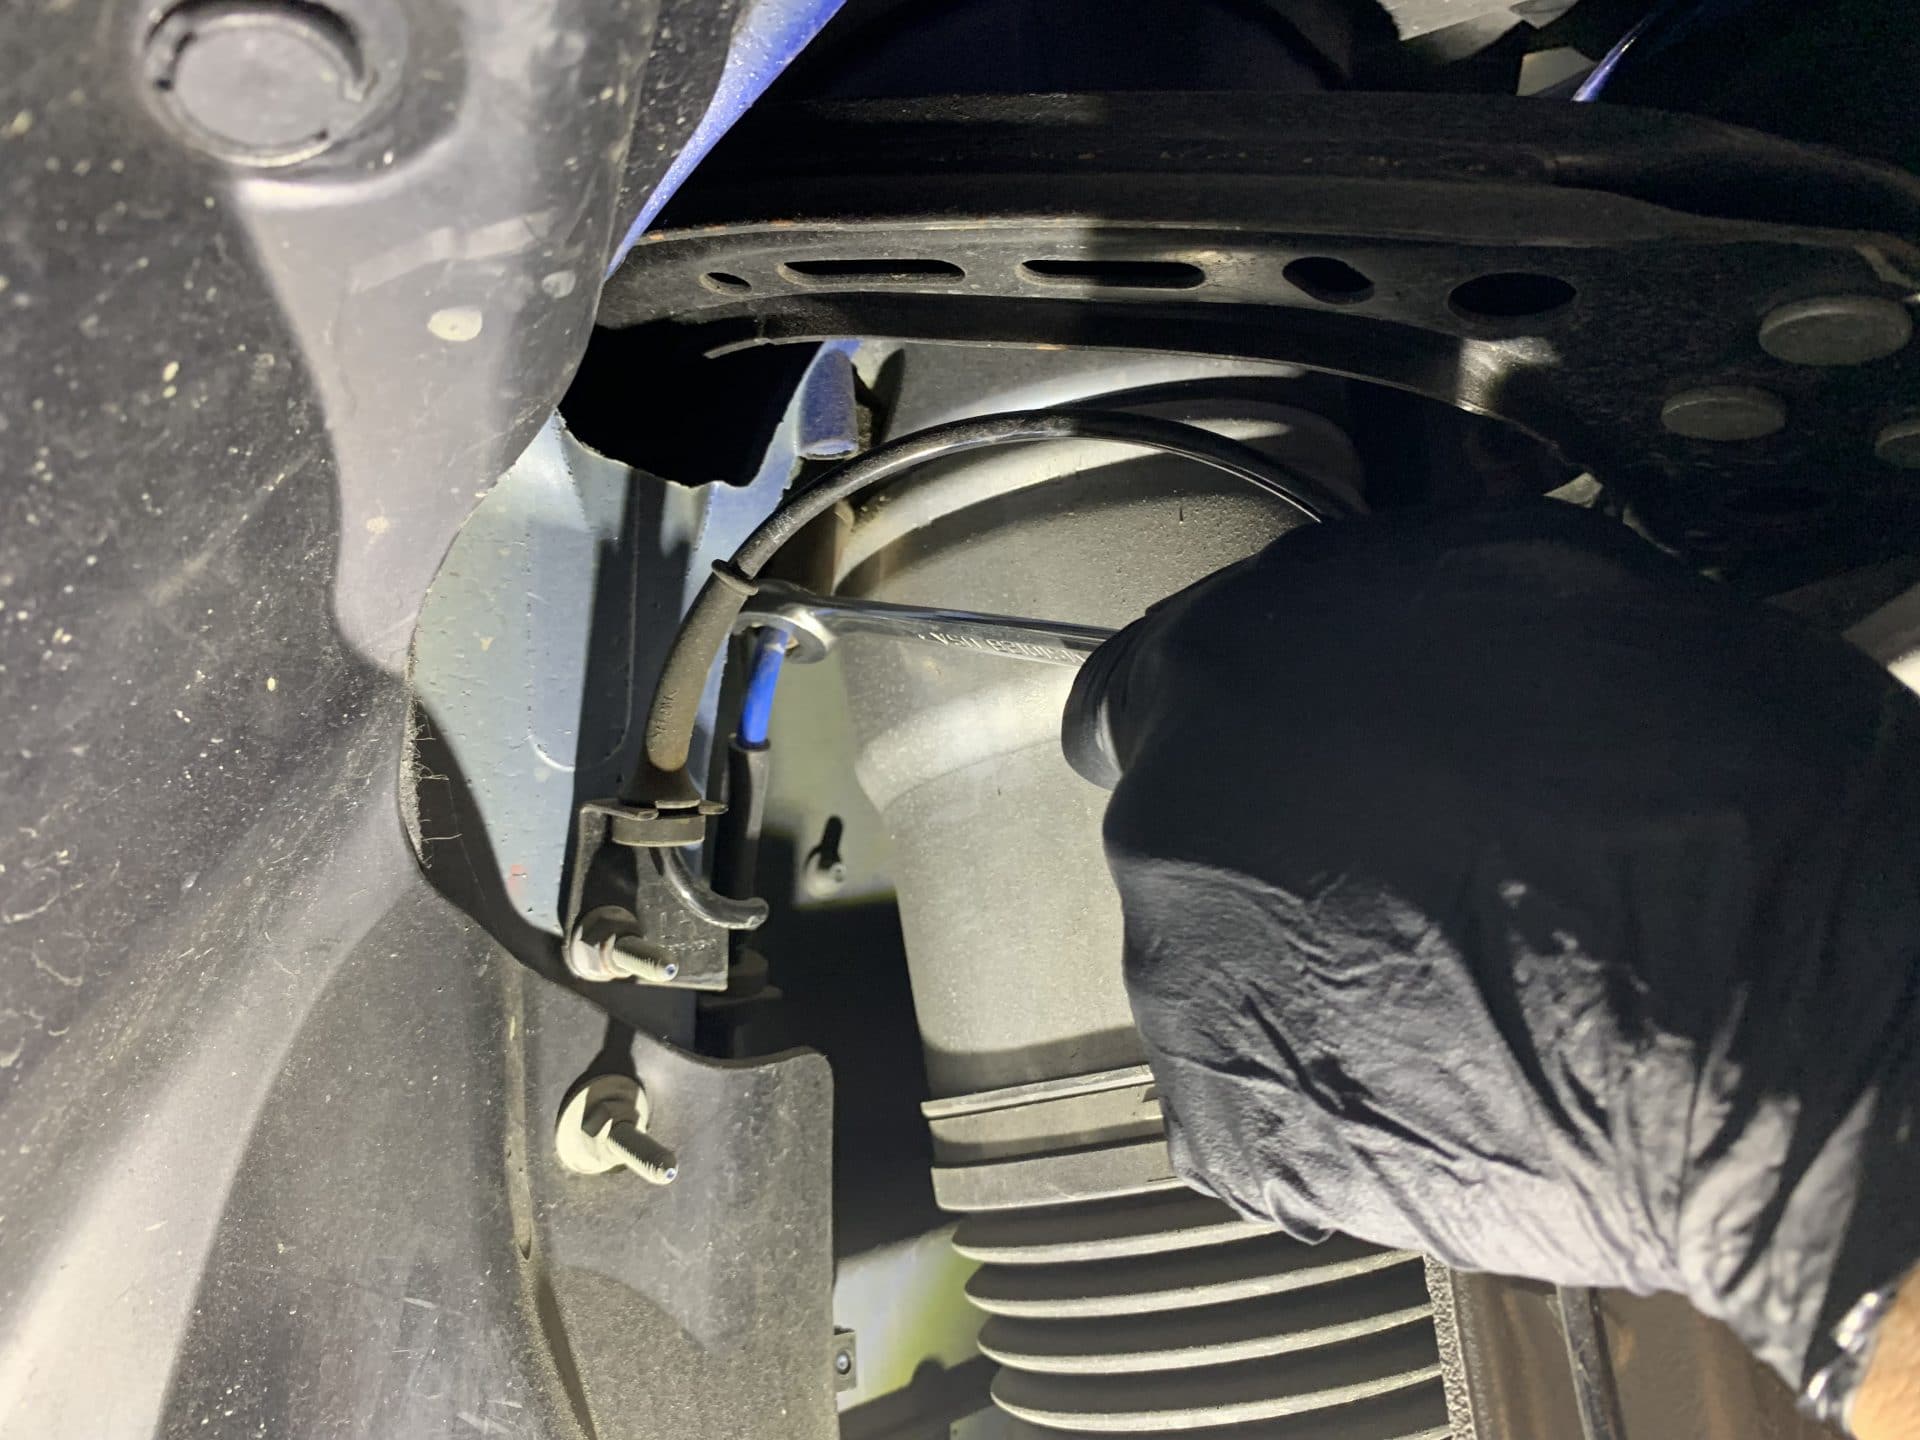
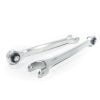
Figure 1: Depressurize and bleed the air bladder using 12mm line wrench (some new Model S vehicles will have the air line located above the strut) (torque 5 nm)
Figure 2: Disconnect the end link using 18mm socket and T-30 Torx bit (torque 70 Nm)
Figure 3: Disconnect the lower control arm using 21mm wrench (torque 130 Nm)
FRONT AIR STRUT ASSEMBLY REMOVAL CONT'D


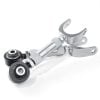
Figure 4: disconnect the upper ball joint from the upper control arm using a T-50 Torx and a 15mm spanner (torque 60 Nm)
Figure 5: Disconnect the brake line from the brake line bracket clip
Figure 6: remove the lower fork bolt using Torx T-50 bit (torque 65 Nm)
FRONT AIR STRUT ASSEMBLY REMOVAL CONT'D


Figure 7: Remove plastic cover in the front hood bay to access the strut bolts
Figure 8: Unscrew the strut bolts on top of the strut tower using 13mm socket (torque 39 nm)
Figure 9: Create a wide opening of the fork with a wedge tool to separate the air strut assembly from the fork
FRONT AIR SHOCK REMOVAL


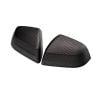
Figure 10: Remove the air strut assembly
Figure 11: Using a specialized tool, unscrew the top cap for the air strut assembly
Figure 12: Unscrew the bolt holding the stock shock into the air strut assembly using 17mm
FRONT AIR SHOCK REMOVAL CONT'D


Figure 13: Depending on the model year and version Tesla Model S, you may or may not require the included collar. Discard if unnecessary
Figure 14: Dampening adjustability is rated from1-4 complete turns on the adjustment point with a 3mm hex bit. Please locate the dampening chart below the instructions for our recommended settings
Figure 15: Take the O-ring and the space ring from the stock shock and place it on the Unplugged shock
FRONT AIR SHOCK REPLACEMENT

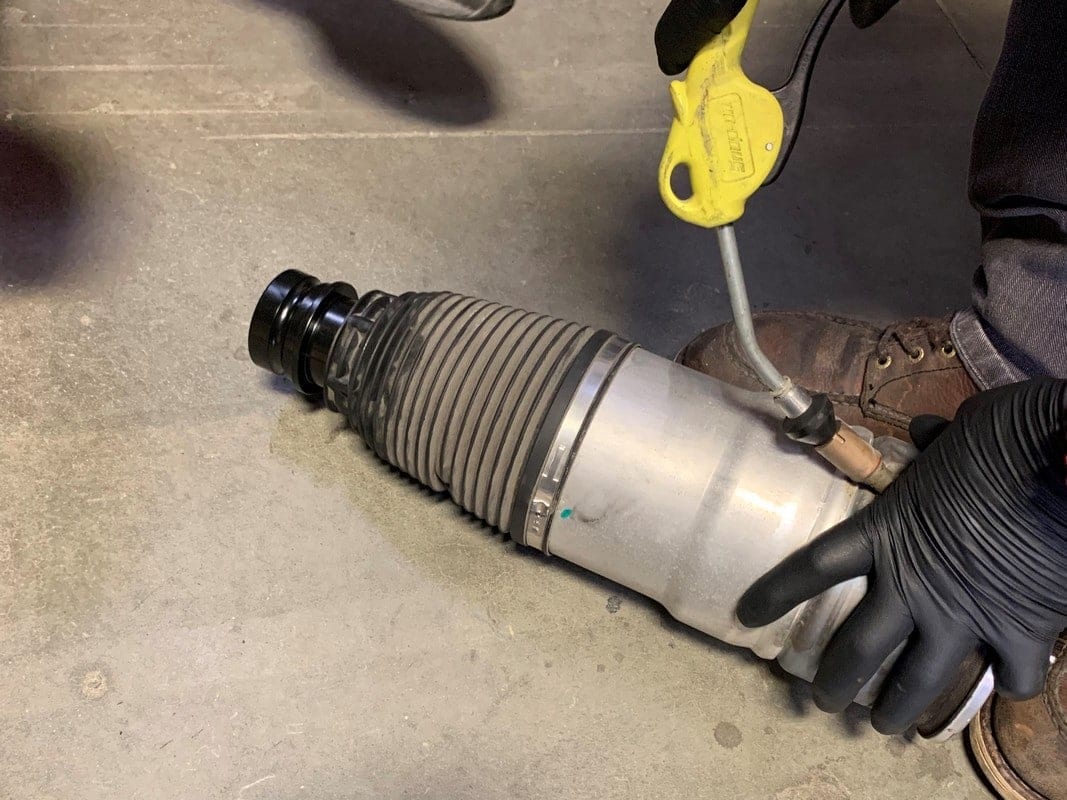

Figure 16: Place the Unplugged Shock into the strut assembly and re-bolt it in
Please use 25-27ft/lbs and blue (medium) thread locker when installing these. Be very careful if using an impact, as not to damage and overtorquing the threading.
Figure 17: We recommend using a compressor with a rubber tip to tighten the seal of the air bladder and reseat the O-ring shock. Please make sure you test for air leaks.
Figure 18: Reposition the air strut assembly with the new shock back into the top mount strut sub frame and insert back into shock fork.
FRONT AIR STRUT ASSEMBLY REINSTALL

Figure 19: Reversing the process, tighten the fork bolt, tighten the bolts on top of the strut tower, reinstall the plastic cover, retighten the lower bracket using Torx T-50, reconnect the brake line to the bracket clip, reconnect the upper ball joint with the upper control arm using a T-50 Torx and a 15mm spanner, reconnect the lower control arm using 21mm wrench, reconnect the end link using 18mm and T-30 torx bit, and then pressurize the air bladder using 12mm line wrench.
REAR AIR STRUT ASSEMBLY REMOVAL


Figure 20: Remove fender liner with 10mm and clips
Figure 21: Depressurize and bleed the air bladder using 12mm line wrench (torque 5 Nm)
Figure 22: disconnect lower shock bolt using 21 mm spanner and 21mm socket (torque 140 Nm)
REAR AIR STRUT ASSEMBLY REMOVAL CONT'D


Figure 23: Disconnect the rear suspension link assembly with 15mm (torque 135 Nm)
Figure 24: Disconnect emergency brake servo motor from the wiring harness
Figure 25: Disconnect servo motor the from the brake assembly with Torx T-25 wrench
REAR AIR STRUT ASSEMBLY REMOVAL CONT'D


Figure 26: Disconnect the toe link assembly using a 18mm spanner and socket (torque 130 Nm)
Figure 27: Unscrew the rear air strut assembly bolts with a 15mm socket(torque 40 Nm)
Figure 28: remove air strut assembly from rear strut mount
REAR AIR SHOCK REMOVAL


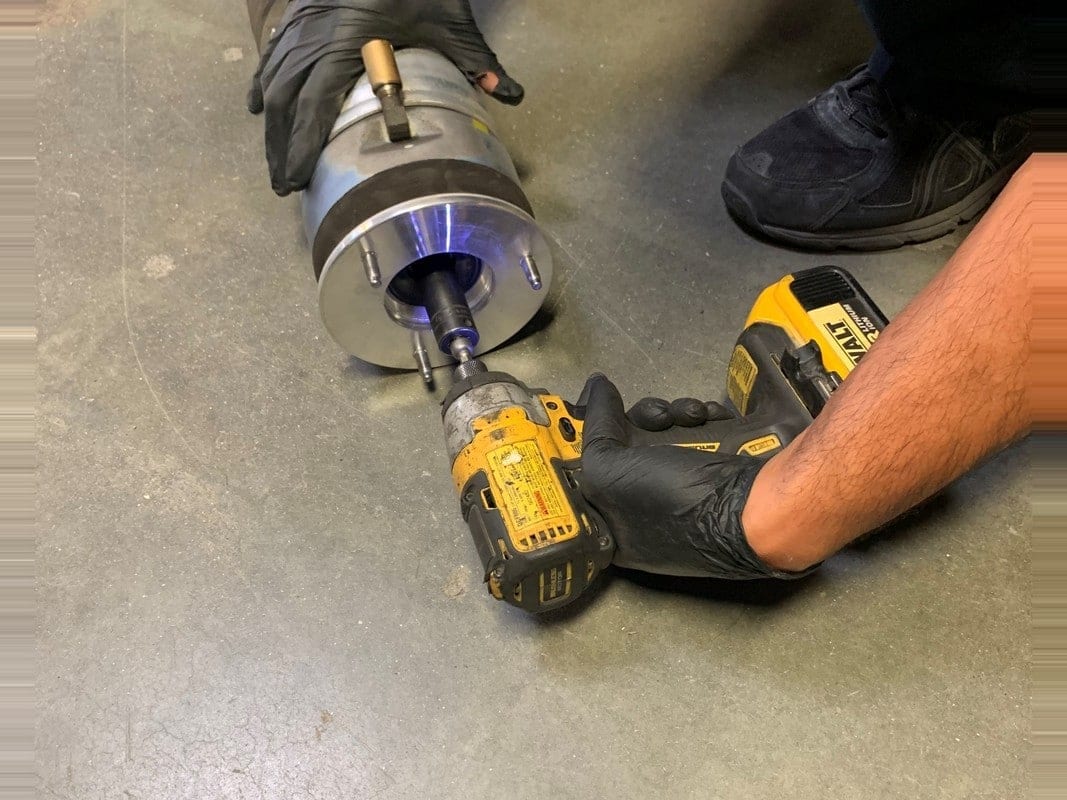
Figure 29: Remove air strut top plate with 13mm socket
Figure 30: Using a specialized tool, unscrew the top cap for the air strut assembly
Figure 31: Unscrew top bolt that holds shock in air strut assembly
REAR AIR SHOCK REMOVAL CONT'D


Figure 32: Loosen rear stock shock from air strut sleeve
Figure 33: Take the stock O-ring and the spacer ring from the stock shock and place it on the Unplugged Shock, Install extra supplied Collar by simply sliding on until it stops. Shock should appear as shown prior to installing airbag.
Figure 34: Place the Unplugged shock in the air strut assembly
NOTE: Failure to install collar on rear shock can result in damage to air system.
REAR AIR SHOCK REPLACEMENT


Figure 35: retighten the shock bolt, then screw the top cap seal with specialized tool
Figure 36: We recommend using a compressor with a rubber tip to tighten the seal of the air bladder and reseat the O-ring shock. Please make sure you test for air leaks.
Figure 37: Reposition the air strut assembly with the new shock back into the top mount strut sub frame and insert back into shock fork.
REAR AIR SHOCK REINSTALL

Figure 38: Reversing the process, tighten the fork bolt, tighten the bolts of the strut tower, connect the toe link assembly using 18mm spanner and socket, reconnect emergency brake servo motor from the wiring harness and from the brake assembly with Torx T-25 wrench, connect the rear suspension link assembly with 15mm, connect lower shock bolt using 21 mm spanner and 21mm socket, pressurize the air bladder using 12mm line wrench, and replace the fender liner with 10mm and clips.
RECOMMENDED DAMPER SETTINGS
COMFORT
FRONT – 1 ROTATION FROM FULL SOFT
REAR – 1 ROTATION FROM FULL SOFT
PERFORMANCE
FRONT – 2 ROTATIONS FROM FULL SOFT OR HARD
REAR – 2 ROTATIONS FROM FULL SOFT OR HARD
TRACK
FRONT – 4 ROTATIONS FROM FULL SOFT
REAR – 4 ROTATIONS FROM FULL SOFT
***WE RECOMMEND PERFORMING A VEHICLE SUSPENSION ALIGNMENT ONCE THE INSTALLATION HAS BEEN COMPLETED***
– When looking down at the shock, turning counter clockwise rotation will set it to softer and turning clockwise will set it to more firm.
– For most street users who prefer a balance of performance and comfort we would suggest setting it to 40% soft
– For a more comfortable than stock ride it can be set to full soft
– For a racing orientated car we suggest setting it at 75% firm as baseline and adjusting up higher for racing tire applications

PLEASE NOTE:
MAKE SURE TO TORQUE WHEELS TO 129LBS/FT